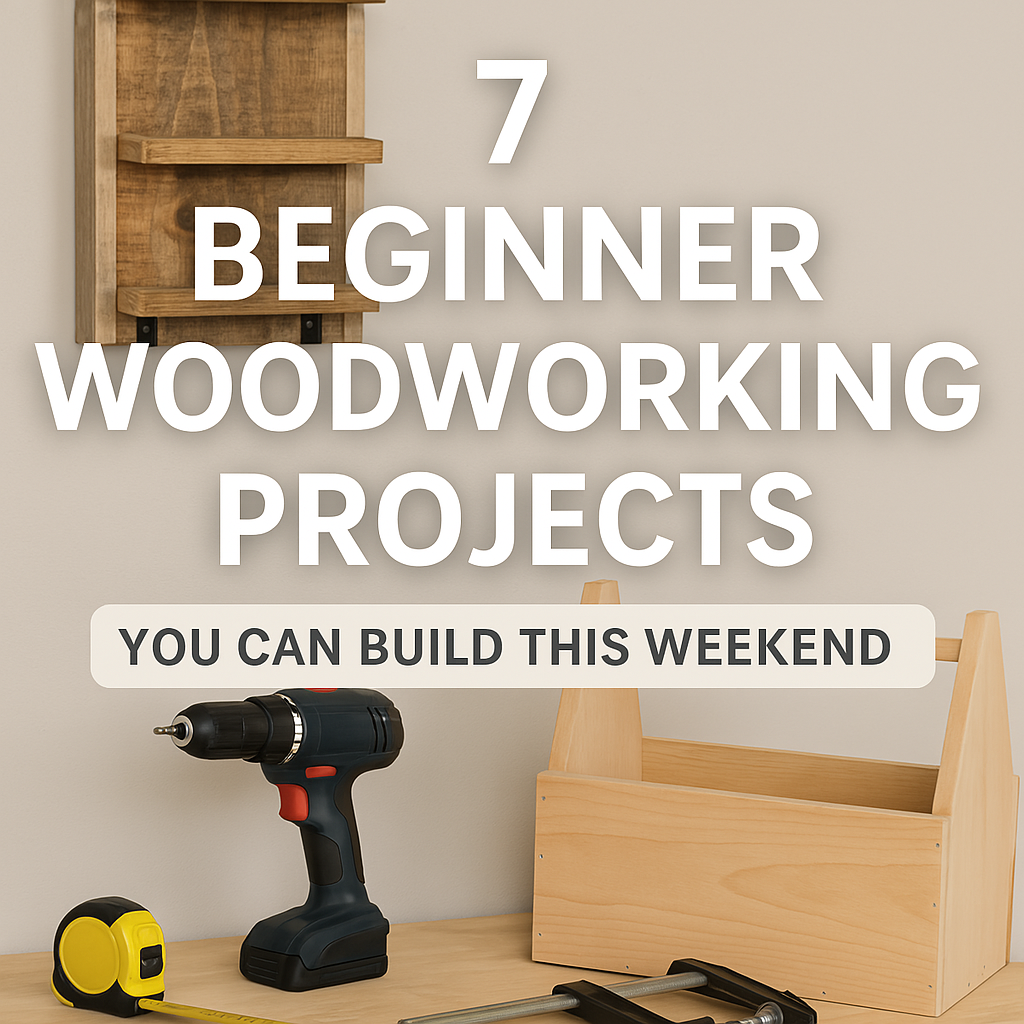
When I first started woodworking, I didn’t have a fancy shop, a miter saw, or even a decent workbench. What I did have was a warped sheet of plywood, a half-dead drill I borrowed from my neighbor, and a wild idea that I could build something — anything — out of wood.
It wasn’t square. It wasn’t pretty. But it was mine. And that first project — however rough — is what got me hooked.
If you’re just getting started and want beginner woodworking projects that you can actually finish (without a planer or table saw), these seven real builds are the ones that taught me the most. Every single one was built in a weekend or less, with nothing but scrap wood and stubborn determination.
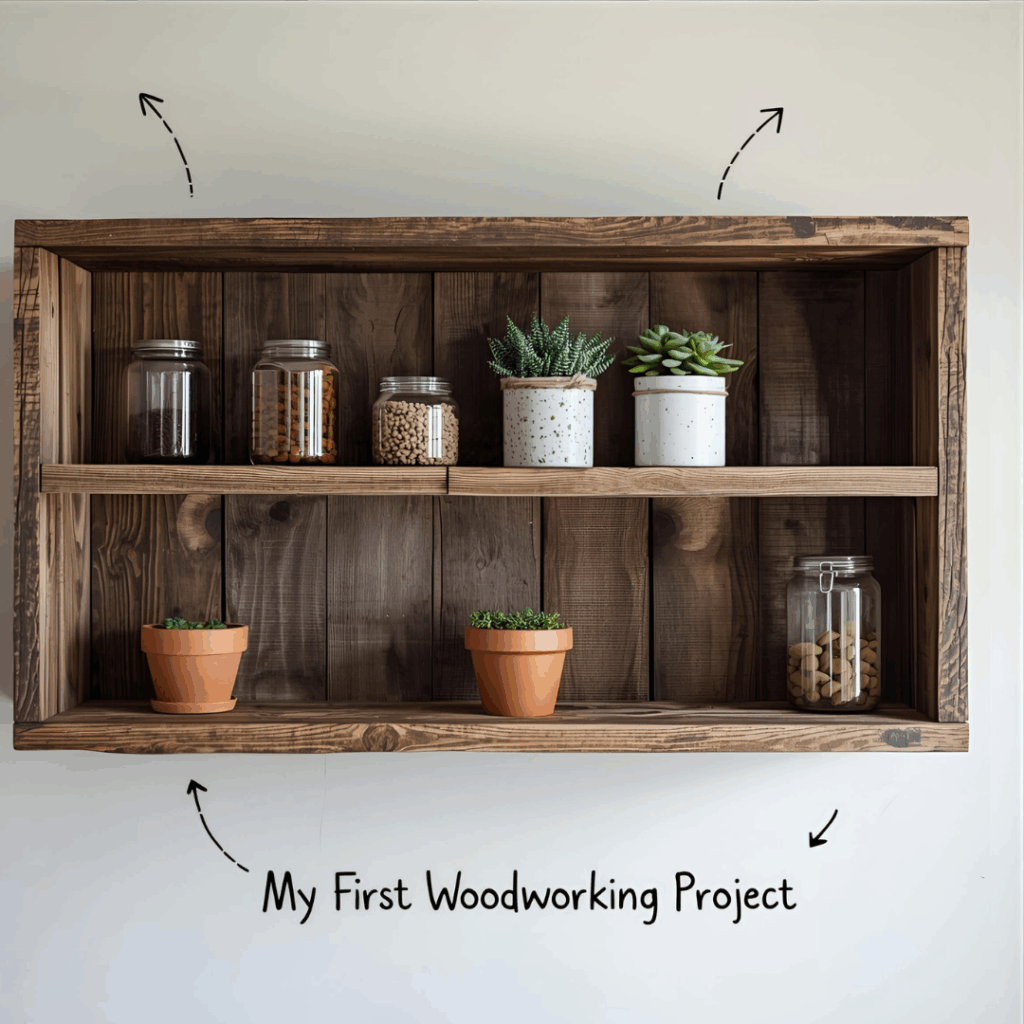
1. Scrap Wood Shelf That’s Still Hanging (Somehow)
My first woodworking project wasn’t planned. It kind of just happened. I had this small pile of old fence boards left from a gate I messed up. They were rough, cracked, a little warped — not great for much. I almost threw them out, then figured I’d mess around and see if I could turn them into a shelf.
There was no sketch. No measuring tape. I just held two boards together and thought, yeah, that looks about right. The drill I used was my neighbor’s — half dead, kept stopping every few screws. I found a tin full of random screws in the garage and used those. Nothing matched. The whole thing looked like it wanted to fall apart.
When I hung it on the wall, it leaned a bit. One side sat higher than the other. I stood there for a minute, waiting for it to crash down. It didn’t. It stayed. Still there, actually — a little crooked, dusty, but still holding firm after five years.
That silly shelf taught me the best lesson. You don’t need perfect tools. You don’t need a plan. You need to start. Every mistake becomes part of the story.
Lesson learned: don’t wait until you have the proper setup. Grab what you’ve got and try. A couple of drywall anchors and a cheap level can fix more than you think.
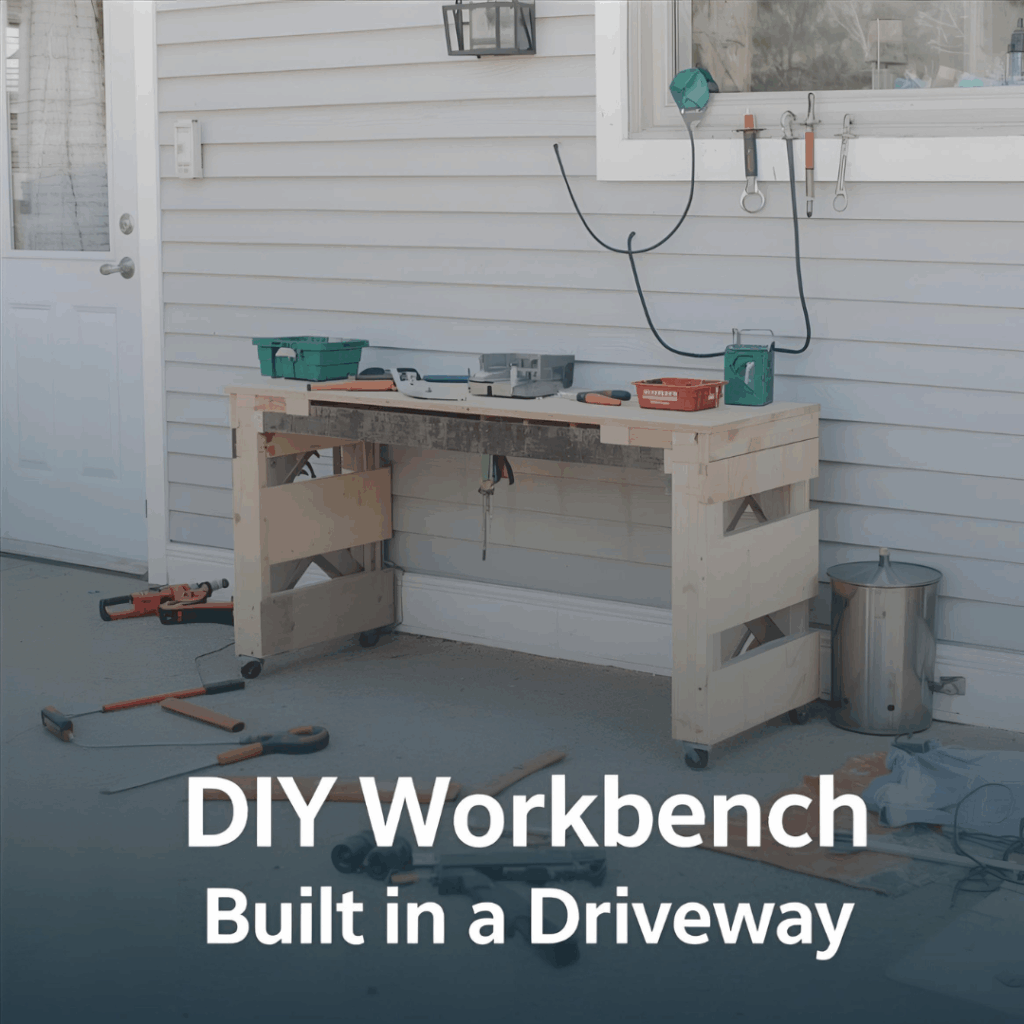
You can’t build much without a surface to work on, and my garage was more of a storage zone than a workshop. So one hot Saturday, I decided to make my own workbench — right there in the driveway.
It was 95°F, the sun was relentless, and my plywood top was so warped it looked like a skateboard ramp. I split a leg because I forgot to pre-drill, and the whole thing wobbled for months before I added corner braces.
But when it was done? I had a real bench. The kind you can hammer on without guilt. It’s still my favorite thing I’ve ever built.
Lesson learned: Perfection is optional. Function is everything.
Tools & supplies:
Circular saw
Drill
2x4s and plywood scraps
Lag screws for the frame
Pro tip: Leave one side open for storage bins or a shop vac.
This project was pure luck. I found a weathered board behind the shed — covered in moss and gray with age. Most people would have tossed it, but I saw potential.
After sanding the moss off, the wood underneath had an incredible texture. I screwed three hooks I bought at the dollar store into the entryway and hung them. My mom asked me where I bought it. When I said, “Behind the shed,” she thought I was joking.
Lesson learned: wood doesn’t have to be new to be beautiful. Sometimes, nature has already done the finishing for you.
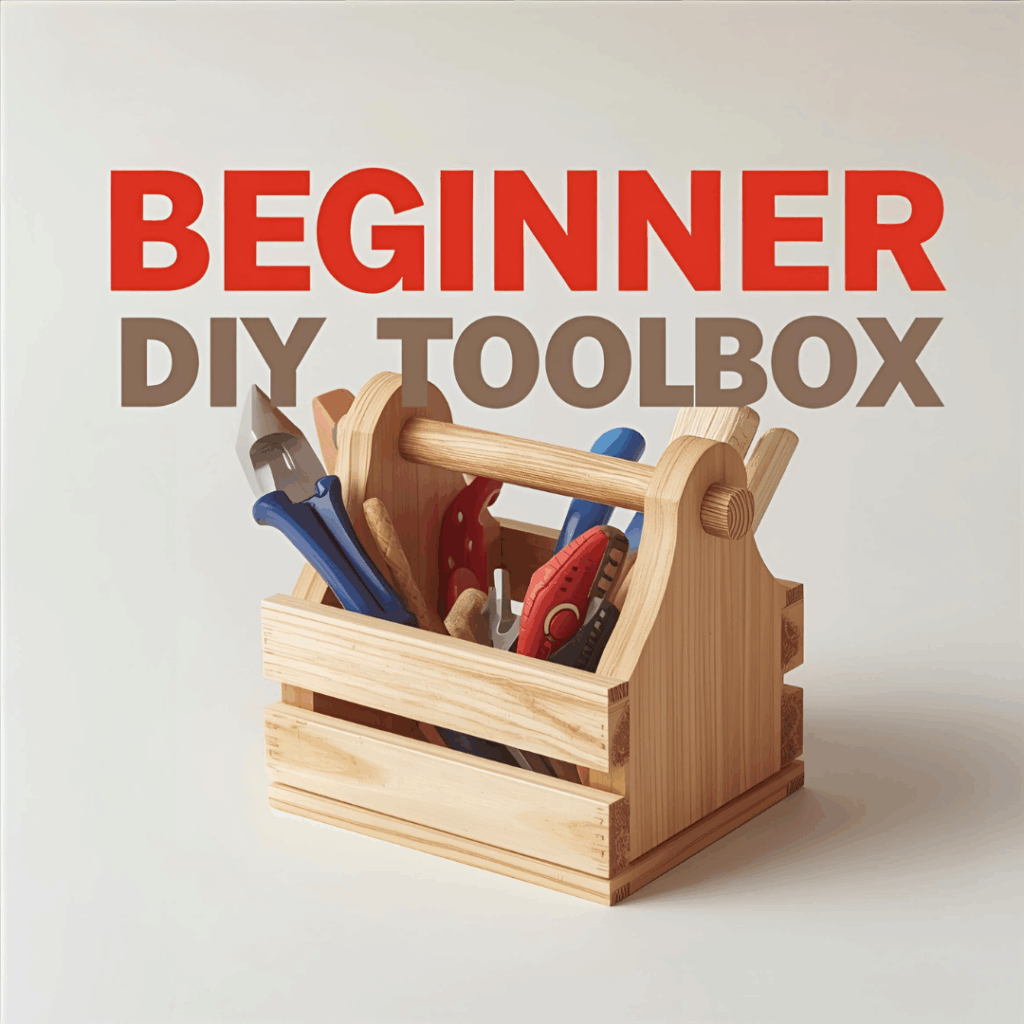
4. Toolbox with a Broom Handle For Beginner Woodworking Projects
If you want to feel like a real woodworker, build a toolbox. Mine was made from scrap pine and an old broom handle, cut to size for the grip.
It’s just a box — four sides, a bottom, and a handle across the top. But it looked legit. I carried it around proudly, even when it was empty. Over time, it became a gardening tote, a paint caddy, and finally, a portable toolbox for minor repairs.
Lesson learned: simple projects teach you more about measuring, cutting, and joinery than complicated ones.
Tools I used:
Miter box (plastic, $10)
Drill and wood glue
Sandpaper
Finishing idea: paint the sides and leave the handle natural. Adds a nice contrast.
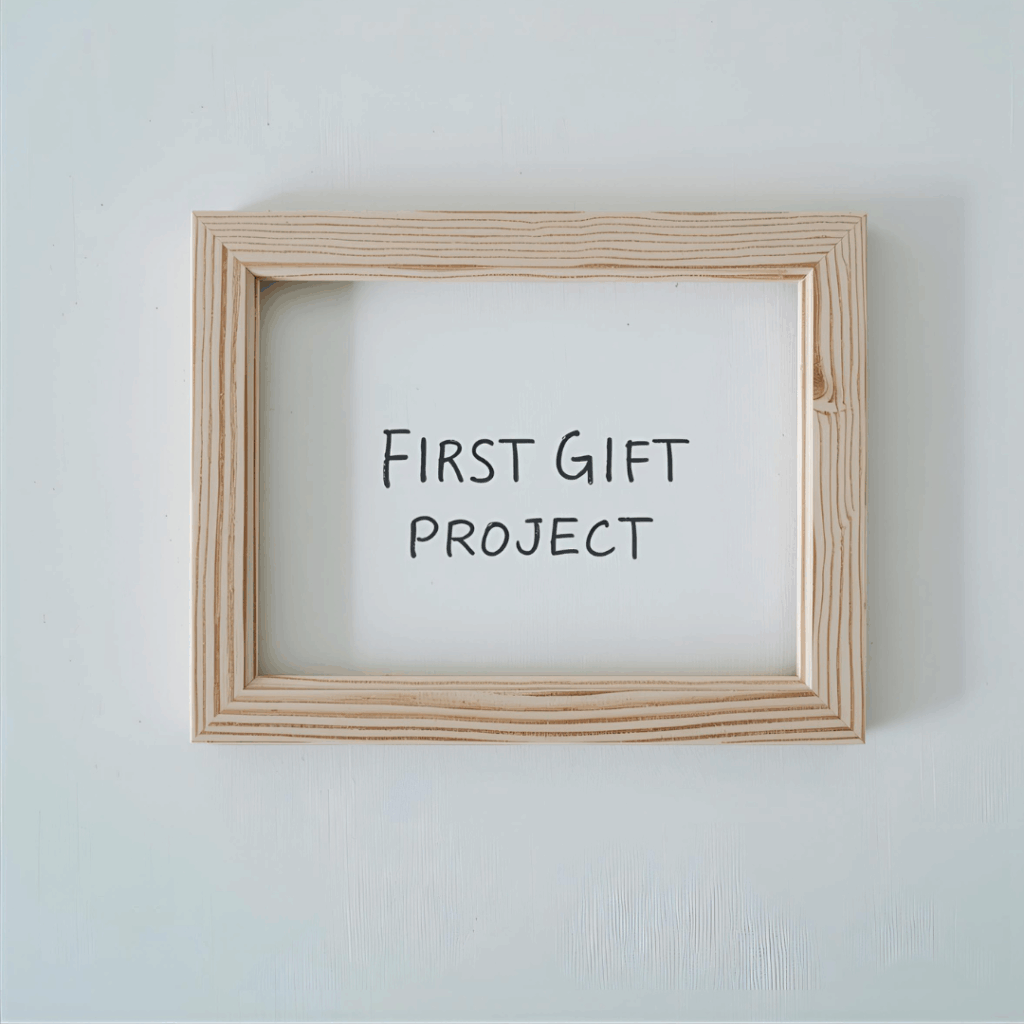
This one still makes me laugh. I wanted to make a handmade gift — a wooden picture frame. I grabbed a cheap plastic miter box, cut 45-degree corners, and glued everything up.
When I clamped it, I realized something: my “rectangle” had five sides. After sanding, I forced it into shape and added a black-and-white photo inside. It was far from perfect — but it was personal. The person I gave it to didn’t notice the crooked edge. They saw the effort.
Lesson learned: Handmade gifts mean more than perfect corners.
Pro tip: buy a small speed square and learn how to check your angles — it saves hours of frustration.
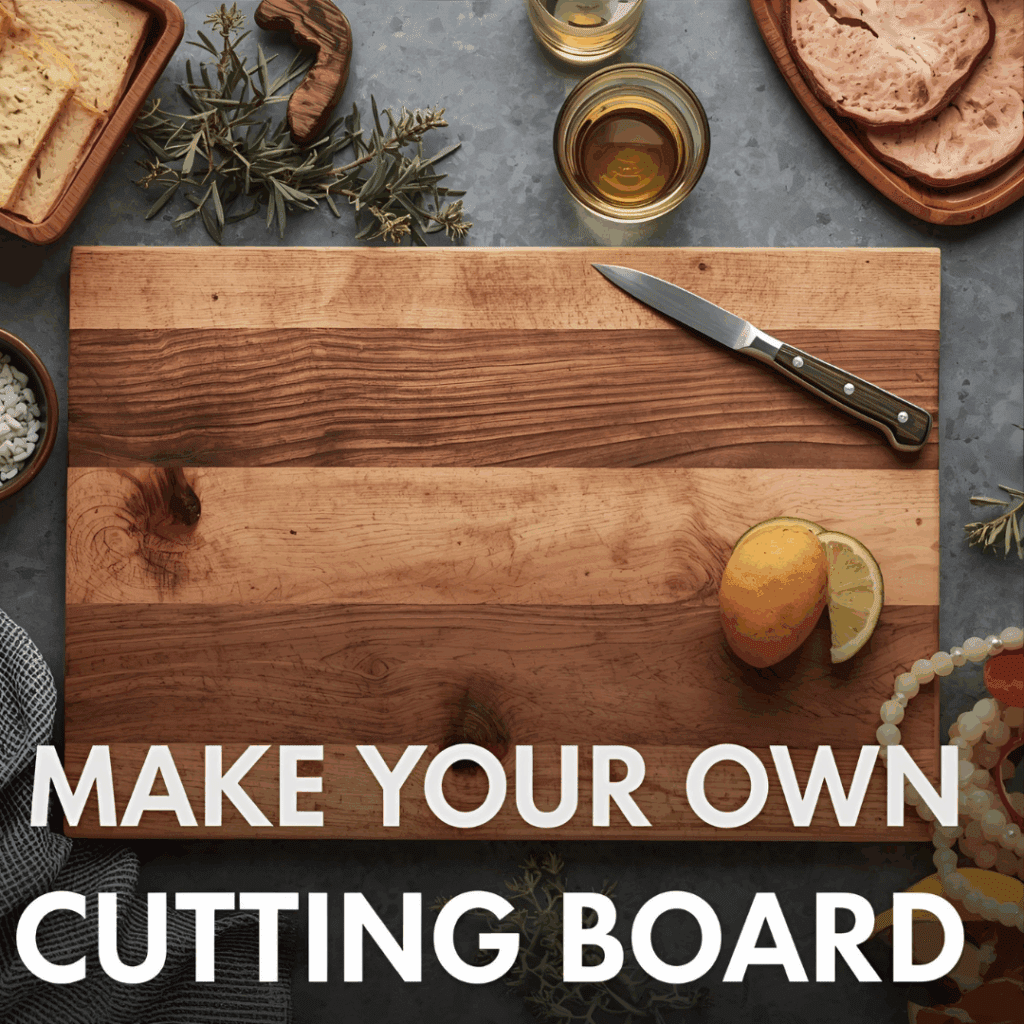
This project was the first time I thought, okay, maybe I can actually do this. I had a pile of short maple scraps left over from building a set of shelves. They were too lovely to toss, and I hate wasting good wood. One afternoon, I lined them up on the bench, brushed off the dust, and started gluing pieces together.
It wasn’t quick. I clamped it up overnight, came back the next morning, and spent what felt like half a day sanding. My hands were numb, the shop smelled like sawdust, and I started wondering if I’d made a mistake. But when the grain finally smoothed out and that maple started to shine, it looked like something you’d see in a store. Heavy, solid, real.
That cutting board has lived in my kitchen ever since. It’s been through who-knows-how-many dinners, covered in scratches, and still going strong. I love that it’s a little uneven. It feels honest.
Lesson learned: the finish changes everything. Sand longer than you think you need to, wipe it clean, and take your time with the oil. That’s what makes a piece last.
Finishing tip: Use a food-safe mineral oil or a good butcher-block conditioner every few weeks. It keeps the wood rich, sealed, and ready for whatever you throw at it.
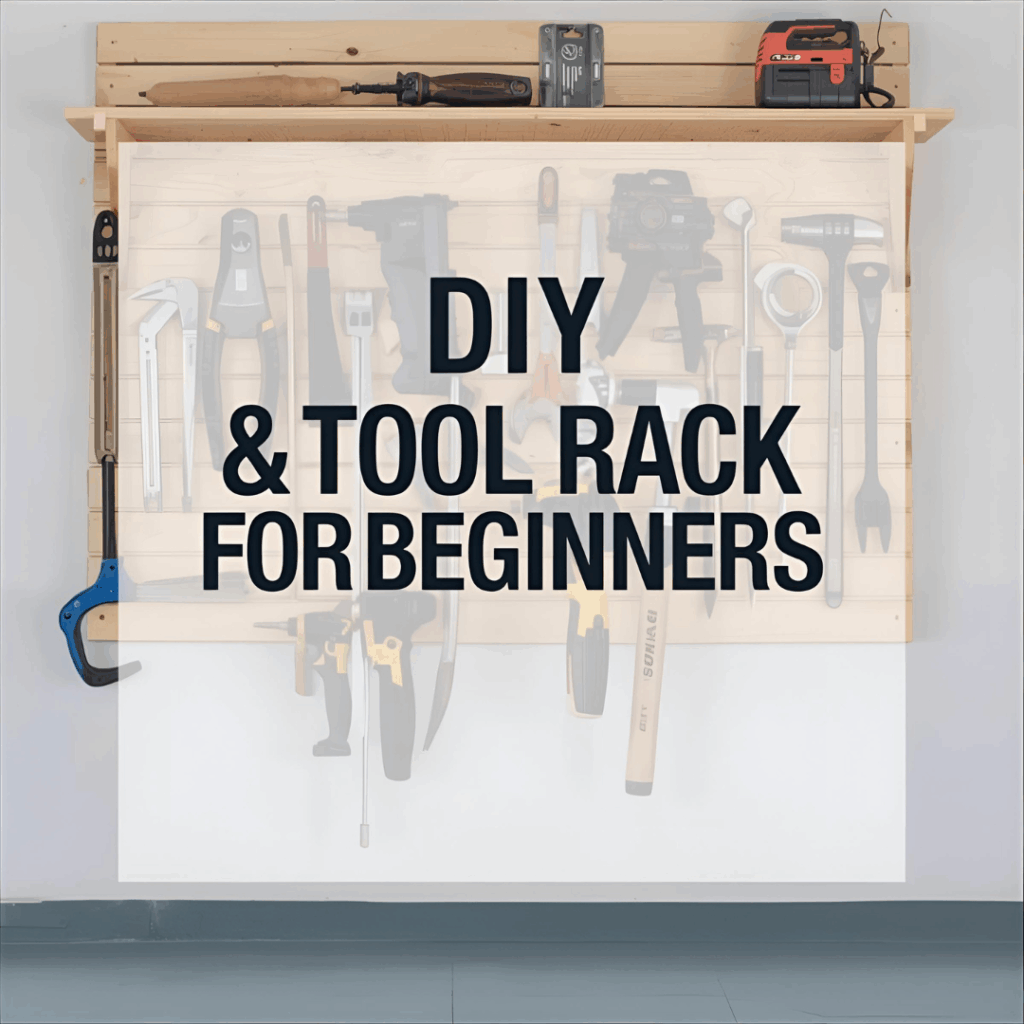
7. The Wall-Mounted Tool Rack That Changed Everything
This one transformed my entire workspace. I was tired of losing my hammer, drill bits, and tape measures, so I grabbed a few 1x4s and screwed them horizontally to my garage studs. Then I added hooks, jars, and a magnetic strip for drill bits.
Suddenly, everything was visible and easy to grab. My tools had a home, and my garage finally felt like a real workshop.
Lesson learned: organization isn’t a luxury — it’s a productivity hack.
I wasn’t even planning to build anything that day. I’d stopped by the hardware store for sandpaper, and out by the dumpster was this old pallet. The wood looked terrible — gray, cracked, nails sticking out everywhere. But I could see the grain under all that grime, and I thought that might clean up nice. So I tossed it into the trunk and drove home.
Tearing it apart took longer than it should’ve. A few boards split. One nail bent and cut my glove. Still, after a while, I had a small pile of usable pieces. I ran the sander over one board to see, and it completely changed — warm brown streaks started showing through. That was it. I knew I had to build something.
I cut a few pieces to size, squared the ends as best I could, and threw together a little table. No plan, no measurements. Just screws, guesswork, and a lot of sanding. When I wiped on the stain, the wood came alive. It turned out way better than I expected — perfect size for a cup of coffee or a potted plant.
That table still sits out on my porch. The top’s a little uneven, but I kind of like that. It reminds me how easy it is to make something out of nothing.
Lesson learned: free wood’s the best kind. A little sanding and patience can turn junk into something you’re proud of.
Pro tip: before you take a pallet home, check the stamp. Look for “HT” — it means heat-treated. Skip anything marked “MB.” That stuff’s been chemically treated. Not worth it.
After those first few builds, I started to notice something. Every project — no matter how rough or simple — taught me something new. I wasn’t just making shelves and cutting boards. I was learning how wood behaves, how tools feel in your hands, and how patience matters more than precision when you’re just starting.
Here’s what each one really gave me:
Project
What It Taught Me
The Tool I Learned To Use
Scrap wood shelf
How to anchor something that’s not quite straight
A basic drill
DIY workbench
How to frame and level a structure that actually stands up
Circular saw
Coat rack
The magic of sanding and a good finish
Hand sander
Toolbox
Simple joinery and fitting pieces that line up
Plastic miter box
Picture frame
Angles, glue, and patience
Clamps
Cutting board
The value of slow sanding and sealing right
Orbital sander
Tool rack
How to organize a workspace that makes sense
Level and stud finder
By the time I finished all seven, I realized woodworking isn’t about talent or fancy tools. It’s about showing up. It’s about trying again when something splits, or sanding one more time when it looks uneven.
You learn a little from every cut, every mistake, every late night in the garage. That’s how it sticks — not from a book, not from a video — but from doing it yourself.
Beginner Woodworking Projects: Where to Start
If you’re new, start small. Pick one project and finish it — even if it’s rough. Here’s what helped me most early on:
Invest in a few quality tools. A decent drill, circular saw, and sander go a long way.
Work safely. Wear safety glasses, use hearing protection, and clamp your wood before cutting.
Use cheap wood. Pine and plywood are forgiving and inexpensive.
Learn to sand well. Most “bad” projects need more sanding and a smoother finish.
Keep your scraps. They’re perfect for practice cuts or small builds.
Seal your work. Polyurethane, linseed oil, or wood conditioner makes projects look professional.
These beginner woodworking projects weren’t perfect. But they were mine. Each mistake became a lesson, and each project gave me more confidence to tackle something bigger.
If you’re sitting there thinking, “I don’t have the right tools,” — build anyway. If you think your cuts aren’t straight, build anyway. Because once you build one thing, you’re not a beginner anymore.
Your first shelf might be crooked. Your first bench might wobble. But those imperfections? They’re proof you started — and that’s what matters.
So grab that scrap wood, dust off that drill, and build something this weekend. You’ll surprise yourself.
👉 📘 Free PDF Download: 7 Beginner Woodworking Projects You Can Build This Weekend
Looking to get started with woodworking, but don’t know where to begin? This printable guide walks you through 7 real beginner woodworking projects—each one tested, imperfect, and built using basic tools and scrap wood.
Inside the PDF, you’ll get:
✅ Step-by-step stories for each project (with lessons learned)
🛠️ Simple builds: shelves, a coat rack, a cutting board, a tool caddy, and more
📸 Realistic project photos to inspire your next weekend project
✍️ Tips for finishing, upgrading, and even gifting your creations
🚪 Perfect for total beginners — no workshop required
Whether you’ve got a tiny garage setup or a few boards and a drill, this guide will help you start building confidently, one project at a time.
Finish Carpentry Trim: 14 Easy DIY Projects by Admin August 1, 2025 DIY Finish carpentry trim is one of the most impactful and affordable DIY upgrades you can make to your home. Whether you’re finishing a newly built…