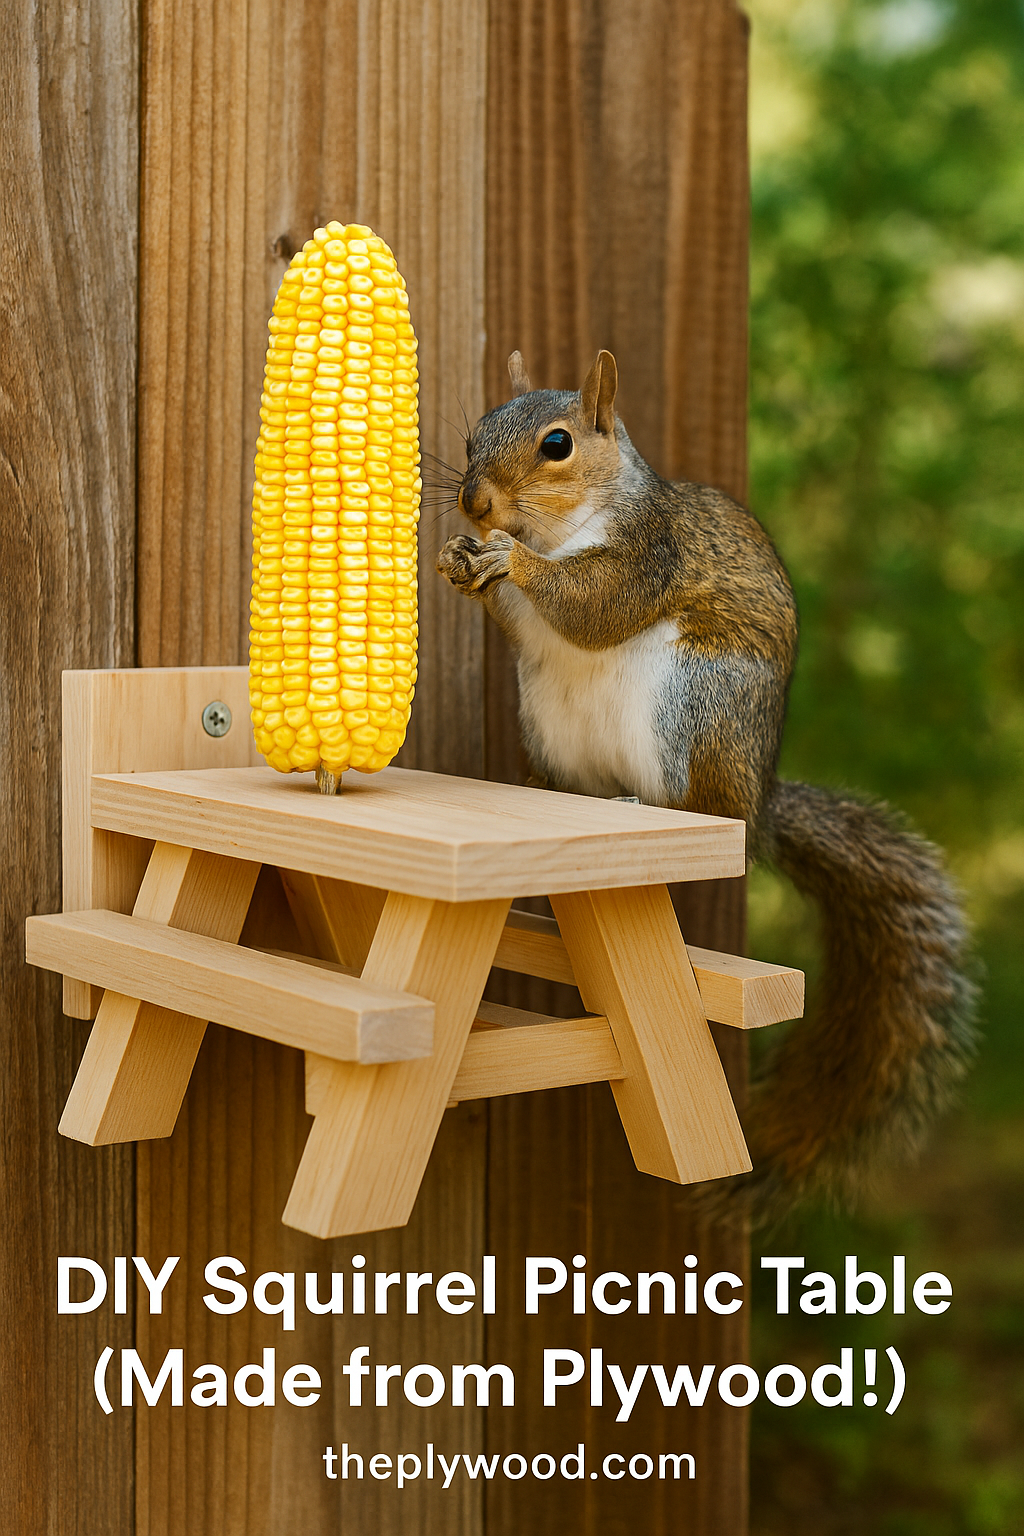
I’ll admit it—when I first saw a squirrel picnic table online, I laughed. It looked like something straight out of a cartoon: a tiny wooden table, a cob of corn in the center, and a squirrel sitting upright like a polite dinner guest.
But after watching one too many videos of squirrels dining in style, I decided to build my own. I grabbed a scrap of plywood from my shop, made a few quick cuts, and before long, had a feeder that brought more wildlife to my backyard than any birdhouse ever did.
If you want to try it yourself, this guide will walk you through how to build a squirrel picnic table from plywood—from choosing the right materials to mounting, sealing, and even photographing your furry visitors.
Why a Plywood Squirrel Picnic Table Works So Well
Using plywood instead of solid lumber makes this project lighter, cheaper, and incredibly quick to build. Even better, it’s one of those “scrap-wood” projects that keeps leftovers out of the waste pile.
5 Reasons to Use Plywood
Affordable: You only need a small section—less than a quarter sheet—for the entire table.
Strong: Exterior-grade plywood easily supports the weight of a squirrel.
Weather-resistant: Grades like BCX or ACX plywood withstand outdoor moisture when properly sealed.
Customizable: Easy to paint, stain, or decorate for different seasons.
Eco-friendly: Reusing offcuts reduces waste and adds charm to your build.
If you’re new to plywood grading, check out our BCX plywood guide to see why it’s ideal for outdoor DIY projects like this one.
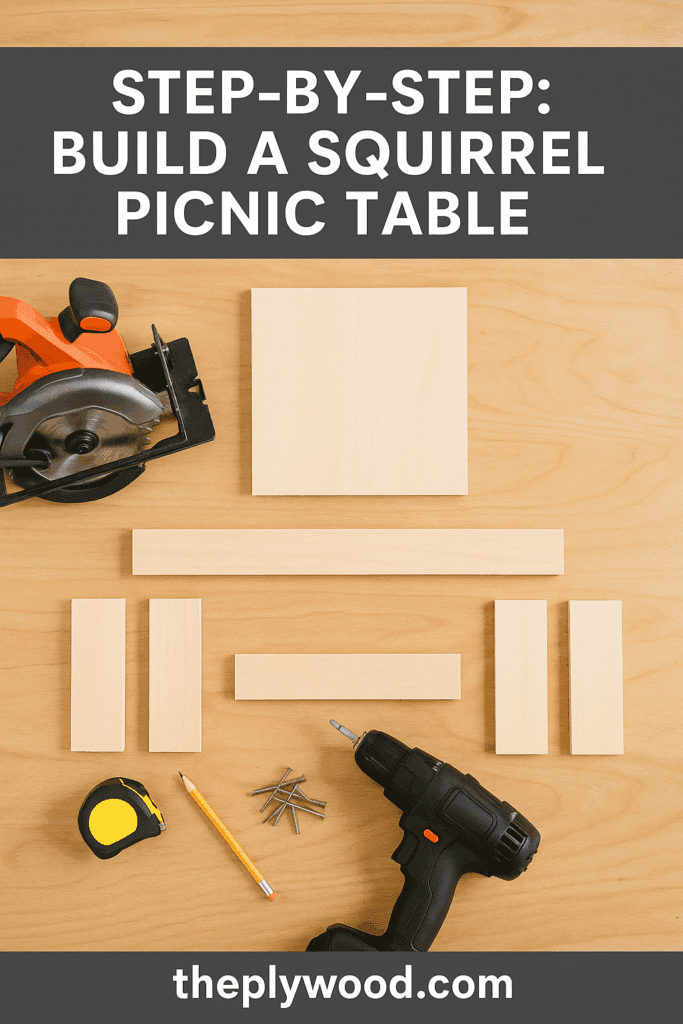
Choosing the Right Plywood Type and Thickness
Not all plywood is created equal, and picking the right one will make your squirrel picnic table last much longer outdoors. For most backyard feeders, ½-inch BCX plywood strikes the perfect balance of weight and strength. It’s made with an exterior-grade adhesive and a smooth “B” face, so your top surface looks finished while still resisting moisture.
If you live in a wetter climate, ACX plywood offers an even cleaner surface and stronger bonding glue—ideal if you plan to paint or stain your table. Avoid CDX or interior plywood, as they’re designed for structural use and will delaminate once exposed to rain.
Sand all edges smooth. If you have a router, lightly round the tabletop and bench corners—it makes the project look finished and helps water run off.
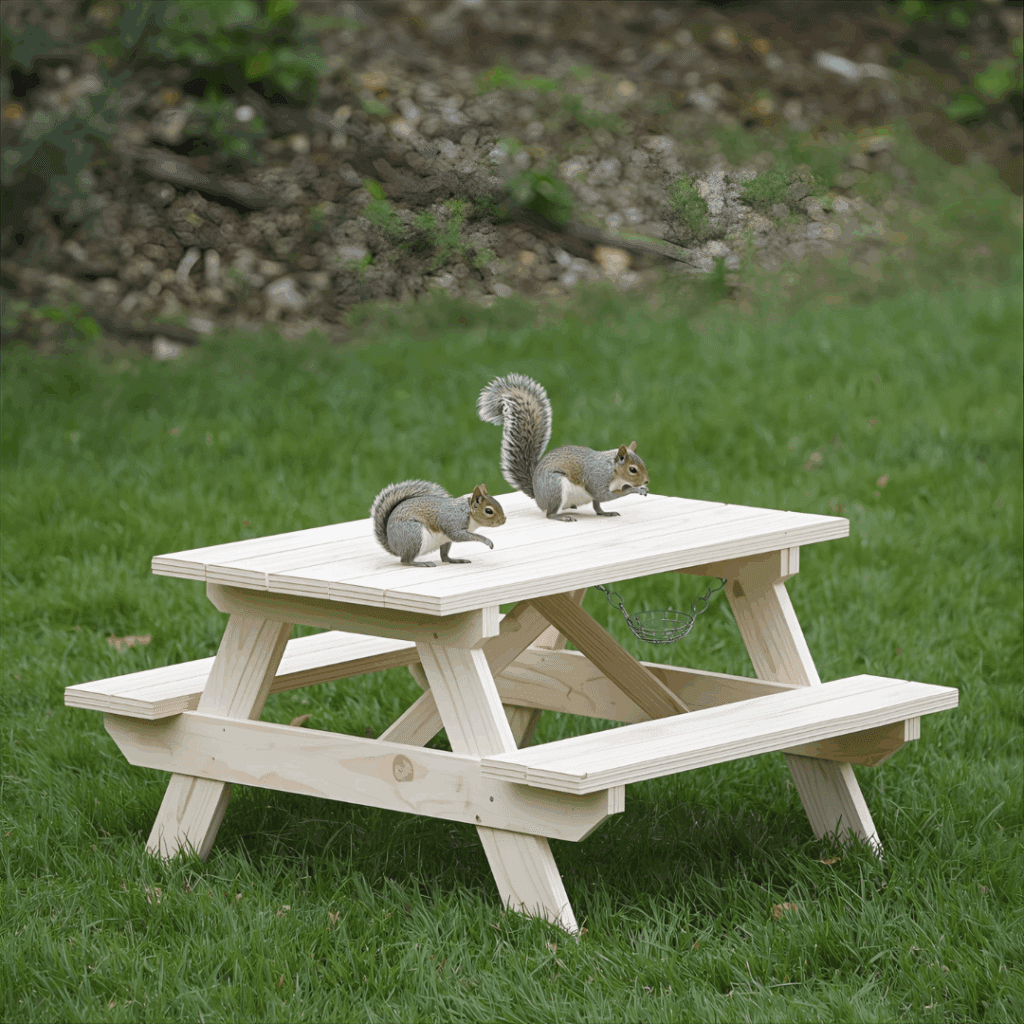
Step 2: Assemble the Base
Lay two legs in an upside-down “V” under one edge of the tabletop and secure them with screws. Do the same on the other side. This forms the basic picnic-table shape—small but sturdy.
Step 3: Add the Bench Supports
Between the legs, attach the two long supports just below the tabletop. These horizontal pieces will later hold the benches. Make sure both sides are even so your benches sit level.
Step 4: Install the Benches
Screw one bench board on top of each support. Use at least two screws per side. The benches should slightly overhang the supports, giving them that classic picnic-table look.
Step 5: Add a Corn Holder or Food Platform
Drill a hole through the center of the tabletop. Push a 3-inch screw or bolt upward through it and secure with a washer and nut underneath. This simple addition holds an ear of corn, apple slices, or even a peanut block.
If you want a cleaner look, recess the nut into the wood with a Forstner bit.
Step 6: Sand and Seal
Give everything a final sanding with 220-grit paper. Then apply two coats of outdoor polyurethane, letting each coat dry thoroughly before applying the next.
Sealing matters—a single rainstorm can delaminate cheap plywood if it’s not protected.
Step 7: Mount and Feed
Screw the finished table to a tree, fence, or deck railing about 4–6 feet off the ground. You can also mount it to a wooden post with lag screws for a freestanding version.
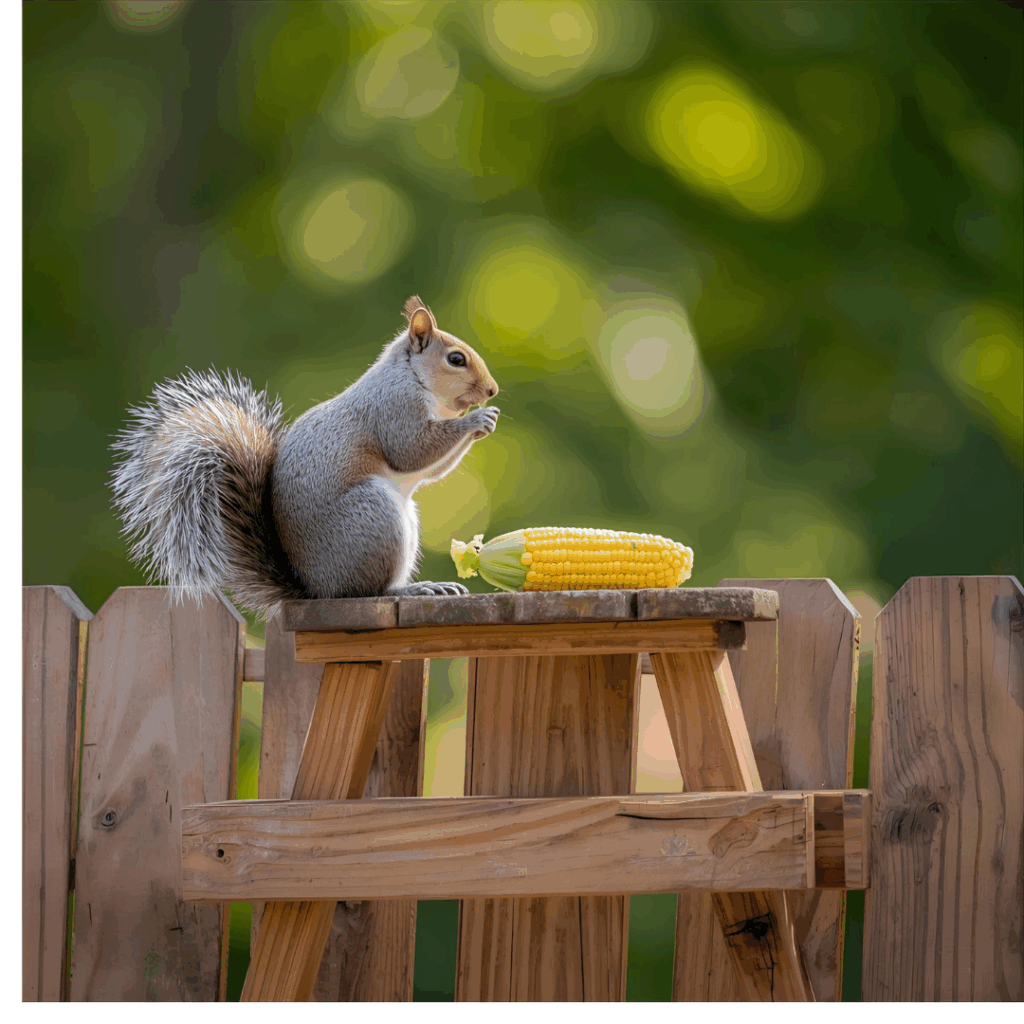
Load up the center post with a cob of corn or a pile of nuts, and then sit back. Within a day or two, you’ll have local visitors happily dining at your handmade table.
Testing Fit and Stability Before Mounting
Before you commit your new table to the tree or fence, it’s worth doing a quick stability test. Set the picnic table on a flat surface and press lightly on each corner—if it rocks, loosen the screws slightly, square the legs, and retighten. Outdoor wood sometimes shifts as screws bite into it, so a few adjustments now will prevent wobbling later.
Also, double-check your mounting location. You’ll need a solid surface that can support 2–3 lbs of weight, plus the movement of feeding squirrels. For fences or deck rails, pre-drill holes to prevent splitting. For tree mounting, use coated screws to reduce sap corrosion.
Once secured, tug gently on the table. It should feel rigid and secure—if it flexes, add a small cross brace underneath. These few extra minutes of testing ensure your feeder stays upright even in wind or heavy rain.
Decorating & Customizing Your Table
Half the fun of this project is making it uniquely yours. Try these ideas to give your table extra personality:
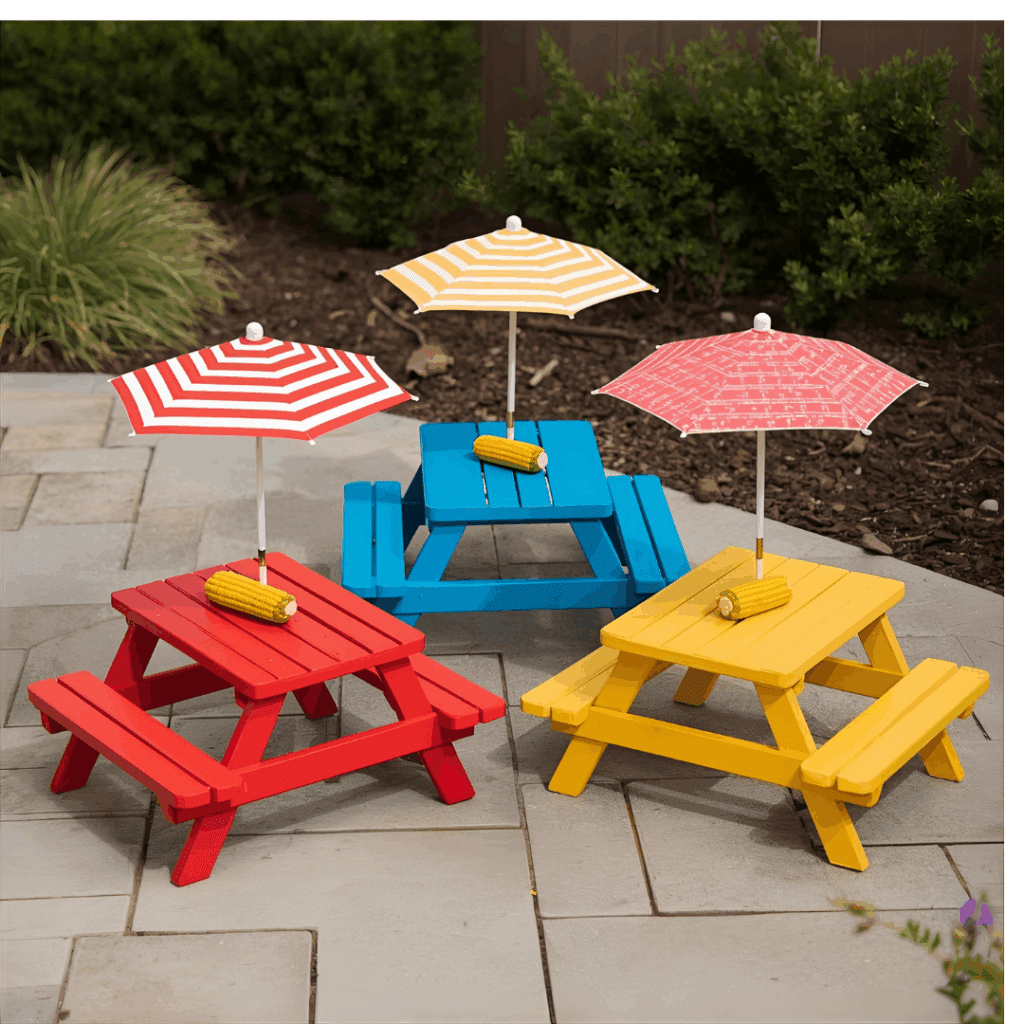
Paint it bright red or blue for easy photo ops.
Add a tiny umbrella or mini awning for shade.
Stencil or wood-burn a nameplate (“Squirrel Diner,” “Nutty Café,” etc.).
Use two bolts for a “twin table” setup if you have multiple squirrels.
Attach a mini dish or feeder bowl to hold seeds or fruit.
Squirrels aren’t picky, but some snacks are healthier than others.
🥜 Great Choices
Dried corn cobs
Unsalted peanuts or walnuts
Sunflower seeds
Pumpkin seeds
Small chunks of apple or carrot
🚫 Avoid
Salted or flavored nuts
Bread or crackers
Sugary snacks or cereal
Moldy food
Natural foods mimic what squirrels eat in the wild and keep their teeth and digestion healthy.
Placement Tips for Safety and Fun
Location can make or break how often squirrels use your feeder.
Height: 4–6 feet off the ground keeps squirrels safe from cats and dogs.
Visibility: Mount where you can see it from a window or porch.
Access: A tree trunk or a branch provides a straightforward approach.
Avoid: Right next to bird feeders—squirrels tend to hog the buffet!
If you’re adding multiple tables, stagger them in shaded spots so several squirrels can eat peacefully.
Maintenance and Longevity
Routine Care
Refill food every few days.
Wipe the surface weekly with a damp cloth to prevent mold.
Re-seal yearly if plywood starts to dull or gray.
Seasonal Tips
Summer: Provide shade or use lighter paint colors.
Fall: Great time to stock up on nuts as squirrels prepare for winter.
Winter: If freezing rain is common, move the table under partial cover.
Proper care can help your plywood table last 2–3 years outdoors—sometimes longer with marine-grade sealer.
Finishing Touches and Upkeep
After a few weeks outdoors, your table will start to develop a natural patina—some woodworkers love that weathered look, but you can easily refresh it with a quick sand and reseal every spring. Lightly scuff the surface with 220-grit paper, wipe off dust, and apply one coat of polyurethane or spar urethane.
To keep your table looking fresh through winter, bring it indoors during extreme cold or storms, or cover it with a small plastic bin when not in use. You can also rotate between two tables—one outdoors and one drying after cleaning—so your backyard stays active year-round.
If you want to get creative, use seasonal colors: bright yellow for summer, burnt orange for fall, or even a festive green during the holidays. A quick paint refresh — once or twice a year — keeps your feeder eye-catching and well-protected from the elements.
Expand Your DIY Skills with More Plywood Projects
If you enjoy building this squirrel picnic table, you’ll probably want to explore more ways to make your outdoor projects last longer and look better. Next, learn how to keep your wood protected through rain and humidity with How to Waterproof Plywood for Outdoor Projects, and check out Best Sealers and Finishes for Outdoor Woodto choose the right clear coat for long-term durability.
Common Mistakes to Avoid
Even a small project has its pitfalls. Here are a few lessons from experience:
Skipping the sealant: Raw plywood will swell and peel fast.
Mounting too low: Ground predators can make squirrels nervous.
Overfeeding: Attracts raccoons or pests.
Using particleboard: It won’t last even one season.
Forgetting drainage: A tiny hole or sloped top prevents water pooling.
Simple fixes, big difference.
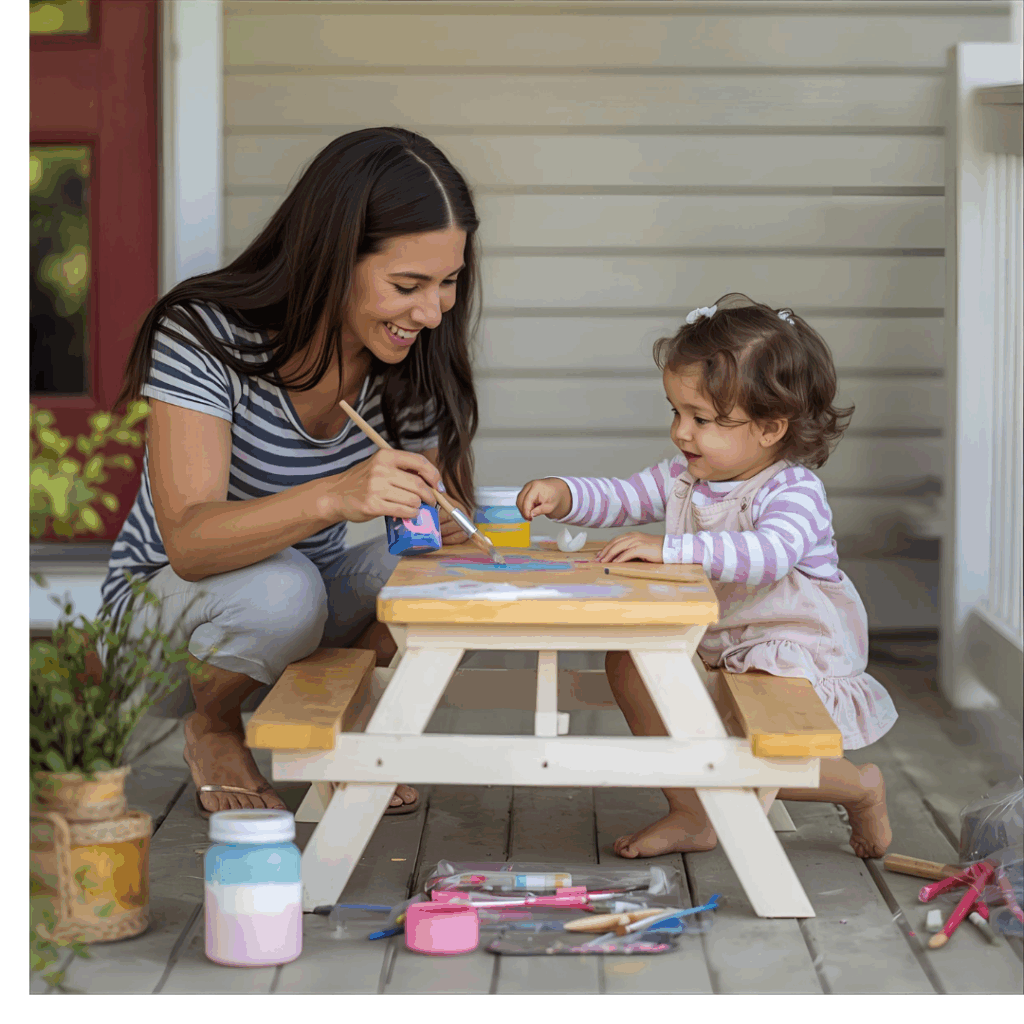
Turning It into a Family Project
Kids love this build because it’s small, safe, and rewarding. Have them:
Help sand and paint.
Name each visiting squirrel.
Track daily visitors in a backyard wildlife journal.
It’s a creative way to teach woodworking basics and environmental awareness simultaneously.
The Aesthetic Factor: Backyard Charm Meets Function
A squirrel picnic table adds personality to your outdoor space. Set against trees or a garden fence, it becomes a talking point—visitors will notice it before anything else.
Plus, the combination of natural wood tones, miniature furniture design, and wildlife movement makes it perfect for photography or Pinterest content.
Building a squirrel picnic table might seem like a small project—but it brings out everything great about woodworking: creativity, precision, and connection with nature.
From a simple scrap of BCX plywood, you create something that lasts for years, brings joy to your yard, and teaches you about both craftsmanship and wildlife behavior.
And when that first squirrel hops up, sits down, and starts eating at your handmade table, you’ll understand why these projects have become such a phenomenon. It’s more than a feeder—it’s a reminder that the smallest builds often bring the biggest smiles.
So grab a saw, a piece of plywood, and an ear of corn. In less than an afternoon, you’ll have your very own backyard café—for the most entertaining guests you’ll ever host.
How to Build a Plywood Canoe (Step-by-Step Guide) by Admin January 18, 2026 DIY When most people think about a canoe, they picture something old. Not outdated—just established. A shape that’s been around forever and somehow still works exactly…


")

")
")