🛠️ How to Set Up a Woodshop at Home (Complete DIY Guide)
Woodworking has a way of bringing you back to your roots. There’s something about shaping raw wood with your own hands—measuring, cutting, sanding—that feels ancient, yet timeless. For many, a home woodshop becomes more than just a workspace; it’s a place of focus, creativity, and satisfaction. Whether you’re building heirloom furniture, tinkering on the weekends, or finally tackling that list of DIY projects, one thing’s for sure—you need a proper space to do it right.
This guide walks you step-by-step through setting up your woodshop at home. From essential tools and safety gear to layout tips, storage hacks, and Amazon picks, you’ll learn how to create a space that works for your projects, your budget, and your home.
📍 Step 1: Choose the Right Space for Your Workshop
🔍 Budgeting for Your First Woodshop
Don’t let the idea of expensive tools keep you from starting. A great woodshop can be built in stages, and often under $500 for the basics. Start with a few key tools and slowly upgrade as your skills grow. You don’t need everything on day one.
Check local classifieds, estate sales, and online marketplaces like Facebook or Craigslist for budget tools. You can often score high-quality gear for half the price if you’re patient and willing to do a little cleanup.
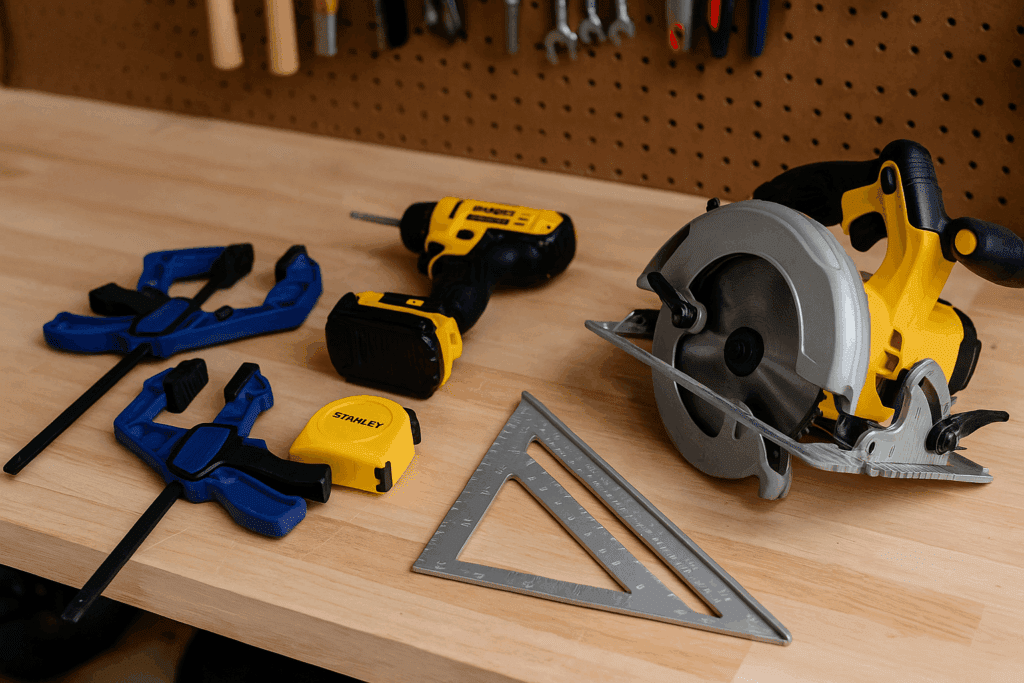
When choosing what to buy first, prioritize versatility. A power drill, circular saw, clamps, and a good measuring tape can carry you through dozens of beginner projects. Specialized tools like routers or biscuit joiners can wait until you need them.
If money is tight, you can also build your own bench, storage, or tool racks using scrap wood. That not only saves cash, it also builds your skills from the ground up.
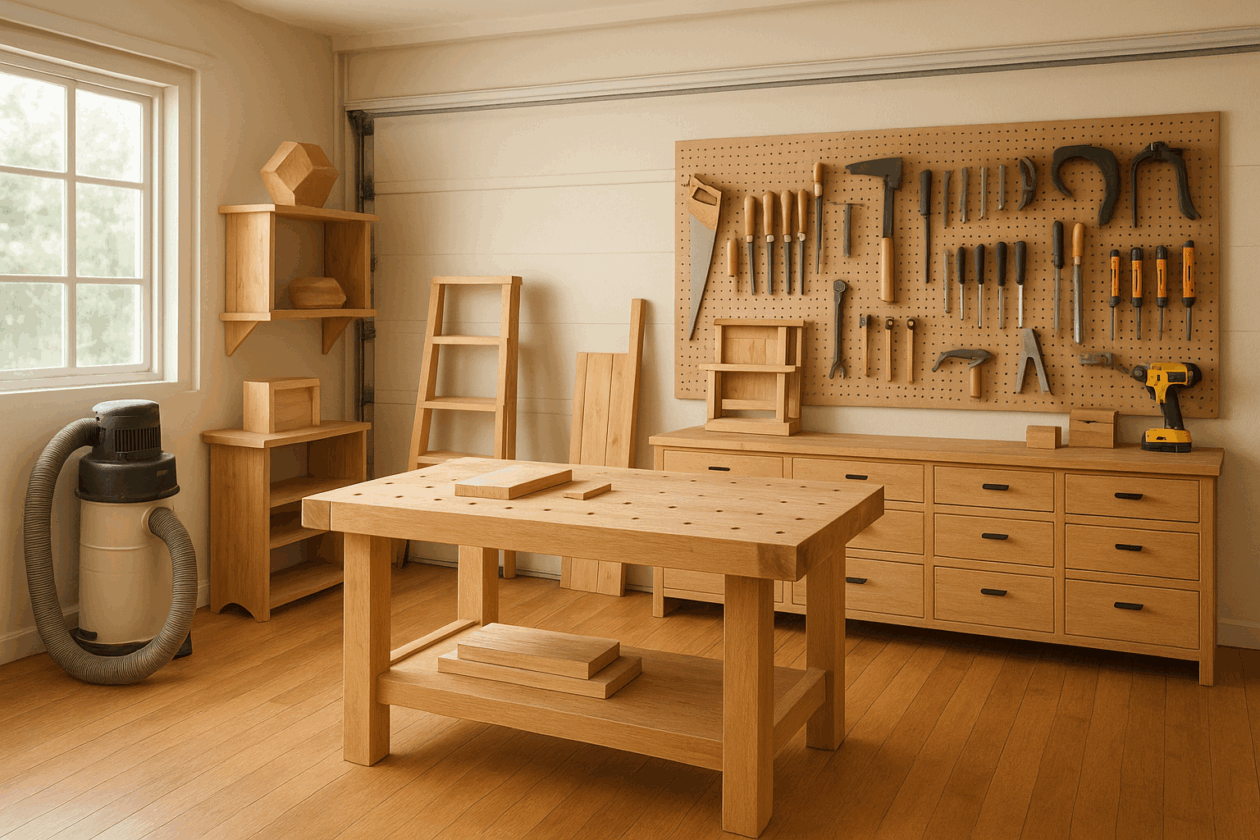
You don’t need a three-car garage to start woodworking. Some of the best home woodshops are tucked into tight corners, basements, or even spare bedrooms. The key is to dedicate space where tools can stay out and projects don’t need to be cleaned up daily.
Best Workshop Spaces at Home:
Garage: Easy to ventilate, large enough for stationary tools.
Basement: Quiet and temperature-stable, but check for moisture.
Outdoor Shed: Offers separation from the house, perfect for messier projects.
Apartment Setup: Use folding benches and collapsible sawhorses for flexibility.
Pro tip: You only need about 100 square feet to get started.
🧰 Step 2: Must-Have Tools to Get Started
Here’s a list of essential tools to help you tackle 90% of beginner projects:
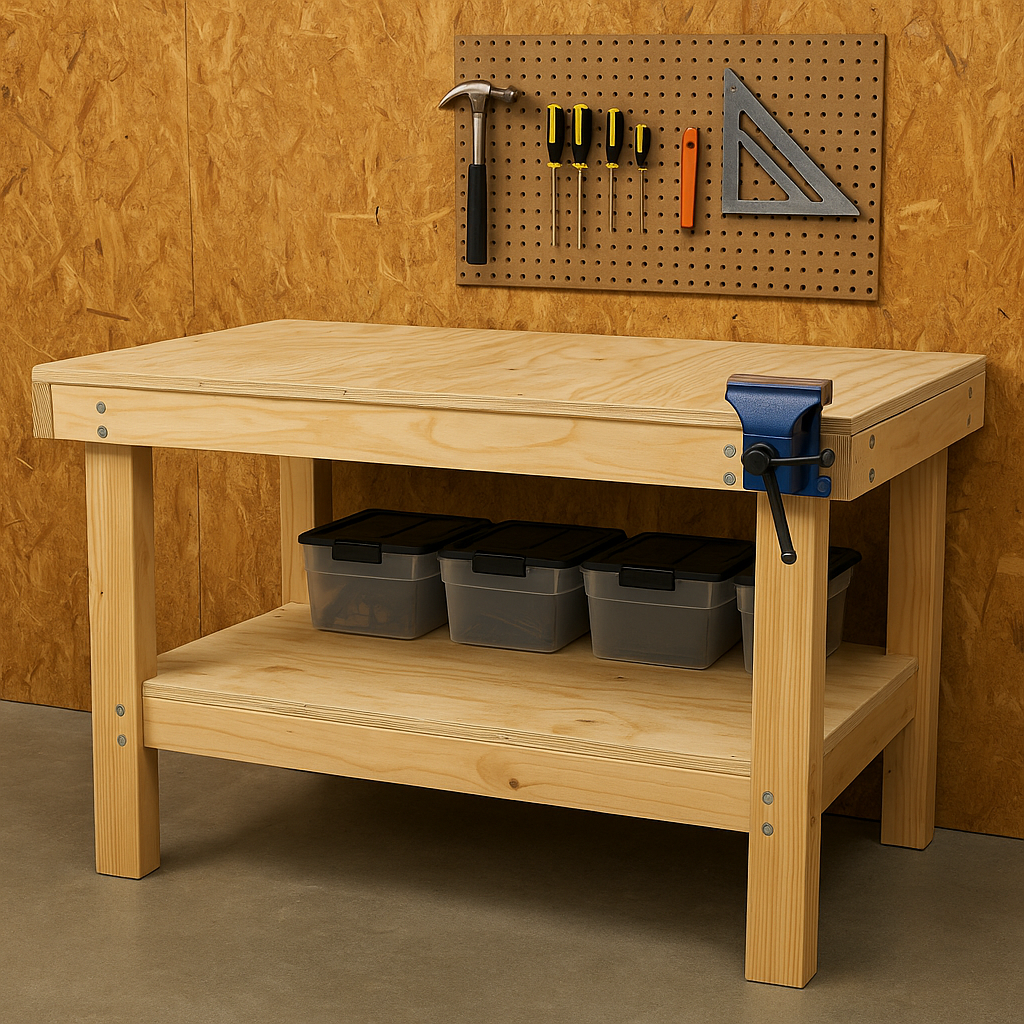
This is your main station. Your workbench should be sturdy enough for hammering, big enough to assemble full-size projects, and accessible on three sides. Consider building your own from 2x4s and plywood if you’re on a budget.
💡 Step 4: Lighting, Power, and Ventilation
Bad lighting can ruin a good project. Aim for 5000K daylight-balanced LEDs and use clamp lights near your workbench for close-up detail.
Power Tips:
Install GFCI outlets
Use a dedicated 20-amp breaker for stationary tools
Run cords through cord channels to avoid tripping hazards
Ventilation:
At minimum: window + box fan
Better: install a portable dust collection system
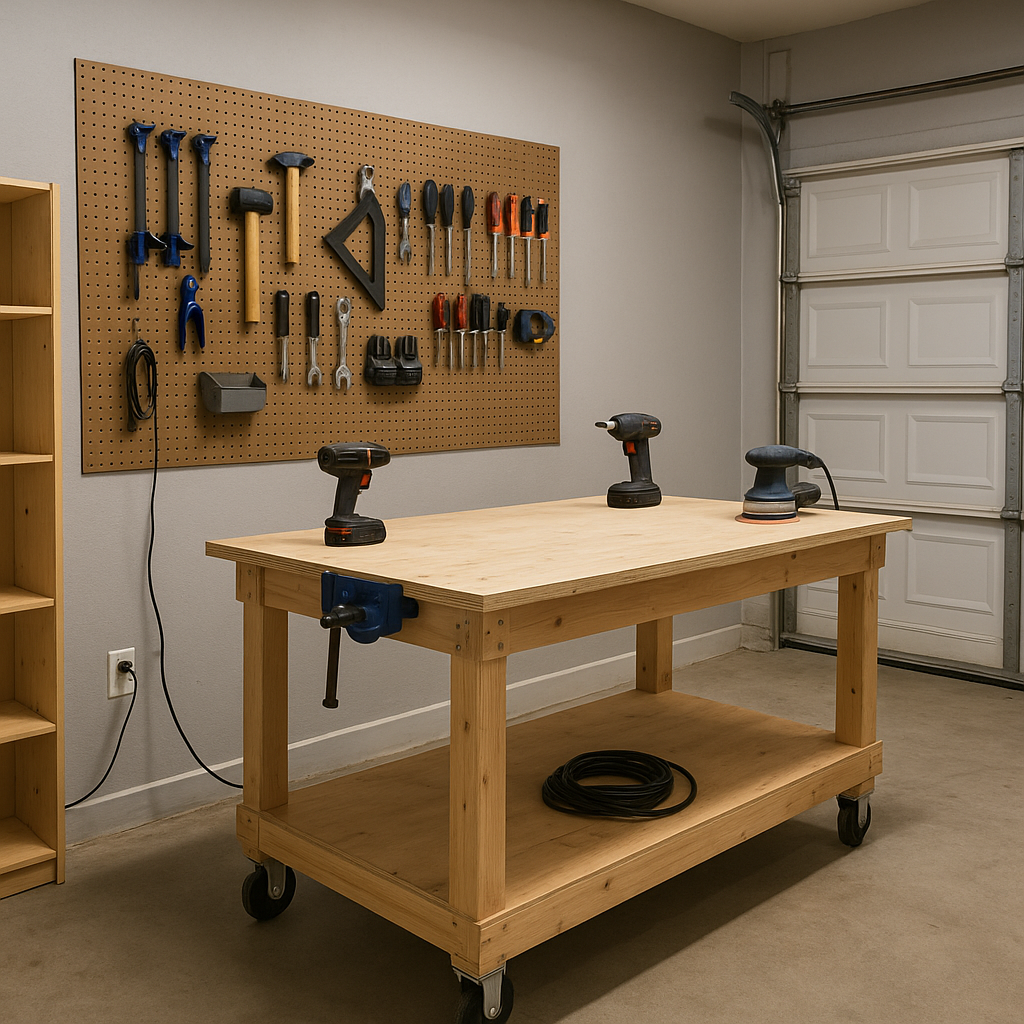
📦 Step 5: Smart Storage Solutions
Organize by function:
Hand tools on pegboards
Power tools on rolling carts
Sandpaper and glue in clear drawers
Screws/nails in labeled containers
DIY Storage Upgrade: Make a clamp rack from 2×4 and wall brackets. Build a drill charging station from scrap plywood. Use magnetic knife strips to hold chisels or screwdrivers—cheap and space-saving.
🗃️ Seasonal Woodshop Storage Tips
If your shop is in a garage or outdoor shed, keep in mind how the seasons will affect your tools and materials. Temperature swings and moisture can warp wood and damage electronics.
For lumber storage, use wall-mounted racks with open spaces for airflow. This prevents cupping and keeps boards off the ground, where they might absorb moisture. For smaller items like glue, stain, and finish, keep them in a temperature-controlled area—extreme cold or heat can ruin them.
Before winter, apply paste wax or a light coat of mineral oil to hand tools and saw surfaces to prevent rust. Unplug and coil power cords to avoid cold cracking, and store batteries inside the house if the temperature drops below 40°F.
If you don’t have a dust collection system yet, cover your tools with old bed sheets or plastic sheeting. It’ll save you a deep clean when spring rolls around.
🧯 Step 6: Safety Gear Essentials
Protect yourself before you touch the first board.
Not sure where to begin? These easy starter projects will help you gain confidence while building useful things for your shop.
A simple wall-mounted drill charging station helps you stay organized and gets your tools off the bench. If you want to practice basic joinery, try making a handled tool tote—it’s a great way to use up scrap wood and learn how pieces fit together.
Cutting boards are also an ideal first project. Use hardwood scraps, practice glue-ups, and perfect your sanding technique. When you’re ready to level up, add extras to your workbench like a vise, clamp rails, or even fold-out wings for longer boards.
All of these are budget-friendly, functional, and rewarding. They also make great gifts or starter products if you ever want to sell your work.
⚠️ Common Mistakes to Avoid
Buying every tool at once
Ignoring dust collection
Cluttering your workbench
Skipping safety gear
Overloading power circuits
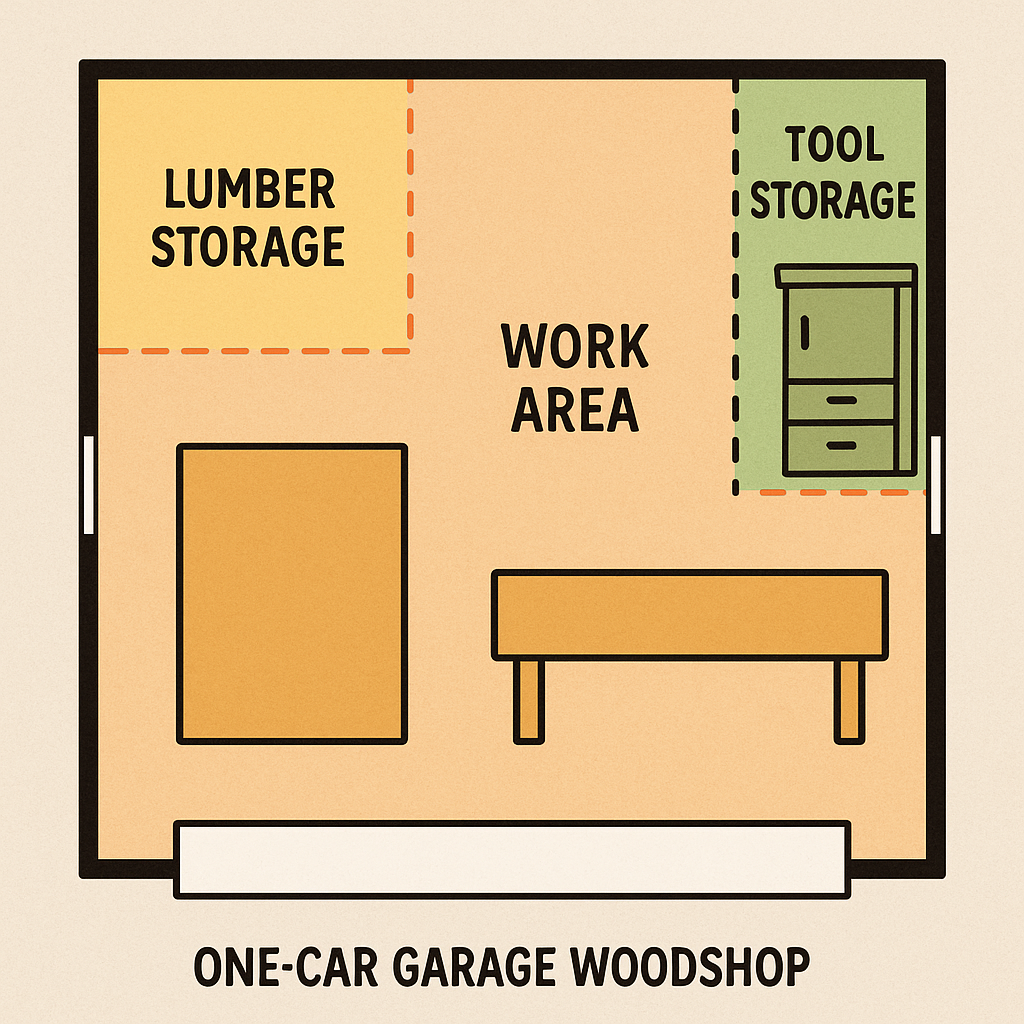
📐 One-Car Garage Woodshop Layout
Suggested layout:
Wall 1: Miter station, charger area
Center: Workbench on wheels
Wall 2: Wood and clamp storage
Corner: Dust collection + bins
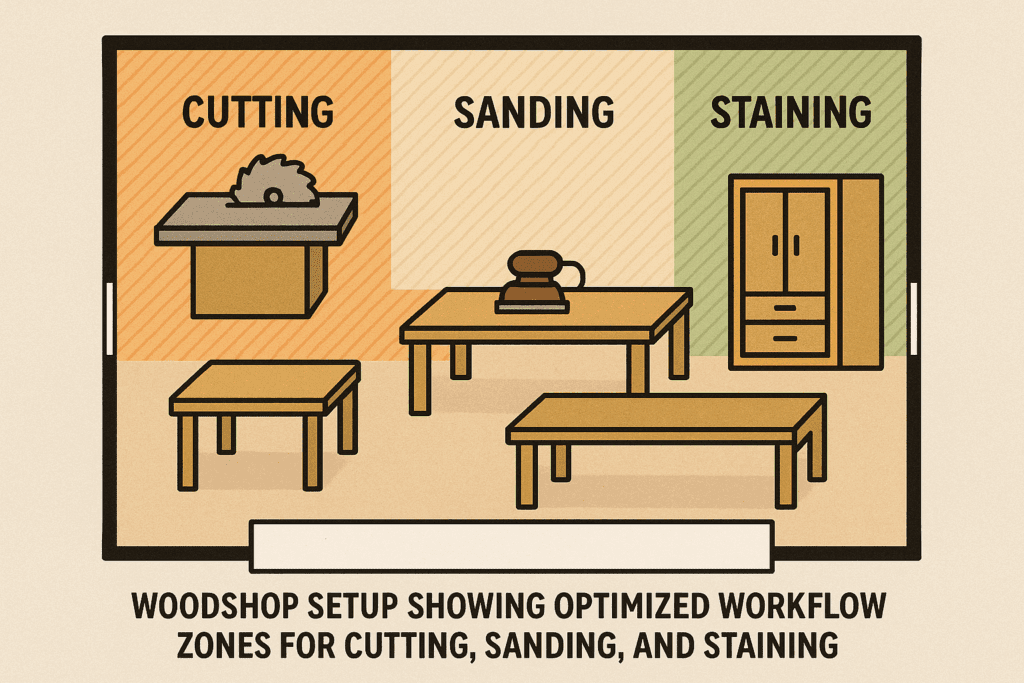
🧭 Designing a Workflow That Works
Workflow is the silent MVP of a woodshop. When you can move naturally from cut to assembly to finishing, everything gets easier.
Start by planning your zones:
Cutting: Near the lumber rack and saws
Assembly: Center table with clamps
Finishing: Well-lit spot with shelves for drying
Use carts for mobility. Put your most-used tools within arm’s reach. And remember: don’t block yourself into a corner when a project is clamped up!
🧹 Keeping Your Shop Family-Friendly
Running a woodshop at home means balancing your passion with household safety, especially if you have kids or pets. There are simple ways to keep your setup safe while still making room for creativity.
Use a baby gate or curtain to visually mark the boundary of your work area. Even a corner of the garage becomes safer when it’s sectioned off. Store sharp tools and chemicals out of reach on wall-mounted racks or inside lockable cabinets.
Unplug all power tools when you’re done for the day. It only takes a second, but it’s a habit that prevents accidents. Recharge batteries overnight in a safe location, and label everything to avoid confusion.
If your kids are curious, invite them into the shop under supervision. Let them help sand or sort screws. It’s a fantastic bonding opportunity—and a chance to share the joy of building something with your hands.
Your woodshop doesn’t have to be huge or expensive—it must be yours. Start with what you have. Build what you need. And improve with every project.
Even a corner of a garage can become a creative sanctuary if it’s well-planned and well-loved. So grab your tape measure, plug in that sander, and start building.


")
