Finish carpentry trim is one of the most impactful and affordable DIY upgrades you can make to your home. Whether you’re finishing a newly built room or giving an older space a polished makeover, trim adds character, value, and a custom feel that plain drywall can’t match.
From elegant crown molding to modern board and batten walls, there’s a trim project for every style and skill level.
In this guide, I’ll share 14 finish carpentry trim ideas you can DIY, complete with step-by-step tips, material recommendations, and design inspiration to help your home look like a professionally styled home.
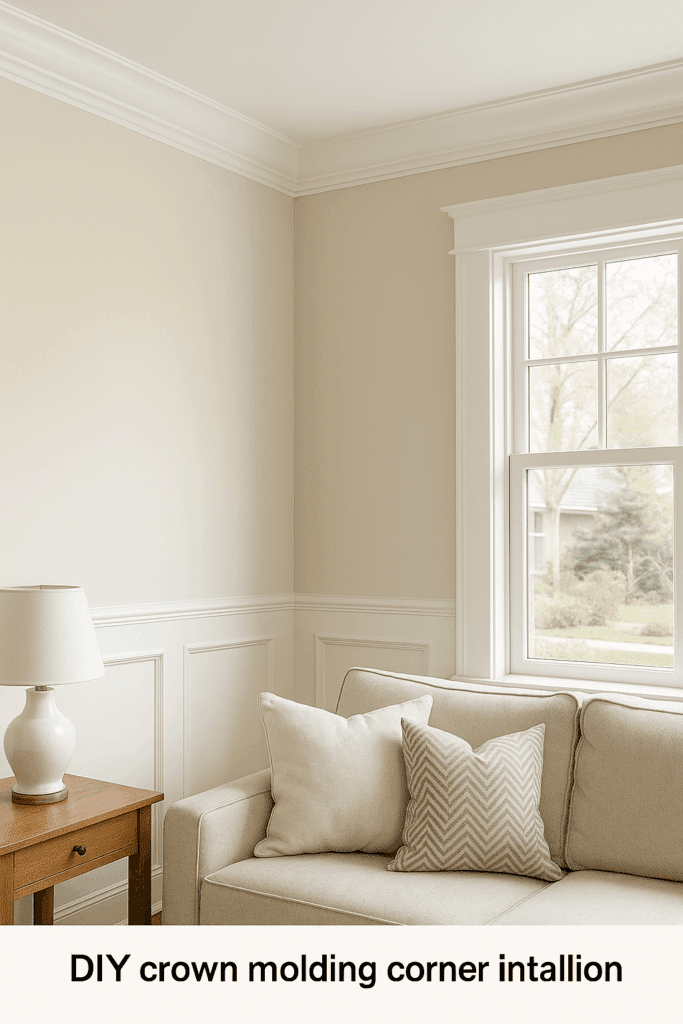
1. How to Install Crown Molding for Finish Carpentry Trim
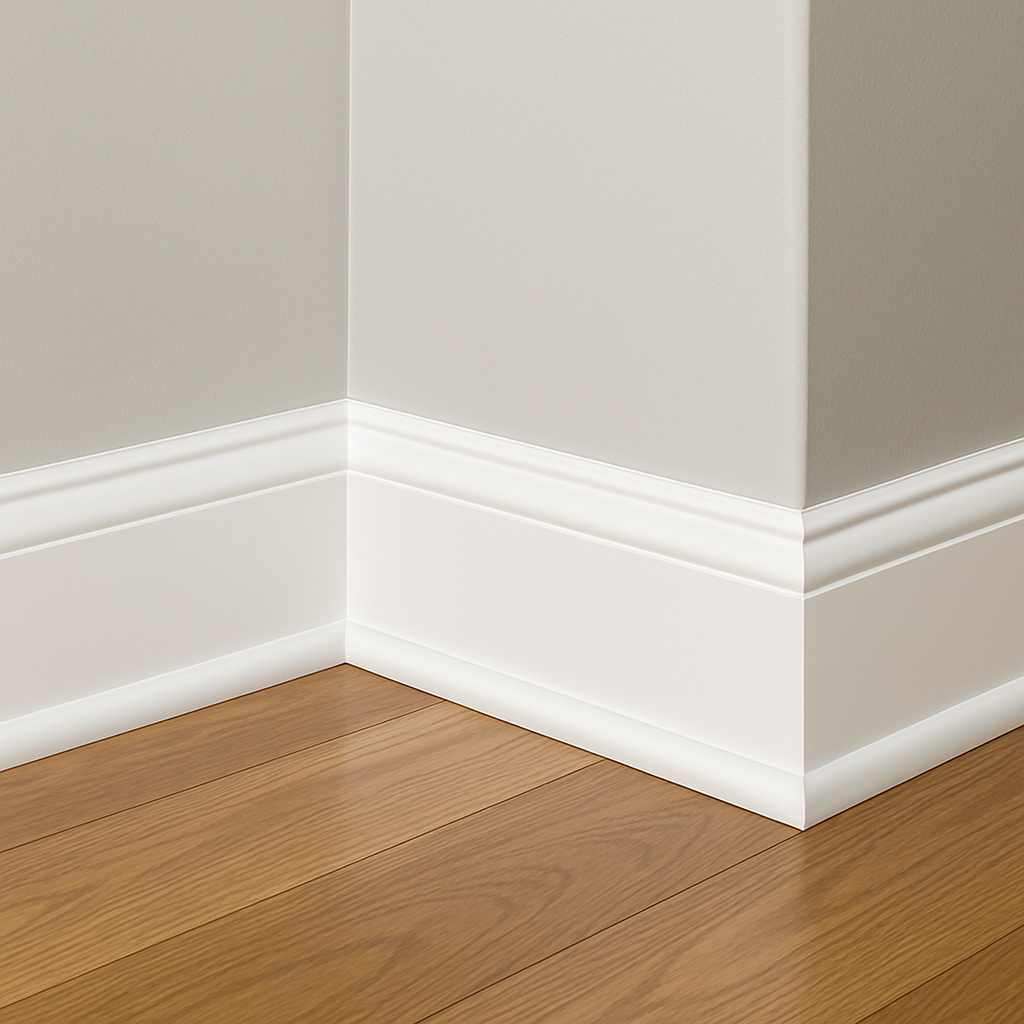
Crown molding is a timeless trim detail that instantly elevates any room by creating a smooth, elegant transition between the wall and ceiling.
Why It Works:
Adds height and visual interest to rooms.
Covers small gaps where walls and ceilings meet.
Complements traditional and modern interiors alike.
DIY Steps:
Measure and mark the room’s perimeter for your molding placement.
Cut 45° angles on each piece using a miter saw.
Cope inside corners with a coping saw for a seamless fit.
Attach using finish nails or a brad nailer.
Caulk, fill nail holes, and paint for a perfect finish.
Pro Tip: Pre-paint molding before installation to avoid ceiling touch-ups.
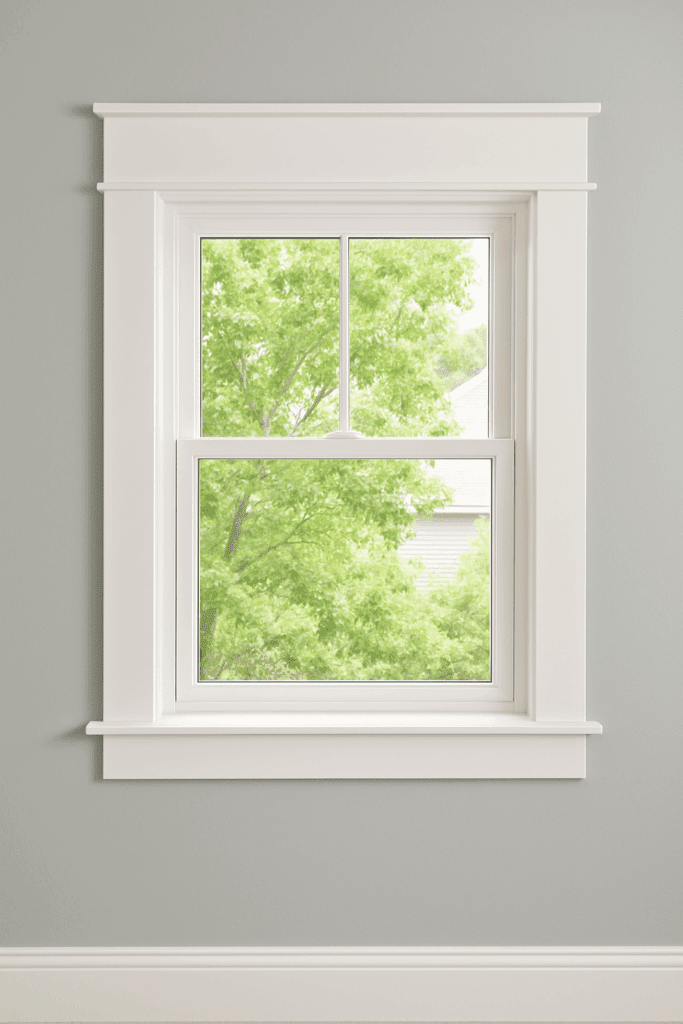
2. Upgrade to Craftsman-Style Window and Door Trim
If your home has builder-grade trim, upgrading to Craftsman-style window and door casings can dramatically improve its look. This style features flat, squared-off boards with simple lines that work in nearly every home.
DIY Steps:
Remove existing trim and clean the edges of the wall.
Install side casings first, ensuring level and flush alignment.
Add a top header that slightly overhangs each side.
Finish with a bottom apron or sill for balance.
Style Tip: Paint window and door trim in bright white or a contrasting tone to make it stand out against the wall color.
3. Board and Batten Walls: A Popular Finish Carpentry Trim Upgrade
Board and batten walls add dimension and depth, perfect for bedrooms, entryways, or dining rooms.
DIY Steps:
Mark vertical batten spacing, usually 12–16 inches apart.
Install horizontal boards first at the top and bottom.
Nail vertical battens over the wall or a thin plywood backing for a flush finish.
Fill gaps, caulk seams, and paint the entire wall.
Variation: Go bold with deep green, charcoal, or navy for a modern statement wall.
Measure 32–36 inches from the floor for your chair rail.
Use a level or laser to mark a straight line around the room.
Install beadboard or paneling below the rail for full wainscoting.
Style Tip: Paint the lower section in a contrasting color to make the trim pop.
8. Build Up Door Casings for a Custom Look
Layering multiple pieces of trim to create built-up door casings is an advanced but rewarding DIY.
DIY Steps:
Start with flat stock as a base.
Add crown molding or decorative trim as a top layer.
Use corner blocks for visual weight and easy alignment.
Pro Tip: Fill and sand all seams before painting for a seamless, luxury finish.
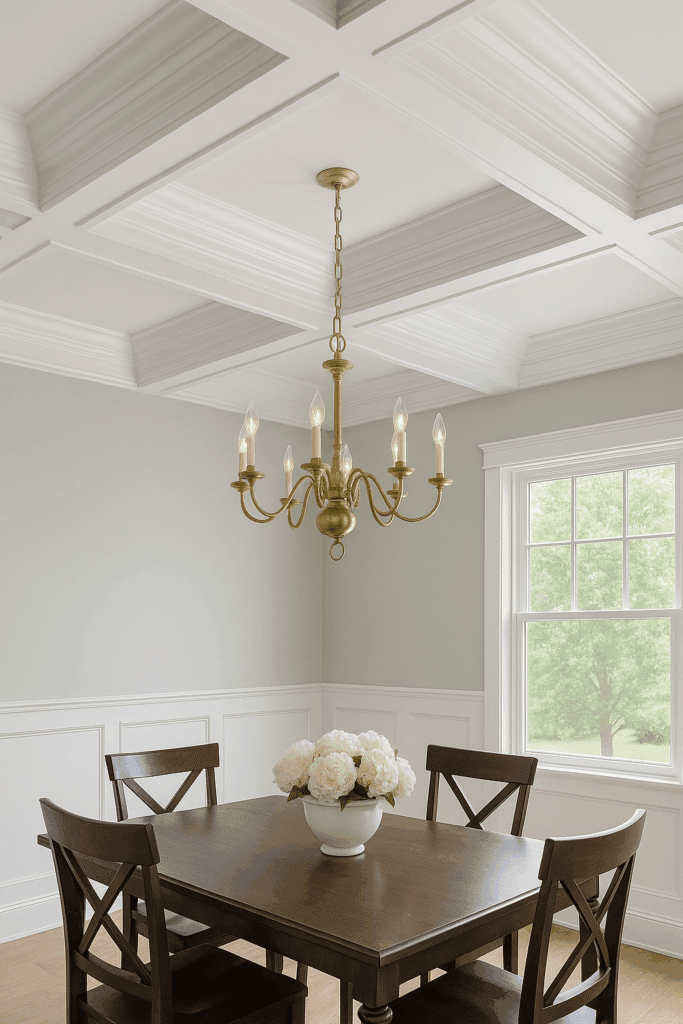
9. Install a Coffered Ceiling
Coffered ceilings bring depth and elegance to living rooms, dining rooms, and home offices.
DIY Steps:
Design a grid pattern based on the ceiling size.
Install perimeter beams first, then the cross beams.
Caulk, sand, and paint for a polished coffered effect.
Material Tip: Use lightweight MDF or hollow faux beams to make installation easier.
10. A DIY Finish Carpentry Trim Project
If you love farmhouse or rustic decor, reclaimed wood trim is a charming alternative to standard molding.
DIY Tips:
Sand lightly to remove splinters but keep the natural texture.
Seal with a matte polyurethane to protect the wood.
Use for window trim, baseboards, or an accent wall.
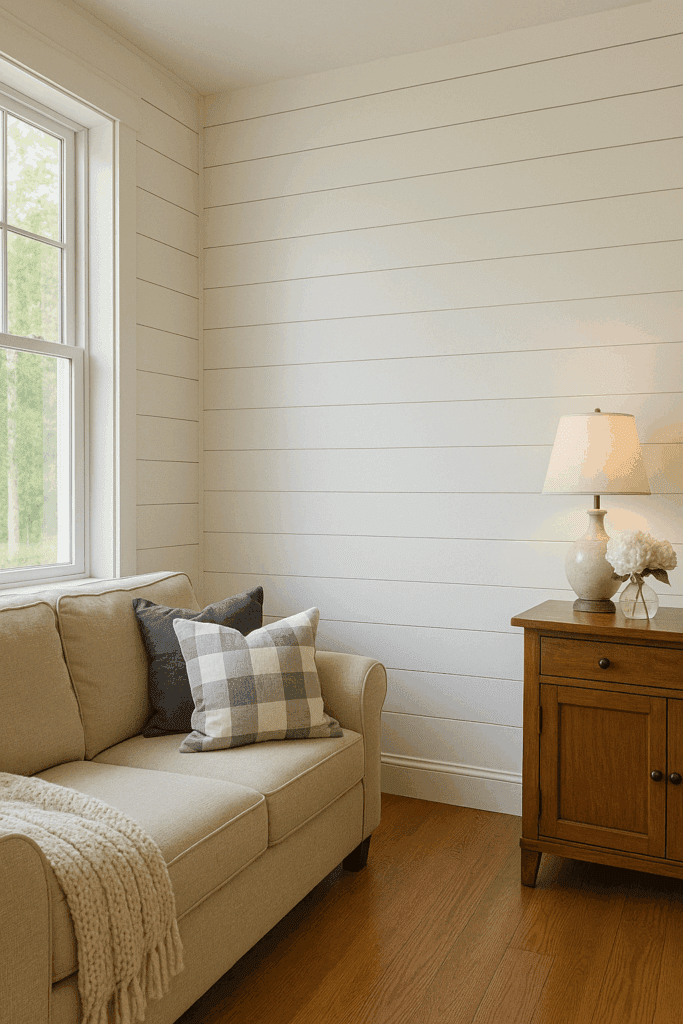
11. Install Beadboard Paneling
Beadboard is perfect for bathrooms, mudrooms, or kitchens.
DIY Steps:
Cut beadboard panels to fit the wall height.
Nail or glue them to the wall.
Cap with a chair rail for a finished look.
Style Tip: Use semi-gloss paint for moisture resistance and easy cleaning.
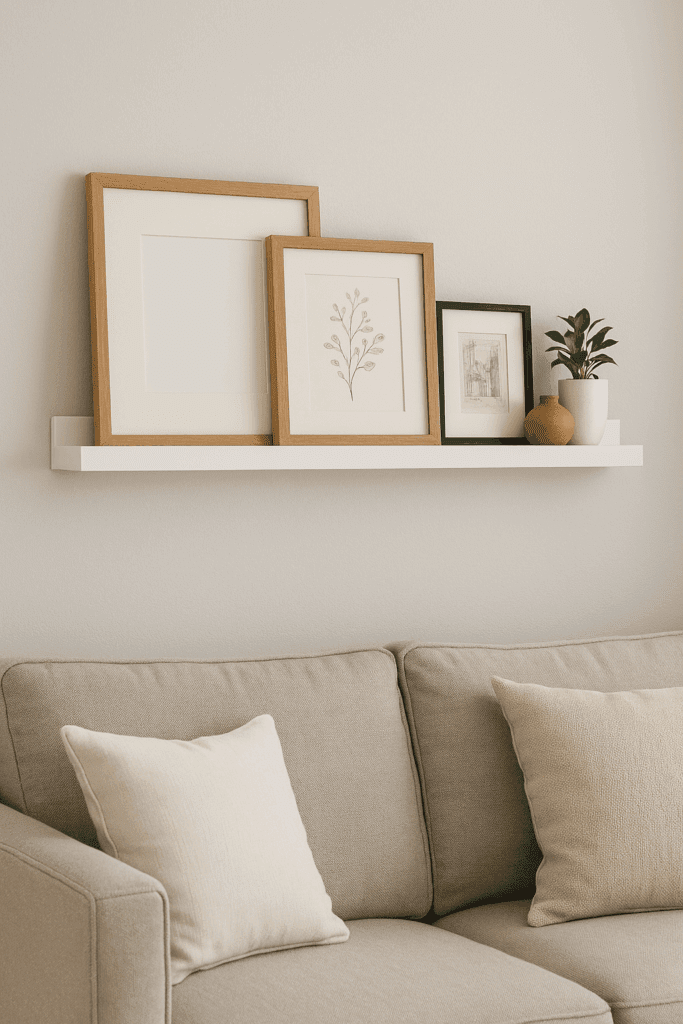
12. Build Decorative Picture Ledges
Finish carpentry can be functional too. Picture ledges and shallow shelves display artwork while adding trim-style detail.
DIY Steps:
Cut 1×4 boards for the base and 1×2 boards for the lip.
Nail together in an “L” shape and attach securely to studs.
Paint to match your trim for a built-in look.
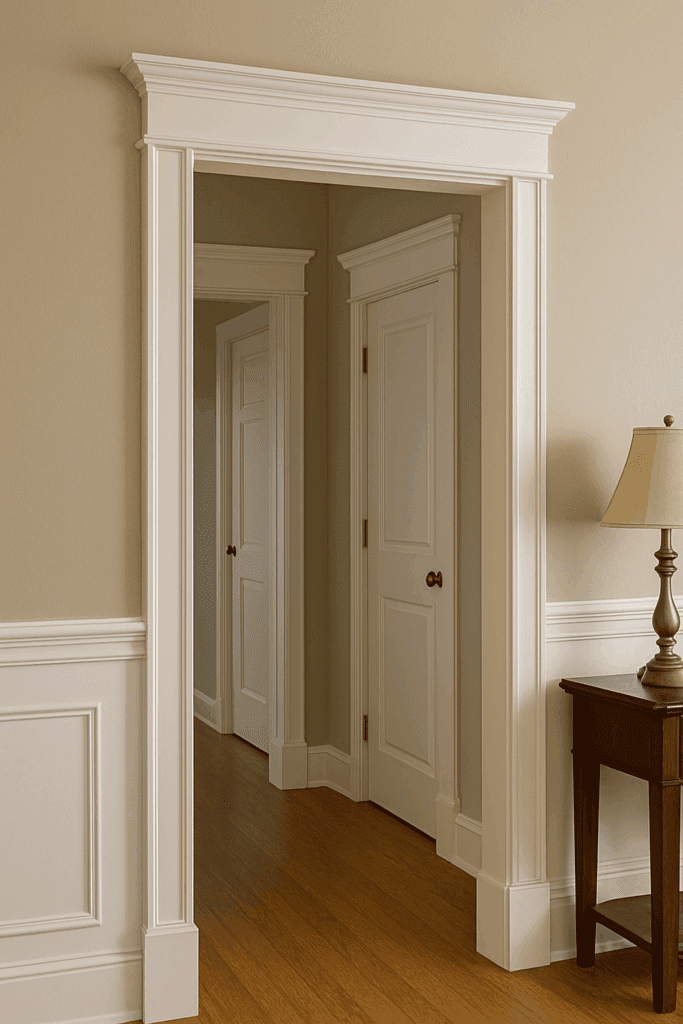
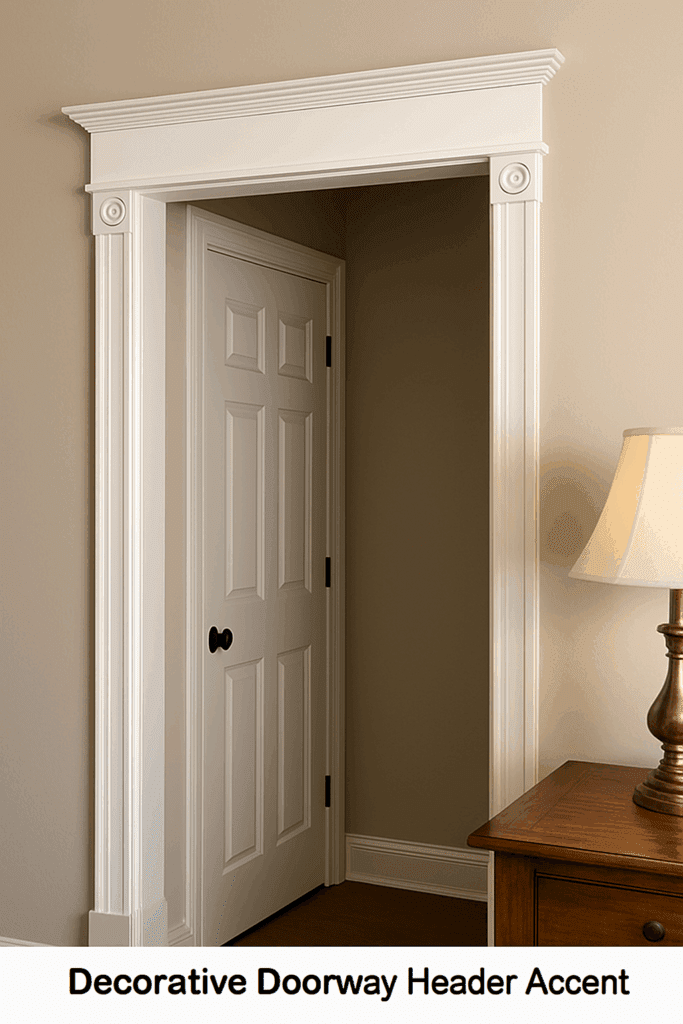
13. Create Doorway Header Accents
Enhancing doorways with trim headers adds instant architectural interest.
DIY Steps:
Build a simple header using flat stock and crown molding.
Add decorative corner blocks for a classic look.
Paint or stain to match existing trim.
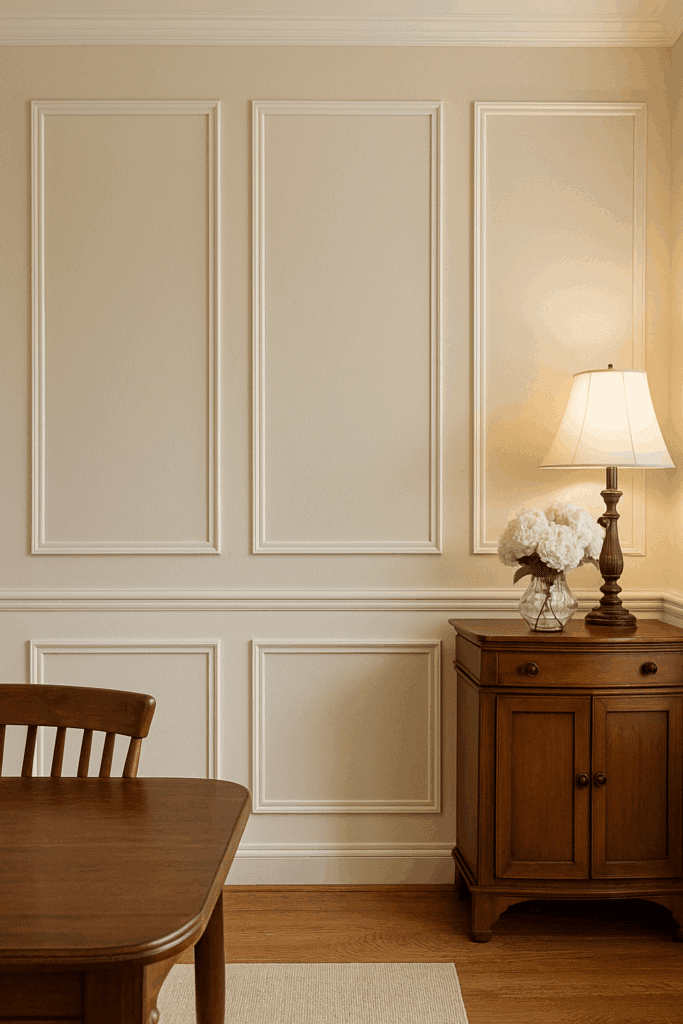
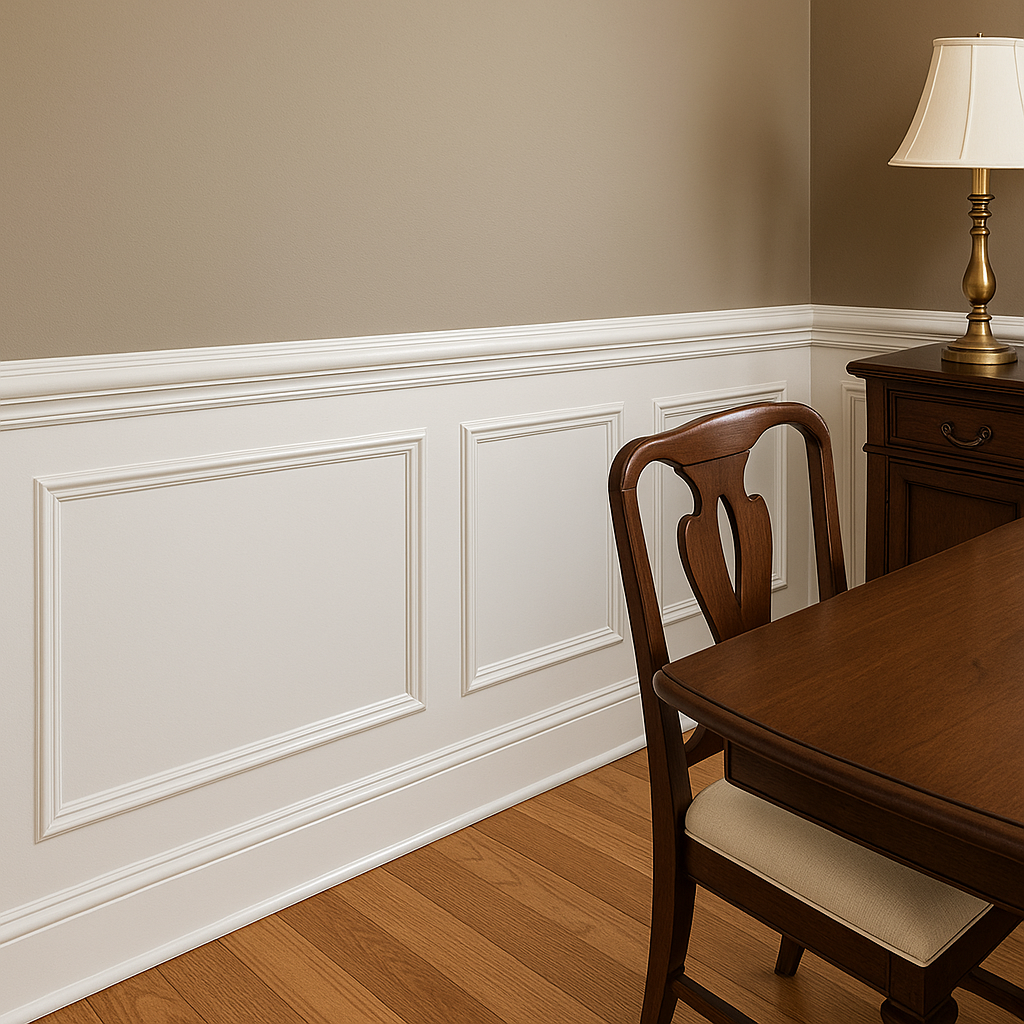
14. Install Full DIY Wainscoting Panels
Full wainscoting takes time, but the results feel luxurious.
DIY Steps:
Decide on panel height (usually 36–48 inches).
Frame panels with molding and insert MDF or plywood.
Caulk, sand, and paint for a professional finish.
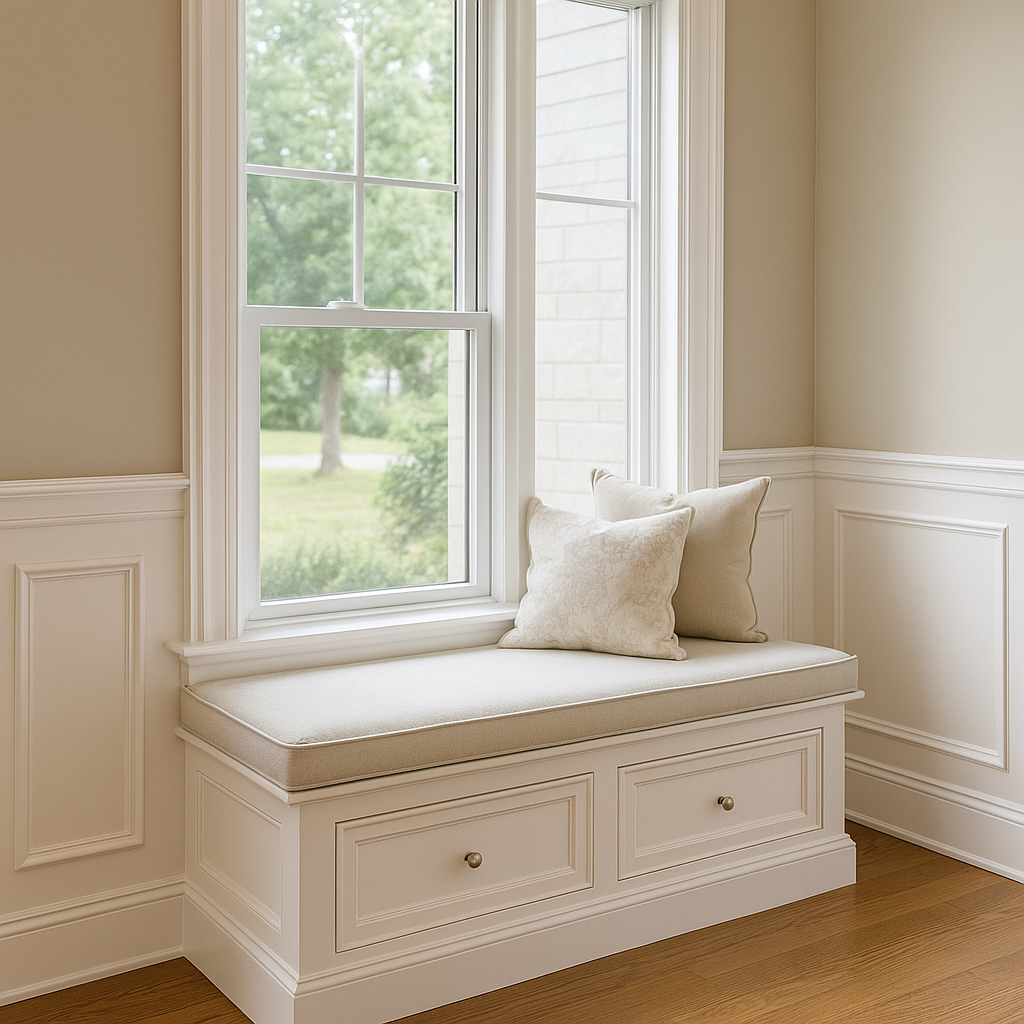
15. Build a Custom Window Seat with Integrated Trim
A custom window seat is a finish carpentry project that combines function, style, and craftsmanship. Not only does it create a cozy nook for reading or relaxing, but it also gives you a chance to show off your trim skills with built-in panels, moldings, and storage. This is a project that instantly adds charm and value to any home.
Adding finish carpentry trim is one of the most cost-effective ways to give your home a high-end, custom look. Start small with baseboards or chair rails, then work your way up to board and batten walls, coffered ceilings, or full wainscoting.
With the right tools, patience, and a little creativity, you can completely transform your home—no professional carpenter required.
Related Posts:
How to Install Door Trim (Step-by-Step DIY Guide) by Admin November 18, 2025 DIY Beginner-friendly instructions, real-world tips, and the tools I actually use. Installing door trim looks simple from a distance—just a little molding around the doorway, right?…


")

")

