Cutting plywood without splintering is a skill every woodworker should master. It might look easy at first, but even one bad cut can leave your material shredded along the edges. Whether you’re working on furniture, cabinets, or wall paneling, splinter-free plywood cuts make your projects cleaner, faster, and more professional.
In this updated 2025 guide, I’ll show you how to cut plywood cleanly using the best tools, blades, and techniques—plus real-world tips I’ve learned over the years of experience.
🪚 Why Cutting Plywood Without Splintering Can Be Tricky
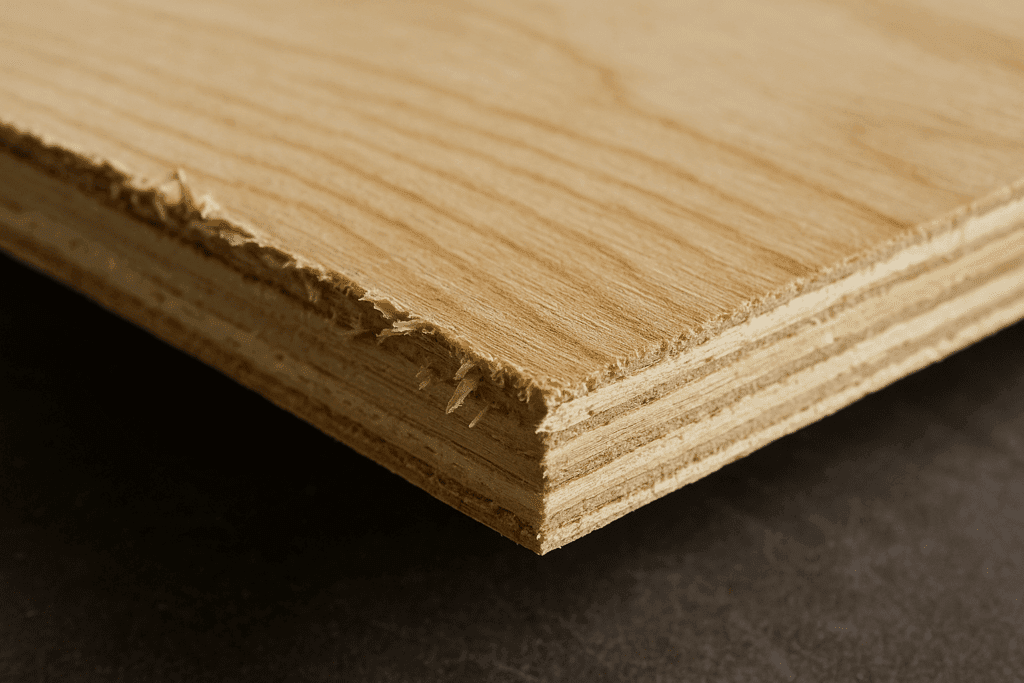
Plywood is made up of thin veneer layers glued together in alternating grain directions. This cross-laminated structure gives plywood strength, but also increases the risk of splintering. Most tear-out occurs where the blade exits the material.
Common causes of splintering plywood:
Using dull or aggressive-tooth blades
Cutting too fast or too slow
No scoring or taping the cut line
Unsupported edges beneath the cut
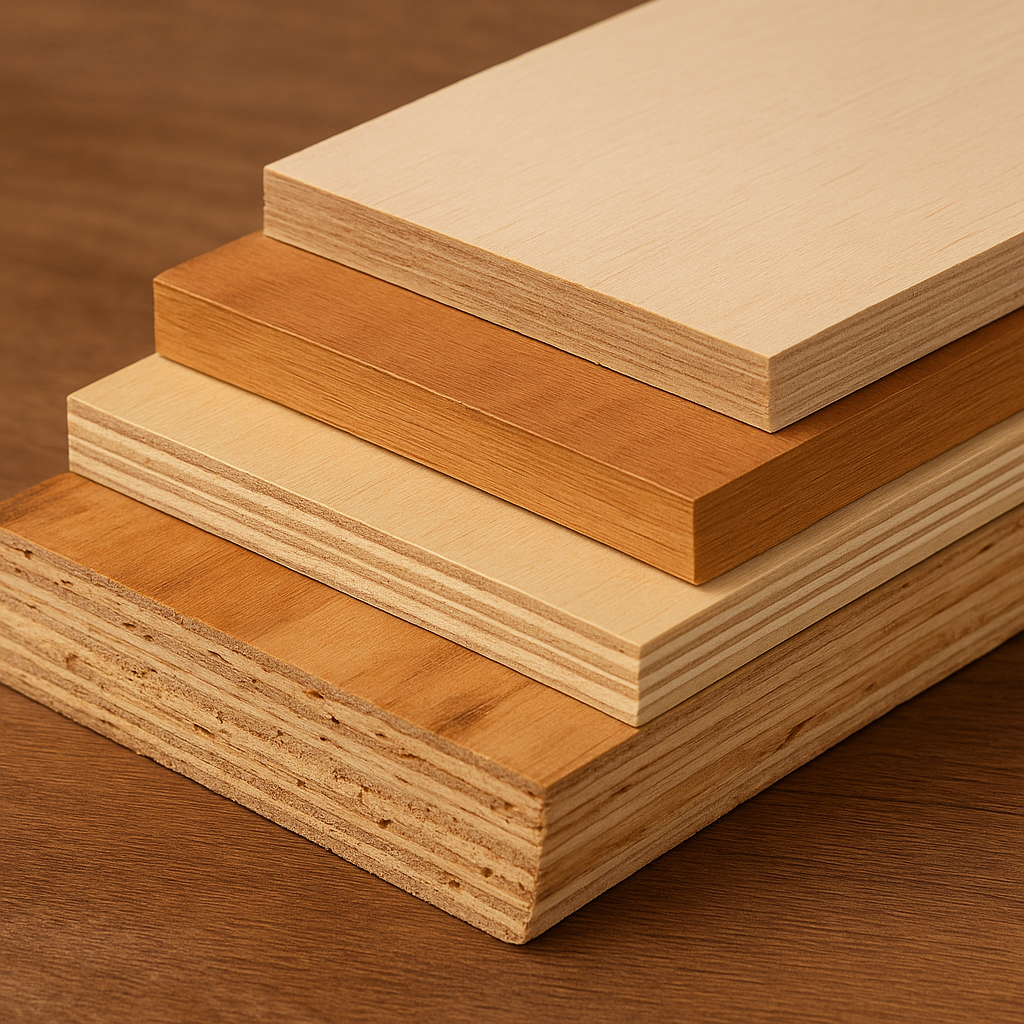
🧱 Plywood Grades and How They Affect Cutting Results
Choosing the right plywood type is just as important as using the right tools. Some grades splinter more than others.
Grade
Description
Splinter Risk
A-C
Sanded front, utility back
Low on A side
B-C
Repaired face, utility back
Moderate
CDX
Rough sheathing use
High
Baltic Birch
All hardwood veneers
Very Low
For exposed edges, always choose furniture-grade or Baltic birch plywood.
🧰 Best Tools for Cutting Plywood Without Splintering
Avoid coarse framing blades—they’re designed to rip, not finish.
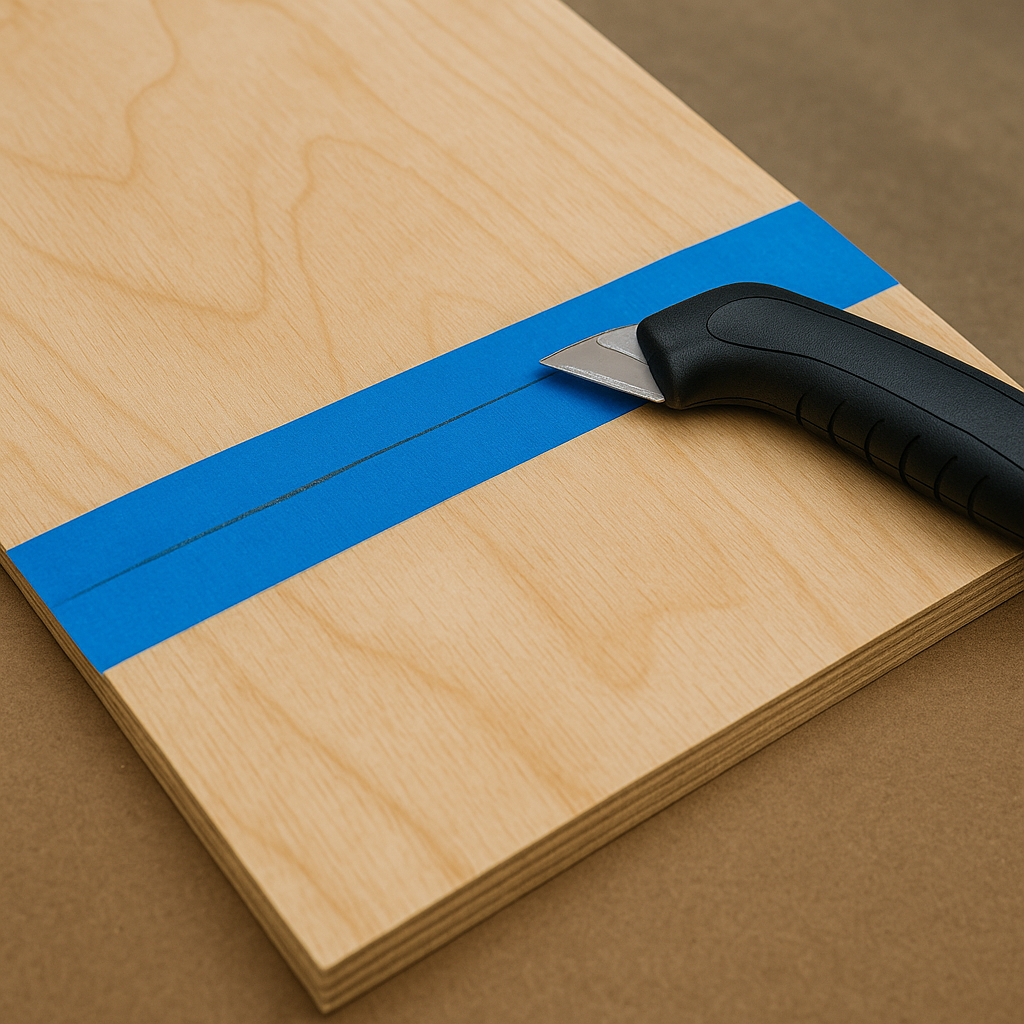
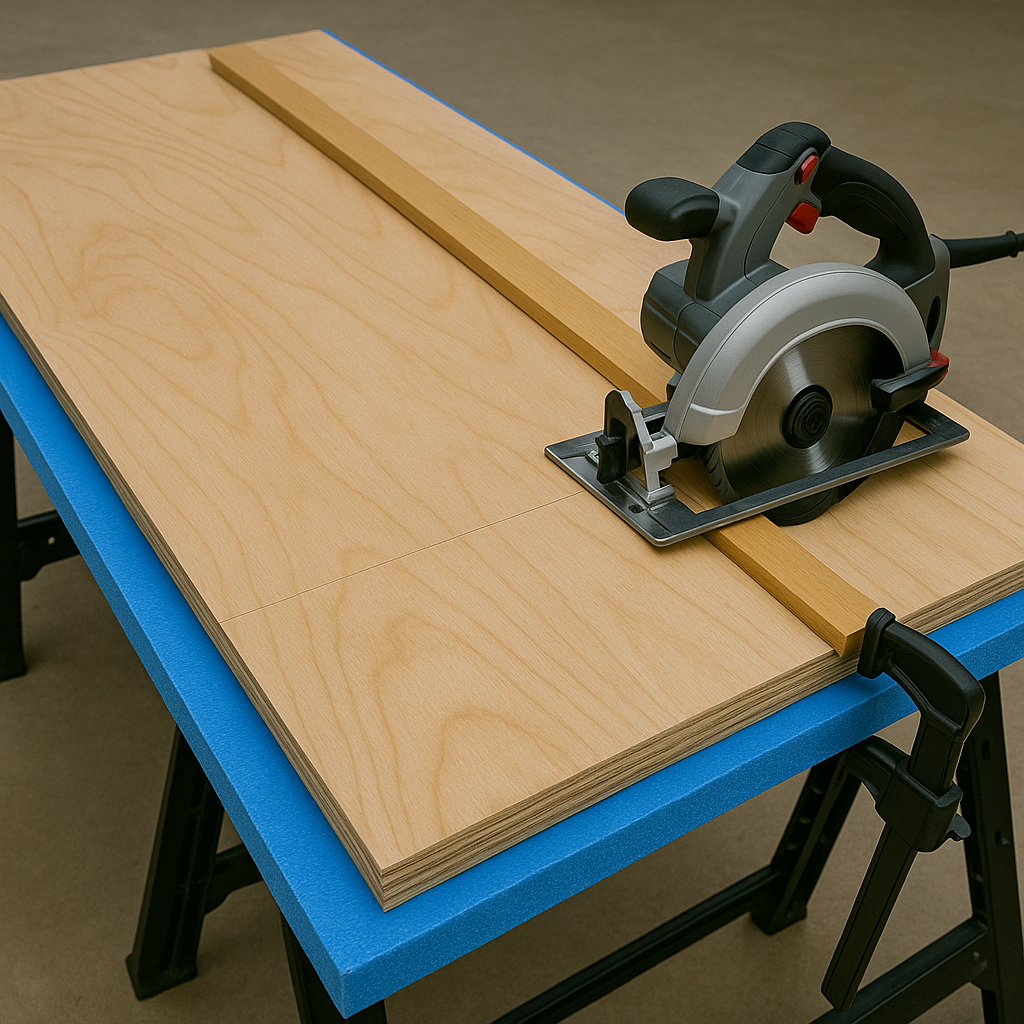
✂️ Pro Techniques for Cutting Plywood Without Splintering
You can get crisp edges even with basic tools using these pro-level tactics:
Score the cut line with a utility knife before sawing
Tape the cut using painter’s tape to prevent lifting fibers
Support the sheet fully with foam board or scrap plywood
Use a backer board for handheld cuts to avoid bottom tear-out
Make shallow passes first for final full-depth cuts
🔧 Solo Workshop Setup: Cutting 4×8 Plywood Alone
Working solo? Here’s how I handle large panels:
Place 2″ foam insulation on two sawhorses
Lay plywood face down across the foam
Clamp a guide rail where needed
Score the line, then cut slowly with a fine blade
🧪 Real Example: Plywood Cabinet Build
For a recent custom-built-in, I needed 10 flawless panels. I used prefinished maple plywood, taped and scored each line, and cut with a Makita track saw using a 55T blade. No splinters—just clean edges ready for edge banding.
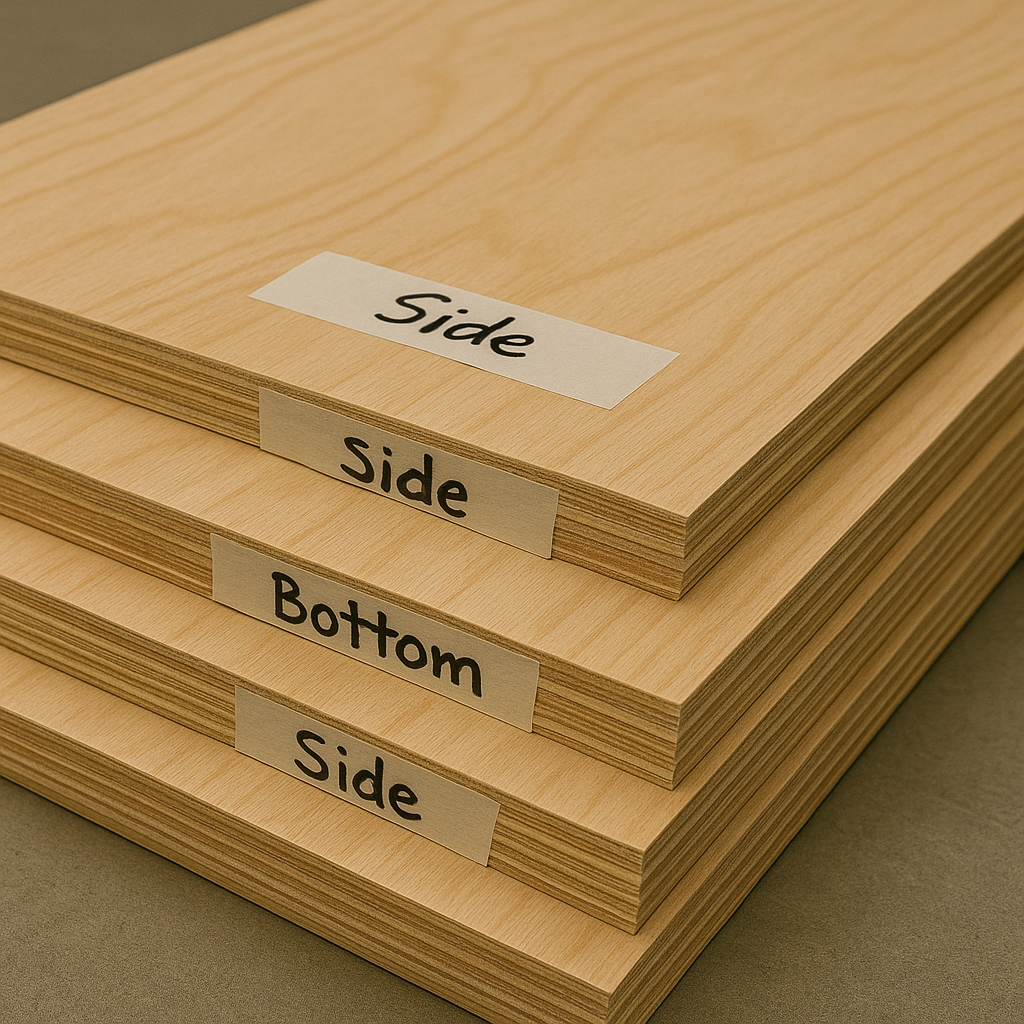
Labeling each piece with masking tape kept everything organized during assembly.
Firewood Guide: Best Types, Storage & Tools by Admin July 21, 2025 Grades 🔥 My Real Take on Firewood—What Works and What’s a Waste I’ve burned all kinds of firewood over the years—some that kept the house warm…


")


")
