Sliding cabinet doors aren’t used much in modern cabinetry, but they were a big part of mid-century modern furniture and cabinetry. With the resurgence of popularity in that style amongst the younger generation, knowing how to build cabinets with sliding doors is an advantage.
But the advantages of sliding door cabinets also don’t stop there. Sliding cabinet doors are easier and cheaper to build than swinging doors. The total lack of hardware, with the possible exception of a handle, saves on cost and assembly time, making the sliding door cabinet doors ideal for those who need to be budget conscious about their woodworking hobby.
Sliding cabinet doors can be made of almost any plywood product, depending on the desired look and the project budget. At the low end, we find ¼” thick masonite (which can be hard to find), and at the top track, high-end hardwood plywood.
Making cabinets with sliding doors requires more planning than hinged doors because the tracks for the doors to slide in have to be cut into the cabinet’s parts before it is assembled. The sliding doors may also affect the cabinet’s design, as it may be impossible to have a cabinet face and install sliding doors.
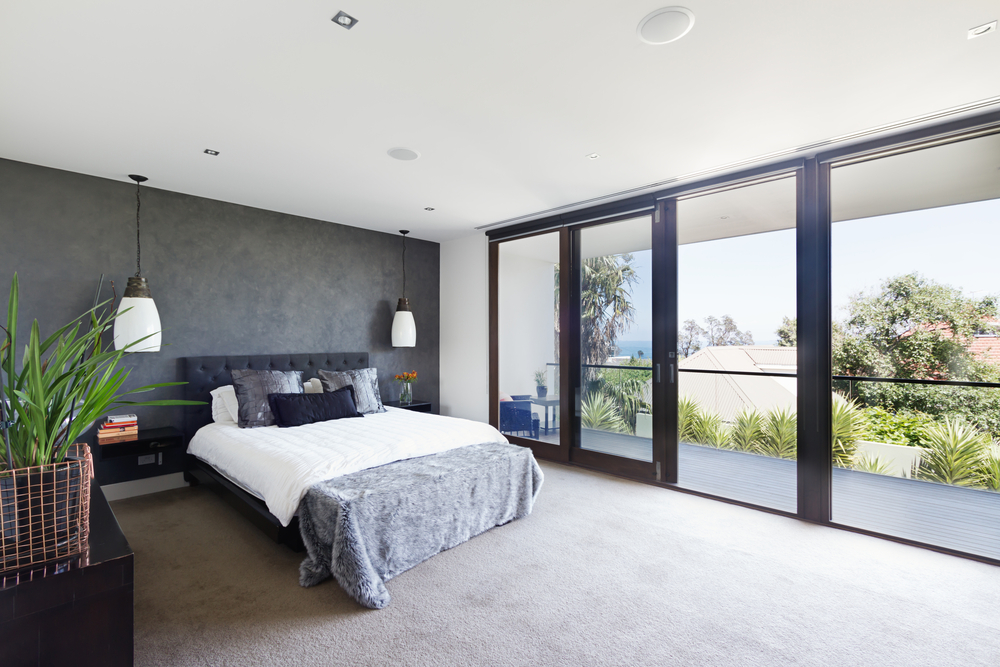
The spacious interior of the main designer bedroom in a luxury contemporary Australian home
Constructing Cabinets for Sliding doors
One of the significant advantages of using sliding doors in cabinets is that they simplify the cabinet’s construction. Rather than building a face frame around the cabinet’s opening, the edges of the top, bottom, and sideboards become the face frame. In most cases, the cabinet is made of ¾” hardwood plywood, although sanded softwood plywood will work just as well if the cabinet is to be painted.
When building cabinets with sliding doors without a face frame, the top and bottom pieces of the wardrobe will be unsupported and will not hold as much weight, without sagging, as they would with a face frame. Additional bracing will be needed if heavy items are to be stored in the cabinet or on the top and bottom side panels. Sagging is unacceptable on a cabinet where sliding doors are installed, as it will cause the doors to bind up and not open.
If a slot is needed in the storage cabinet for the track hardware or the cabinet is made without track hardware, the place must be cut before assembly. While it can be cut on a table or saw, a neater slot can be cut with a router, either using the blade set the fence on a router table or an edge guide attached to the handheld router or the shoe of the handheld router itself.
Since the plywood half of the cleat is slightly thinner than the other half, just an arm’s length of the cleat in nominal dimension, there should be adequate clearance in the slot for the door to slide if no tracking hardware is used. In other words, a ½” straight router bit will cut a place that’s pretty much precisely ½” wide, while the ½” thick hardwood plywood will be 15/32″, 1/32″ thinner than the slot being cut by the bit.
Unless a hardware kit is used, which allows extra room for installing and removing the doors, they need to be installed into all the dadoes and tracks while the cabinet is assembled. The bottom and sides of the storage cabinet and all the dado tracks and cabinet can be attached, and then the doors are placed in their tracks before the top is attached. It can be useful to block the doors with scrap wood or paint cans to keep the doors from falling over.
To ensure no plywood edge grain is visible outside the cabinet, the top, bottom, and side pieces must be miter or router cut with the type of bit designed for making interlocking plywood corners. To ensure that the mitered corners match up cleanly, use masking tape to clamp them, laying the tape down and the panels on top, touching each other. Apply the glue to the mating surfaces, then “fold” the sides up, nailing the mitered corners with a pneumatic brad nailer.
A matching wood edge veneer can be applied to hide the edge grain on the front edge of the plywood parts, which will essentially be the face frame. This is available either with heat-melt glue already applied to the back and side panels or without adhesive.
Laying Out the Tracks
Sliding wardrobe and rollers to the closet door detailed plan, installation of doors in the closet.
In the case of working with a hardware track kit, the instructions in the track kit will provide specific information about the track’s location. But in the case of sliding doors where a routed slot in the wood is the track, locating the track is up to the woodworker.
It can be problematic to cut the track too close to the plywood-clamped cabinet face, as that thin piece of wood remaining can be subject to breakage if quality hardwood plywood is not being used. The biggest concern here is the face veneer, which may chip. To help avoid this, the track should be set back by at least ½” unless a hardwood edge has been attached to the plywood. Many pieces of mid-century modern furniture have the ways inset 1-1/2″ to 2″ from the plywood edge differed well.
The same problem exists for the thin strip of uncut wood between the tracks between the two sliding doors. Leaving ½” of space between the rails helps ensure that this strip is strong enough to avoid the risk of breakage. While it is possible to cut wood tracks that are only ¼” apart, it may be advisable to use a hardware track system instead two parallel tracks.
With wood tracks, always ensure a clean, smooth cut without tool marks. A final run-through with the router, making a minimal cut, will help to eliminate tool marks and provide that smooth surface. The track can also be waxed, with beeswax, to help ensure the smooth sliding of the doors.
Making the Doors
Most sliding cabinet doors are extremely easy to make, requiring no molding or shaping. They are all flat panels cut out of the chosen plywood material. In the case of hardwood cabinetry, this is usually matching hardwood plywood. Relatively thin plywood, 3/8″ to ½,” is preferred, as that’s thick enough that it won’t bend while thin enough that it is still light. However, if the project involves using metal tracks, ¼” thick material may be required to match up with the track system purchased.
Sliding cabinet doors need to be made slightly larger than normal hinged doors. The door width should be calculated to allow for a slight overlap between parallel door tracks in the middle when the doors are closed. However, too few boxes and too much overlap are not good, as the entire length of the door opening is smaller when the door is open. The door height must be calculated to go into the track at the top and bottom.
Sliding cabinet doors on commercially manufactured cabinetry (usually metal cabinetry) are generally sized so that the doors can be lifted out of the assembled cabinet, moving the bottom track and into the upper track to remove them from the cabinet. While this can be done on homemade cabinets with track hardware, it is usually not done with sliding doors for cabinets where the track is cut directly into the wood without hardware.
Sliding cabinet doors are generally unavailable through building materials or home improvement centers, although the material and hardware are. They can be purchased online from several cabinet door manufacturers, buying them as “slab doors” for cabinets. But it’s usually cheaper and easier to cut them in the workshop.
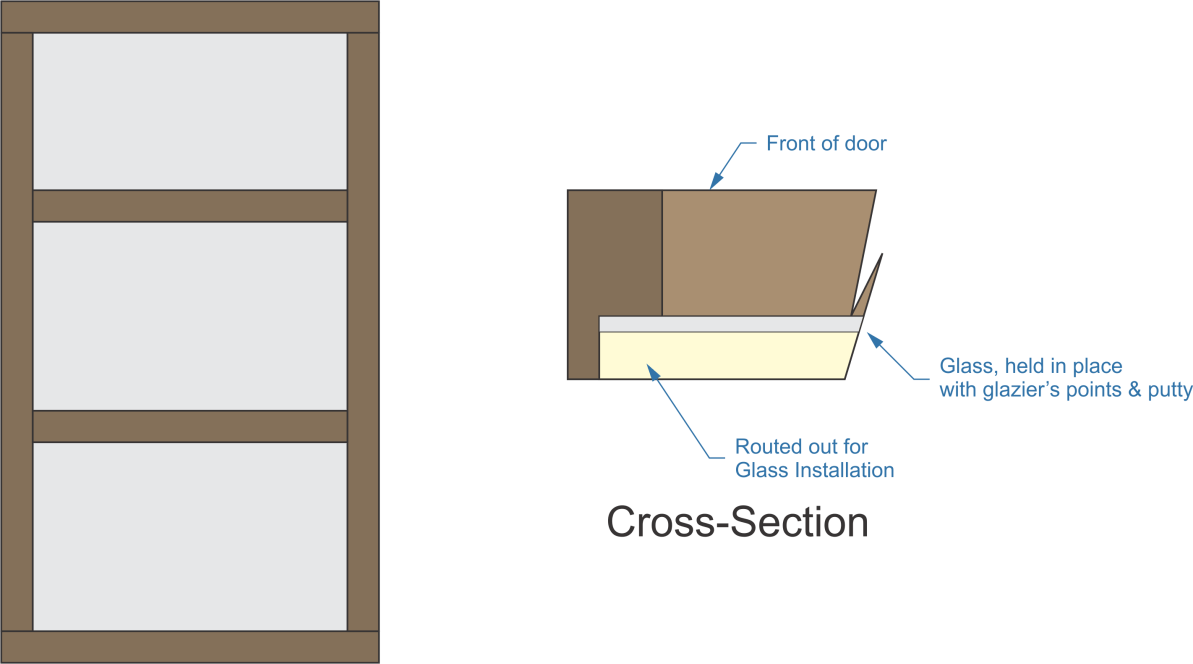
Plywood products aren’t the only thing used for making sliding cabinet doors, though; glass can be used as well and was used in a fair amount of mid-century modern cabinetry. Glass doors are usually assembled by a glass shop and will include top and bottom trim pieces, which fit the track system. A handle or pull or a ground indentation may be installed in the glass to serve as a pull.
Glass panels can also be inserted into wood-framed sliding doors. In this case, the frames would be two panels made out of wood strips, 1″ x 2″ or smaller, routed on the front edge back side to provide an inset for the glass panels to be mounted into, as shown in the drawing below.
Glass sliding door
Another style that is becoming popular is to use sliding mini barn front doors for cabinets, especially for kitchen base cabinets, workshop cabinets, and laundry room cabinets. The doors are a bit false in that they are not built like traditional barn doors, which use cross-bracing to hold the boards together. Instead, they are flat panels, with thin strips (2 to 3 mm thick) of wood glued to their face to mimic the cross-bracing used on regular barn doors.
Sliding doors
To make doors of this type, buy ¼” thick 2″ wide hardwood strips from the local home improvement center. Most will have them in Poplar, which works well. Cut all the pieces to fit, then glue the rectangular exterior frame onto the panel first, holding it with spring or F clamps until the glue dries. Then lay the panel on a workbench, fitting the cross-braces in place. Apply glue to all the front and back edges and weigh them down to clamp them for drying.
Ensure that the edges of the decorative facing strips are flush with the edges of the DIY sliding door panel all the way around. If they are not flush, a final trim, either on the table saw or with a plane, might be necessary to clean up the edges of the simple strip on the diy sliding doors well.
These sliding cabinet doors are usually painted, although they can be antiqued, or painted red, giving them a deeper “distressed” look. As such, any gaps between the decorative face boards can be puttied or filled with painter’s caulk to hide them. They are used with special hardware kits.
Using Sliding Cabinet Door Hardware Kits
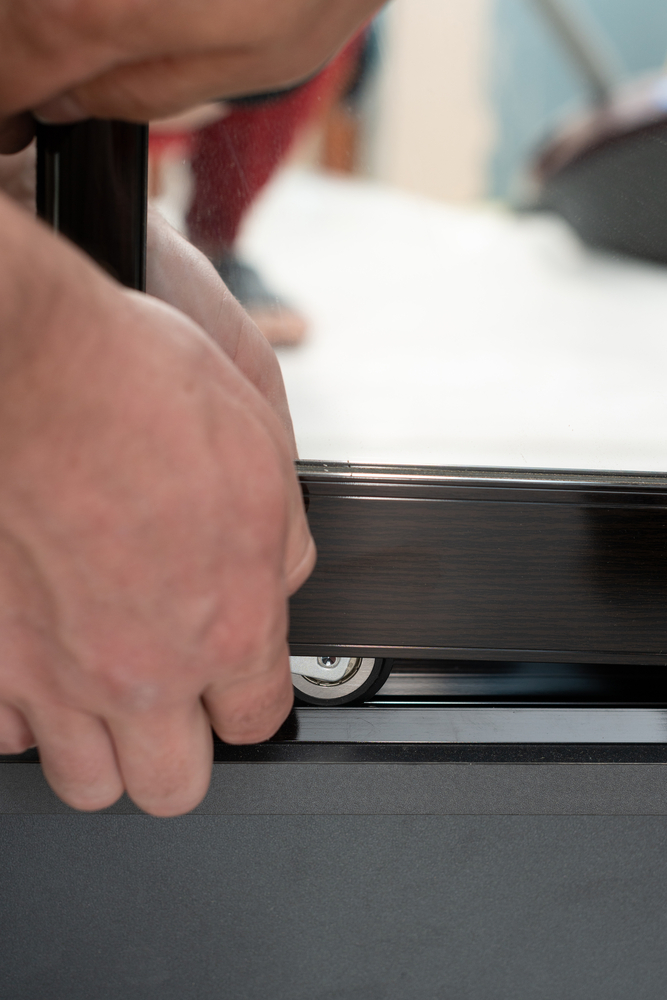
A wide variety of sliding door cabinets and sliding door hardware kits are on the market. While some are designed with special materials, like glass, most will work with any plywood product you choose. Before building the cabinet, the sliding door hardware or kit should be purchased to ensure the proper fit.
Tracks can either be surface mounted or inset into the wood. While some can only be used one way or the other, a few kits can be used either way. Check for specific mounting details when purchasing the hardware kit.
For tracks pocket screws to be inset into the cabinet, the slot should be routed, and edge banding should be added rather than cut on the table saw.
Routing with an edge banding guide can provide a cleaner cut without the risk of the saw blade widening the slot in one spot if the edge banding on board goes through the saw crooked. The hardware rail should fit snugly into the slot without being pounded into place.
Hardware Kits for Barn Style Doors
barn style sliding cabinet doors are treated differently than others, as the hardware kit is considerably different. Surface-mounted rails are provided, which mount to the cabinet face, above the doors.
Hanging brackets with wheels will be provided, bolted to the sliding cabinet doors to guide them. Depending on the style of the kit, this can be either to the inside of the sliding door cabinet or outside of the doors.
Because of the style of these rails, cabinets using sliding barn-style doors need to be built with a face frame, unlike other cabinets where sliding doors are used. This difference also allows barn-style doors to be mounted to existing cabinets as a retrofit, replacing the hinged doors.
Sliding Doors for Wardrobes and Closets
Sliding doors are also used for closets and free-standing wardrobes. As with other cabinet doors, some people prefer sliding doors, while others prefer hinged doors; each has its advantage.
It is cheaper to install sliding doors in a closet or wardrobe, even with the cost of the top tracks and bottom tracks. The driving factor in the cost is not the tracks or hardware but how many door panels are needed due to the cost of making the doors themselves. Hinged doors are 24″ Wide, while bi-fold doors are limited to 18″.
On the other hand, building diy sliding doors can be as much as 36″ if the closet is wide enough to accommodate it. Three or even four diy sliding doors can be used together in a wide closet.
The drawback to sliding closet doors is that the entire closet width cannot be visible once without removing the doors. The door will always cover part of the wall anchors in the closet. The doors must be moved to see what is in that part of the closet.
On the other hand, sliding closet doors are space-saving because there is no need to leave space open in front of the closet or wardrobe for the doors to open. While it would be inconvenient, a piece of furniture, such as a sofa, can be placed right in front of diy sliding doors of the closet without it impeding the ability to open the closet doors and select from the clothing hanging inside.
Sliding closet doors give the storage cabinet a sleek modern look, popular in upscale homes. The tracks are unobtrusive, and the doors require very little maintenance.
Related Posts:
How to Fix Wood Stain Mistakes: 4 Easy Methods by Amy Reed December 6, 2022 DIY Mistakes happen all the time, especially when applying wood stains. Some of the most common wood stain mistakes include blotchiness, unwanted streaks, or simply the…
How to Make A Humidor the Easy Way by Admin September 8, 2023 DIY Simple cigar humidors aren't at all difficult to make an easy way to build. Not only will you save a little cash by building a…
Oven Base Cabinet by Admin October 16, 2021 Installing One of the key features of any kitchen is a range. In most kitchens, this means a combination stovetop and oven, built together into a…