For someone who wants to get started in doing something with wood, but doesn’t have the space or money to set up a full woodworking workshop, whittling and carving are great options. While neither accommodate making furniture or teach the necessary techniques, they do provide the opportunity to learn about wood and make some beautiful, as well as functional, projects. Wood carving is also used to adorn furniture, so it can be a useful skill for the woodworker to learn anyway.
Whittling wood and wood carving are often equated with each other, although they are actually different. While similar sorts of projects can be accomplished with the two methods, the tools used in them are actually different. Put simply, wood carving is done with chisels, often assisted by a special wood carving mallet, while whittling is done exclusively with knives. In fact, whittling can be done with nothing more than a pocket knife. There are some exceptions to this, as a variety of power tools have also been used for woodcarving; but the basic craft is accomplished with chisels.
In both cases, the methodology is to remove wood from a larger piece, in order to change the form into something desired. Whether that is a wood spoon for use in the kitchen or a 10 foot tall carving to sit in the lobby of a hotel, everything is accomplished by taking material away from the original piece. There is no gluing, clamping or joinery involved in woodcarving or whittling.
The most important part of both methods is keeping the cutting tools sharp. It is all but impossible to control dull tools and control is critical to both whittling and carving. Dull tools are also much more likely to slip, increasing the chance of injury. Finally, there are many kinds of wood which just can’t be cut unless the tools are sharp.
While literally any wood can be used for either, it is recommended to start out with a relatively soft wood, with a fine, straight grain. Basswood is widely considered to be the best wood for carving, followed by aspen, butternut and black walnut, although walnut is rather hard. Pine can be used, but it is important to realize that the grain will be inconsistent, with knots showing up wherever branches are. If pine is going to be used, especially by the beginning, it’s a good idea to choose a section of pine that doesn’t have any knothole in it.
It is possible to carve and whittle green wood, rather than using dry wood. Green wood is easier to cut, which is great for the beginner. However, that green wood will shrink as it dries and may very well crack. This is especially true for the pith or center of the log. If green wood is going to be used, it’s best to stick to the outer part of the log, rather than using the pith.
Some whittlers and carvers will do the bulk of their work on green wood, and then set the piece aside to dry. Once the partially completed piece is dried they are able to correct any distortions that appeared as part of the drying process, and then finish the work, adding the details to the design.
Whittling Tools and Techniques
Generally speaking, whittling is limited to small projects that can be held in the hand while working on them. Craftsmen who wish to go on to bigger projects generally turn to carving. Using a mallet to drive a chisel through the wood is faster and easier than using hand strength alone. Using power tools, like a chainsaw, allow for carving really big projects.
Whittling is sometimes referred to as “chip carving” as the process consists largely of removing chips of material from the workpiece. However, part of the style of chip carving is leaving the surface textured by the chips, rather than smoothing it out. Some whittled projects are fully smoothed out, either by sanding them or by using the knife as a scraper.
Many a whittler has started out with nothing more than a pocket knife and stuck with that throughout their whittling career. For those who want a wider choice of blade shapes, whittling knife sets do exist. These are designed to be used by hand, without a mallet or other means of providing force. While there are many different types of whittling tools on the market, they all fall into five basic categories:
Cutting knife – a strong knife that is designed to be stiff and sharp, allowing the whittler a lot of control as they remove material
Detail knife – a thin-bladed knife for use in cutting details, where the cutting knife is too big
Sweep knife – a gouge-shaped tool for cutting inside curves and surfaces
Hook blade – used for special cutting, a hook blade can help make hollowing operations much easier
V-tool – a V shaped tool used for outlining and design detail
In addition to these tools, many whittlers use saws to roughly shape their wood, before whittling. If one were to be making a spook, for example, it’s much easier to cut off the majority of the material around the handle, saving time over whittling it all away. Any sort of wood saw that the whittler is comfortable working with will work, from one in a multi-tool to a back saw.
There are four basic types of cuts made with whittling knives:
Straightaway Rough Cutting – This is what most of us envision in our imagination, when we think of whittling. It’s the same cut used when pointing the end of a stick to roast marshmallows. Used to do the bulk of the shaping, roughing out the project, this is a push stroke away from the body, with the knife in the strong hand. Rough cutting should always be done with the grain or across the grain, never against the grain. Take off only small shavings on each stroke; don’t try to take too much at one time.
Push Stroke (Thumb Push) – When using this stroke, the hand holding the tool provides control for the blade, while the thumb of the hand holding the workpiece provides the push force. This provides a large degree of control over the knife, allowing for better accuracy. Short strokes are normally made, overlapping the strokes as necessary to cover the entire area that needs to be worked.
Pull Stroke (Paring Cut) – As with the push stroke, this stroke provides a greater deal to control than the straightaway rough cutting stroke does. However, only one hand is used on the knife, with the other holding the workpiece. Whereas the other strokes were push strokes, this is a pull stroke, towards you. The thumb of the hand holding the knife is usually hooked over the end of the workpiece, providing leverage.
Channel Cut – Not everyone uses this, as the same thing can be accomplished with a V-tool. However, for those who do, it is a means of using a knife to cut a decorative channel into the wood. The cut is made as a series of opposing cuts, with the blade being pushed down into the wood to form a V-groove.
Please note that care must be taken when whittling to avoid cutting the hand. This is especially true with the push stroke and the pull stroke. Beginning whittlers should wear a glove or at least a thumb protector to help prevent injury.
Whittled projects are often left without any finish being applied to the wood, but they can be oiled, varnished or decoratively painted, as the craftsman desires.
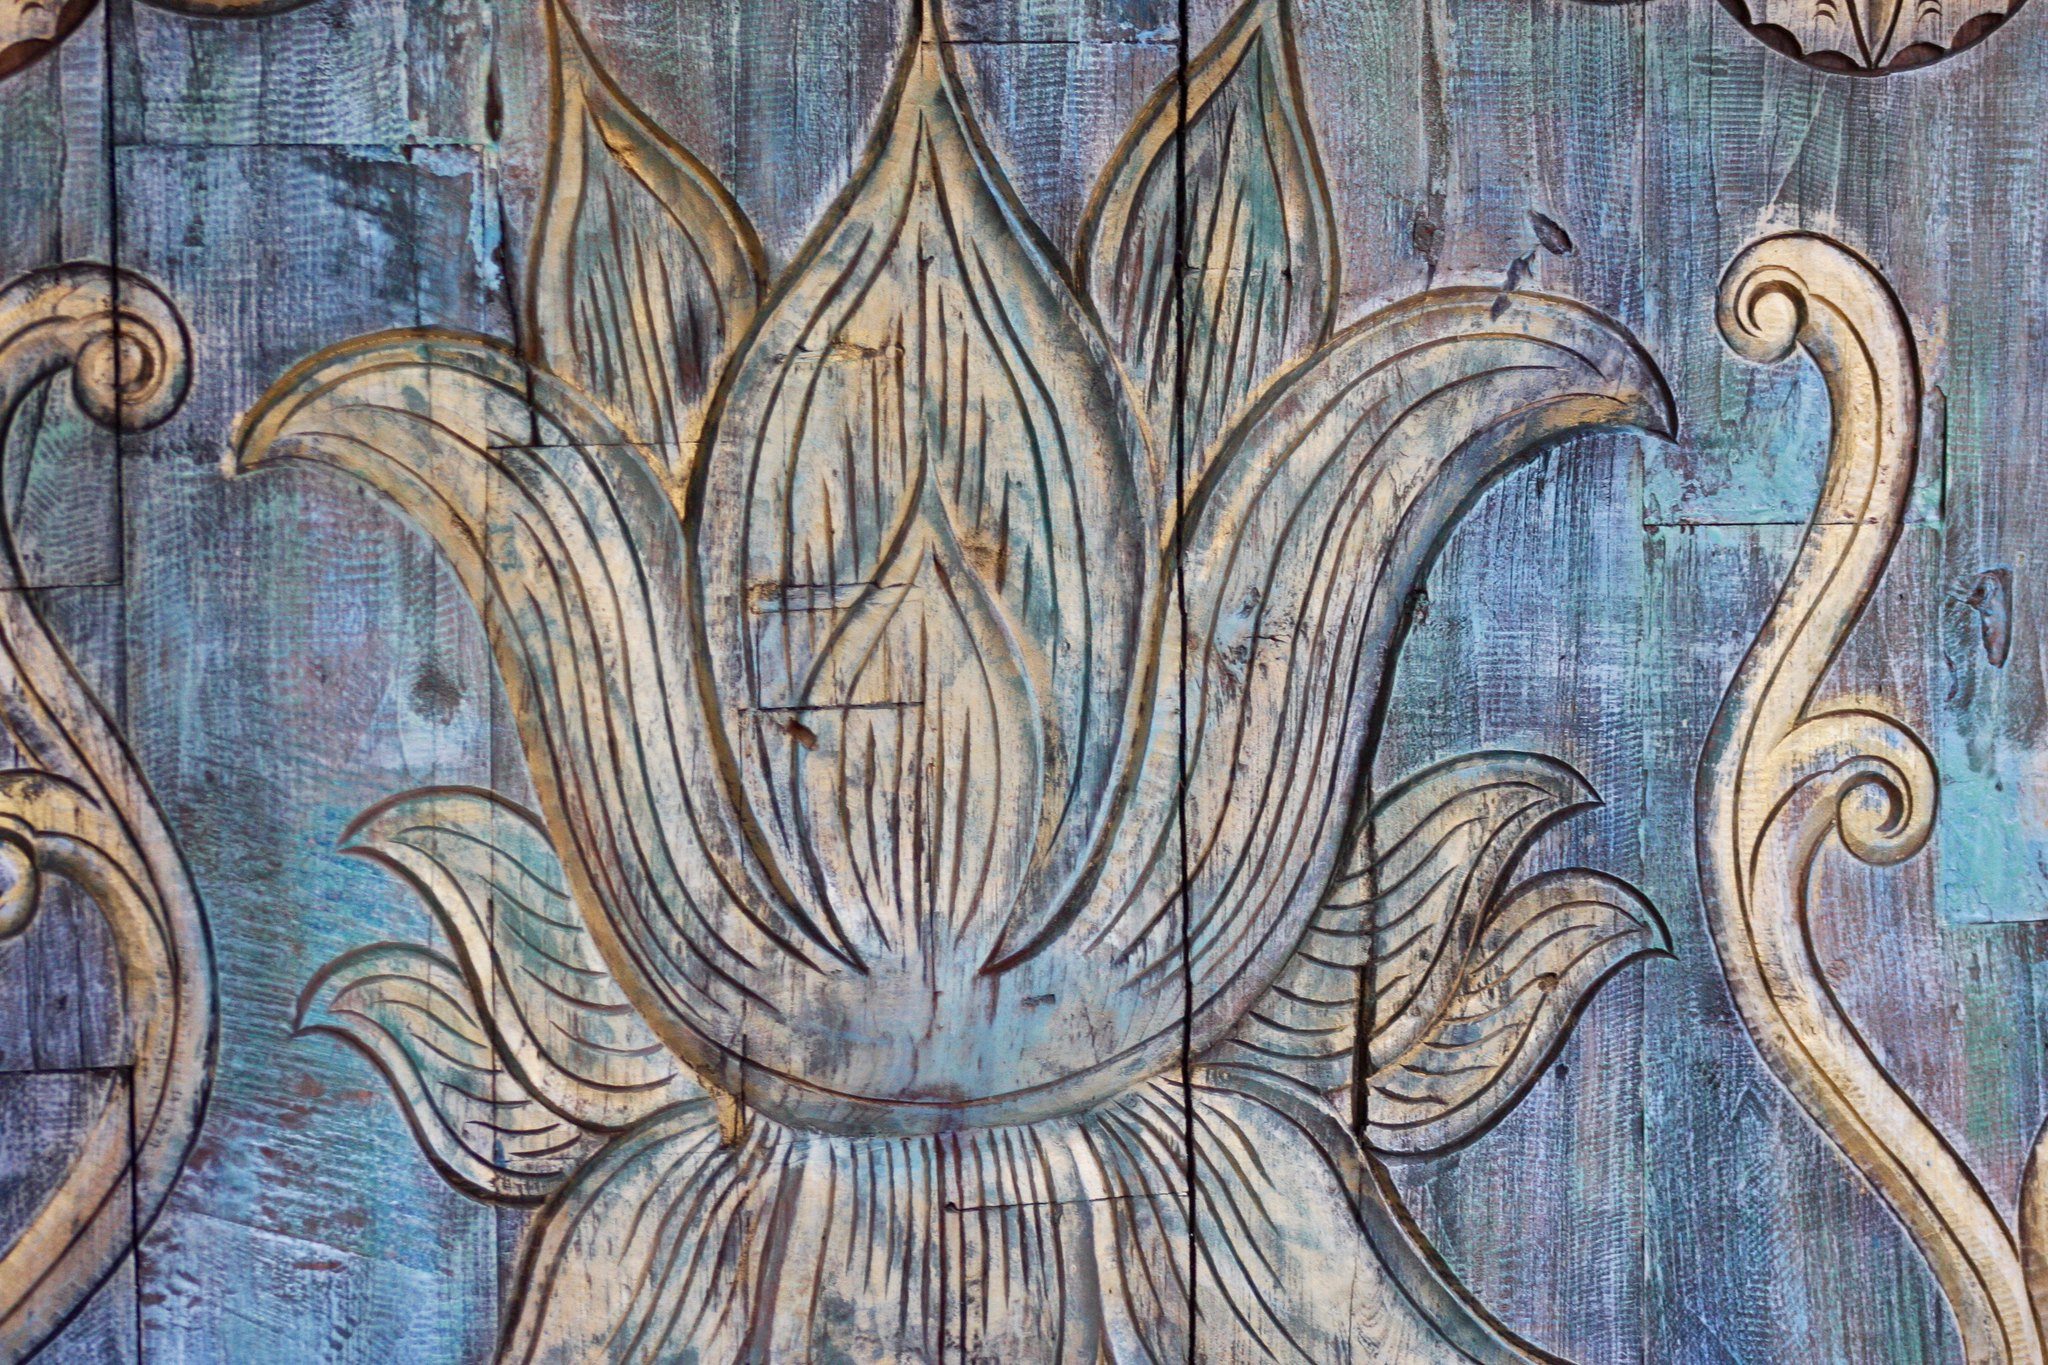
Woodcarving
Woodcarving can be considerably more complicated than whittling, although it doesn’t have to be. A lot depends on the results desired and the methods that the woodcarver desires to use.
If we set aside the use of power equipment for the moment, wood carving consists of using chisels for the removal of wood to make the finished item. Those chisels are considerably different from regular bench chisels, mortising chisels or paring chisels. They tend to be made of thinner metal, with a very shallow blade angle. The grind of the blade is also curved, rather than flat, helping to push the chisel back out of the wood it is cutting.
This curvature of the grind gives an important hint about proper wood carving technique. That is, carving doesn’t consist of making long cuts, but rather a series of short cuts. If long cuts are needed, they can be made, but are often made by combining a series of short cuts together.
There are 13 different types of chisels and gouges used in woodcarving, with each style available in a variety of different styles. But if you buy a basic starter set, you’re likely to only find that it consists of flat chisels and gouges. These are the bread and butter of woodcarving, the tools which will be used for almost all of the work. The other types of chisels (with the exception of one) are mostly for working in places which are difficult to get into with the flat chisels and gouges.
Flat chisels – one of the two basic wood carving tools, used for removing material on exterior surfaces. They come in a variety of widths.
Gouges – the other basic wood carving tool, used even more commonly than flat chisels. Gouges are curved across the width of the chisel, allowing for removal of material on the flat and on inside curves. This is incredibly important in carving, as roughly half the carving actually ends up being inside curves. Gouges come in a sweep (measurement of the curvature) numbered 1 to 11 and widths in millimeters. A #1 sweep is very shallow, while the #11 makes a distinct capital U. So the size of a particular gouge might be 4/12, indicating a sweep of 4 and a width of 12mm, roughly ½ inch.
V-Gouge – the v-gouge in wood carving is much like the v-tool in whittling, with a different handle. While the angle of the V can vary, 60 degrees is the most common. These tools are used predominantly for outlining objects or parts of the carving.
Skew Chisel – predominantly a wood turning tool, some wood carvers like using skew chisels for carving as well. The angled face of the chisel makes it easier to cut through the wood. It can also be used for planning operations, flattening a surface.
Spoon Gouge – much like the hook blade for whittling, the spoon gouge is used for hollowing out internal curves, like the bowl of a spoon. There are also “right corner” and “left corner” spoon gauges which are skewed to either side. Other variants of the spoon gouge help get into difficult spaces.
Fishtail Gouge – generally wider and with a shallow sweep, fishtail gouges are ideal for cutting broad curves as well as transitioning into and out of them.
Dog Leg Chisel – a specialty tool, used predominantly for cleaning up hard to reach areas, corners and flattening the background for relief carving.
Wood carving chisels of all types can be pushed by hand or driven with a wood carver’s mallet. The carver’s mallet is different from others, in that it is turned on a lathe and shaped somewhat like a hand bell or wine glass, with the “stem” being the handle. This design allows the woodcarver to use any part of the mallet head to strike the handle of the chisel, without paying attention to the mallet’s orientation.
A mallet is needed because all of these chisels are made with wood handles. Were a metal-headed hammer to be used on them, it would dent the end of the handle with each blow, eventually destroying it. Since the mallet is also made of hardwood, it is unlikely that it will cause any damage to the chisel handle, unless used improperly.
The mallet is most often used when more force is needed, specifically to make a larger cut. However, it can also be used for detailed work, as one can control the amount of force applied via the handle. For detailed work, the woodcarver might choose to cup the mallet head in the palm of their hand, giving them more precise control, rather than holding it by the handle. But when force is needed, moving the hand down to the handle provides that force.
When using chisels with a mallet, the hand holding the chisel must provide the control alone. But when chisels are used by hand, without a mallet, the two hands work together to control the chisel. One hand, holding the back end of the handle, provides the force and direction, while the other hand, holding the handle nearer the blade, provides resistance, acting as a brake to prevent overcutting.
Between using the woodcarving chisels by hand and using them with a mallet, it is possible to make any shape one can imagine.
woodcarving can also be done with a variety of power tools, but there are two tools which are most commonly used for this: the chainsaw and rotary tools. Obviously, chain saws are used for larger works, while the various rotary tools are used for fine, detailed work. My dad’s retirement business was doing custom gun stock carving, which he did with a pneumatic rotary tool that turned at roughly 20,000 RPM, making it very easy to maintain fine control over the cutting bit. A variety of cutting bits can be used with rotary cutting tools.
Wood carving with chainsaws is amazing, especially when we consider the level of detail that some of these carvers can obtain with their chainsaws. Those who do this regularly generally have more than one chainsaw, using a large one for cutting out the majority of the material and smaller tools for detailed work. While it is possible to combine chainsaw wood carving with other forms of wood carving, I have yet to see someone who does chainsaw carving resort to using chisels in their work.
Related Posts:
Difference Between Timber Lumber and Wood by Admin July 2, 2021 More About Sometimes, the terminology that we use to describe the products we work with can be quite confusing. The same item or group of items can…
Iron and Wood Gates by Admin August 1, 2021 Installing When it comes to fences and gates, we have two basic options open to us; wood and metal. Oh, there’s vinyl as well, but that’s…