Building a set of stairs is said to be the true test of a master carpenter. That may be true for a complex staircase, but not all staircases are that complicated. You can actually build a fairly simple set of stairs, especially if you use plywood to do it.
What usually makes a set of stairs complicated to do is that they are usually built using a 2”x 12” stringer. If the angles aren’t exactly right, all you end up with is scrap wood, not something usable to climb up to the second floor of a house or down into the basement. People mess up the angle all the time, because they are trying to work with those stringers.
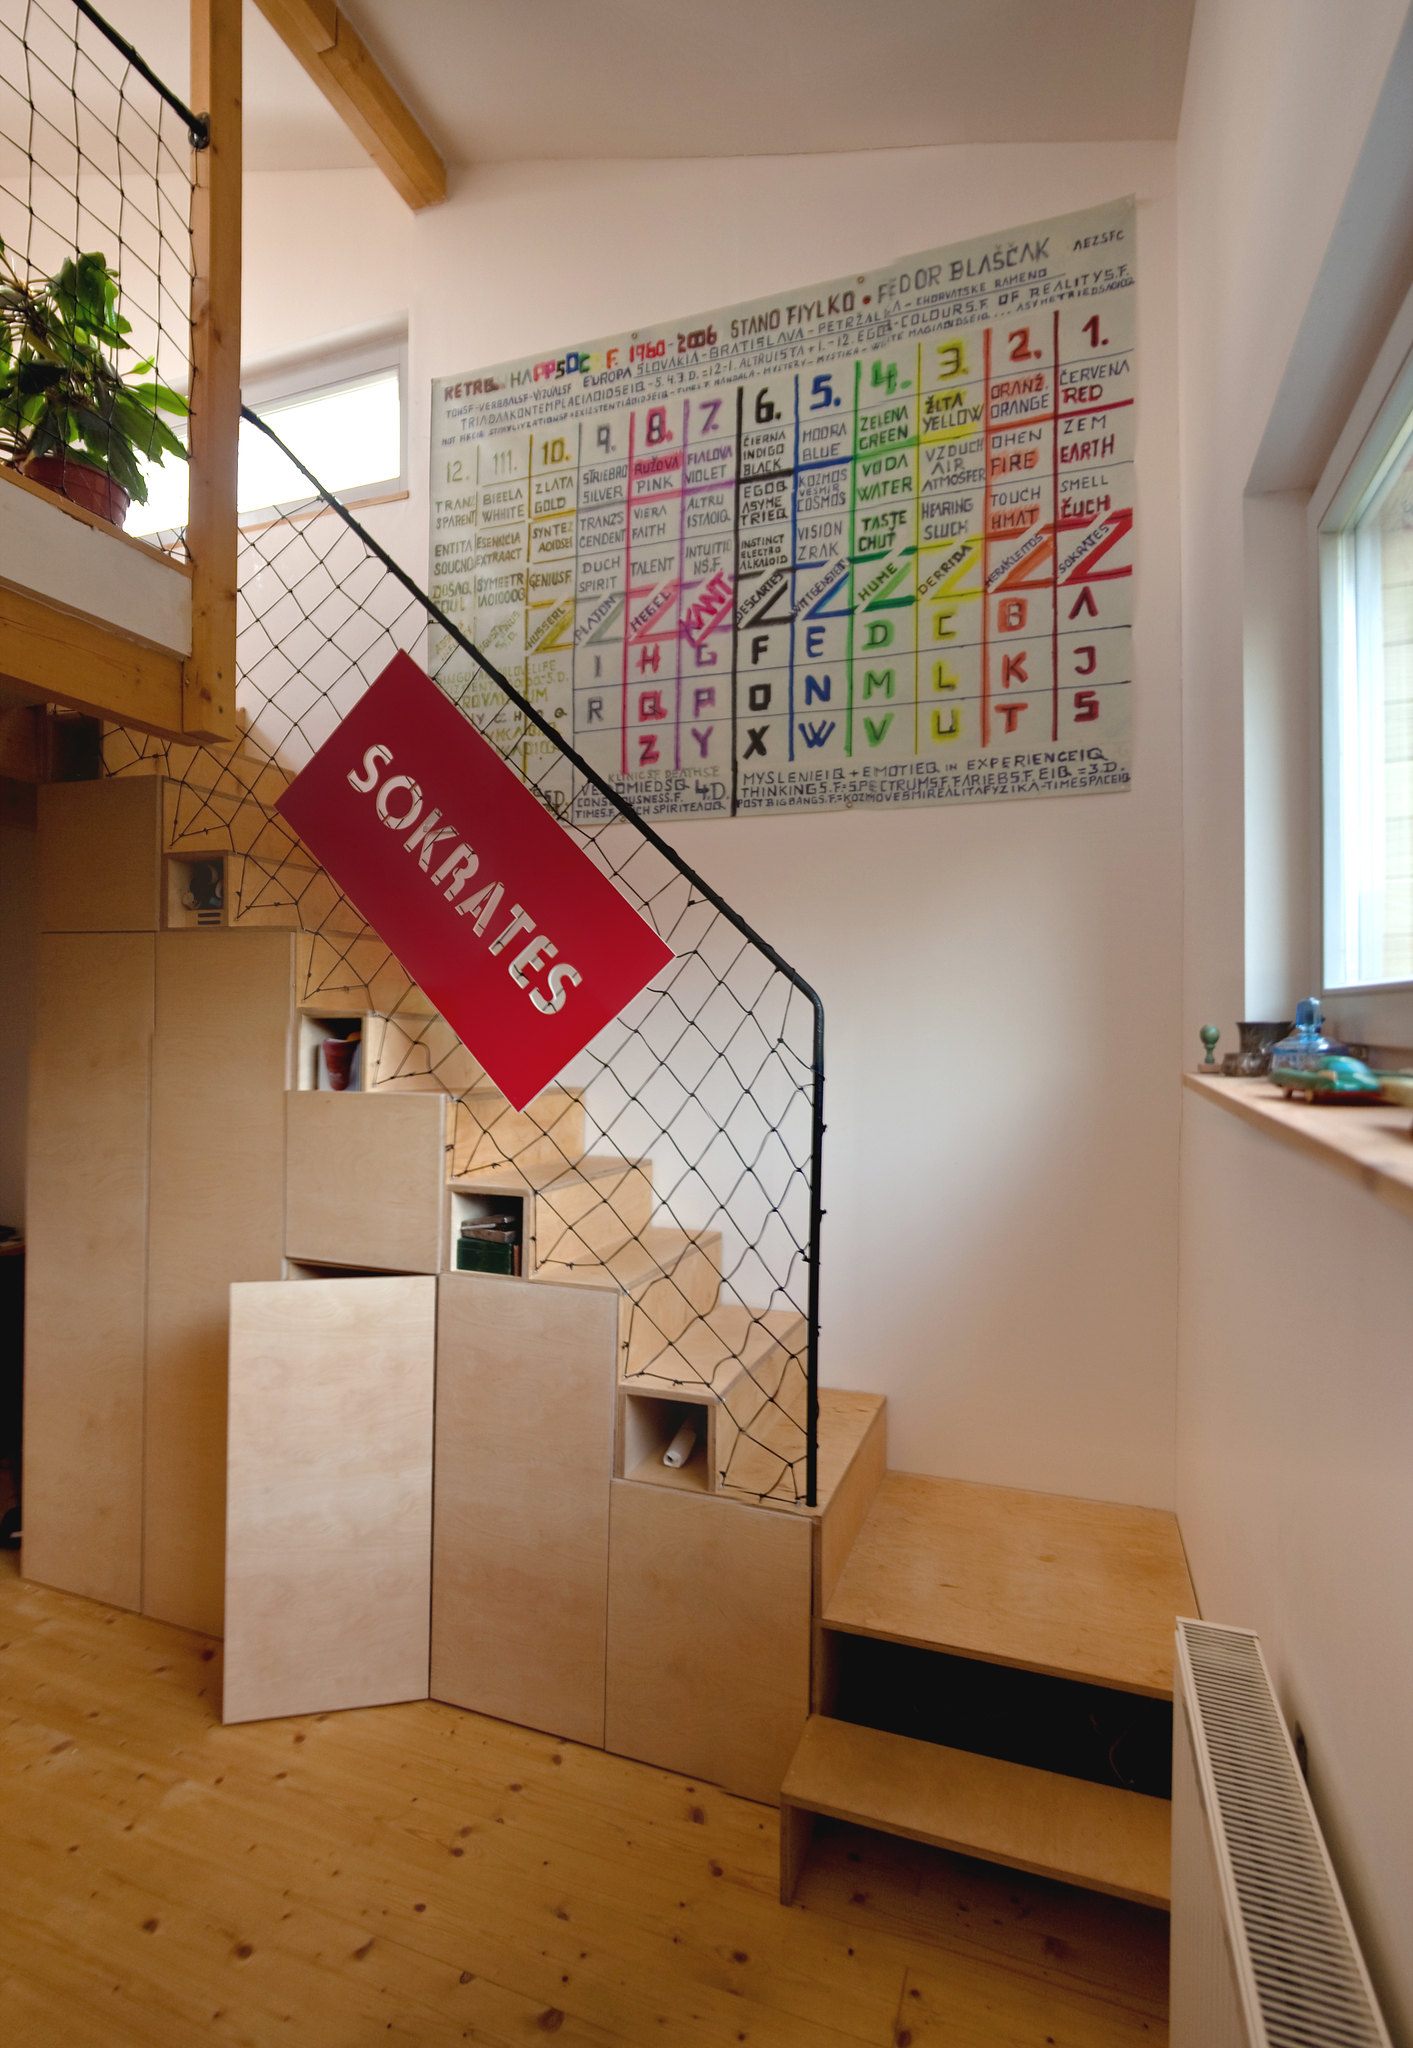
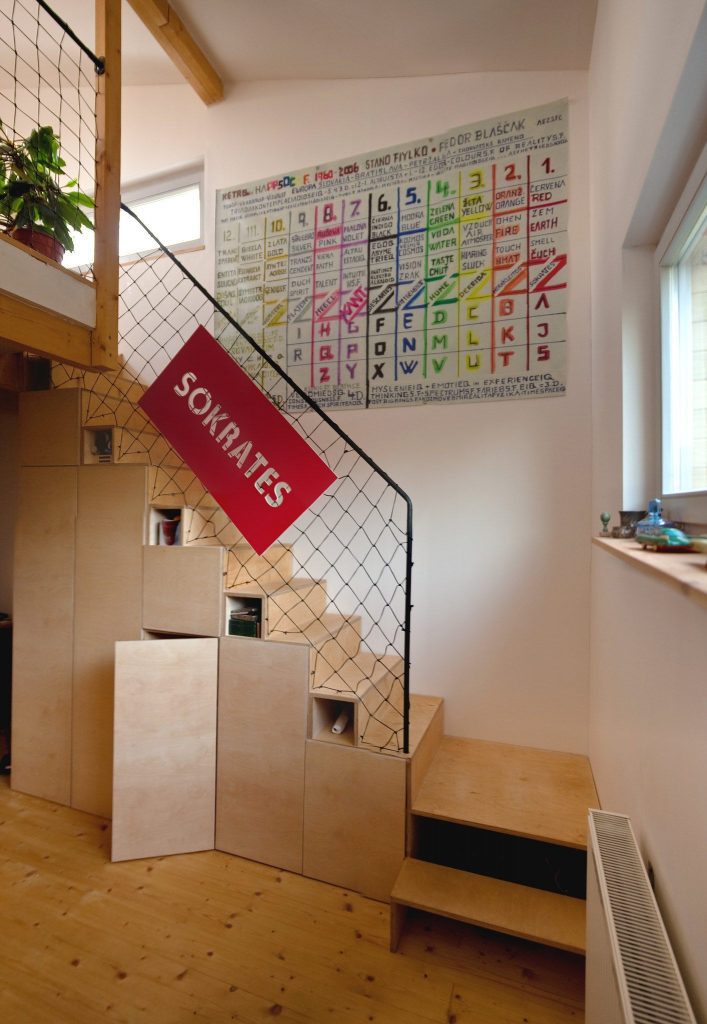
A lot of this problem can be done away with by making stairs out of plywood; especially by using the plywood to make the stringers. Because the plywood provides a right angle and an edge that can be placed against the floor, there’s very little angle to deal with in the realm of calculating the angle. However, there is a tradeoff for this, as plywood stairs aren’t normally open, like other staircase are. They can be made to be open, they just usually aren’t.
Nevertheless, plywood stairs are rarely used for a home’s main staircase, although they can be found used for basement stairs. Other than that, they are normally used only when a short staircase is needed, such as one for a mobile home. But that’s actually an aesthetic decision, more than anything else.
Calculating the Stair Rise and Run
The first part of making any stair is calculating the rise and run of the stairs themselves. The rise is the height that each step is above the next lower one; or, to put it another way, the amount that you have to lift your leg up to get to the next step. The run is how much depth your foot has to step onto, before running into the next riser.
That brings up some other important terminology; risers and treads. The risers are the vertical pieces in a stair, which go from a lower step to the next higher step. Some staircases are actually built with an “open” design, which leaves the riser out, but that is not recommended for plywood stairs and is limited to staircases with a maximum total rise of 30” by building code. The tread is the part you walk or tread upon. We need to calculate the rise and run, so that we know how big to cut the risers and treads.
The reason why these dimensions have to be calculated is that they are dependent upon the space available. While it may seem like all home steps are pretty much the same size; they’re not, although they are within a fairly small range of dimensions. Nevertheless, it is impossible to ensure that the rise and run of a particular stair is consistent, without calculating it.
Consistency is important for safety. If one stair has a smaller rise than all the others, it becomes a trip hazard for everyone going up and down the stairs. Therefore, the building code requires that all stairs in a staircase have the same rise, with a maximum of 3/8” variance. The building code also specifies a maximum 7 ¾” rise on residential staircases.
To determine the rise of a stair, measure the distance from the surface of the lower floor to the surface of the upper floor. Then take that dimension and divide it by 7.75. This will probably give you a number between 14 to 16, but that also includes various digits to the right of the decimal point. Round that number up to get a total number of steps (including the top floor) and divide that number into the same measurement from floor to floor. This will give you the actual stair rise needed for that staircase.
The run is calculated in much the same way; dividing the available space by the number of steps determined while calculating the run, minus the one which will be the top floor. The building code steps in here, once again, as the minimum run for a step tread is 10” if the stair treads will have a bullnose and 11” if the stairs do not have a bullnose. The stairs must also have a minimum 36” of clear space at the bottom of the stairs.
While it is normal to calculate the length of the stair’s run, it is not actually necessary. If the space necessary is available, all that has to be done is multiply the 10” or 11” of run, by the number of steps that will be in the staircase to determine the overall run.
Laying Out and Cutting the Stringers
With the math over, it’s time to start making some sawdust. As I mentioned earlier, it’s much easier to lay out a stair stringer on plywood, than on 2”x 12” dimensional lumber. A simple framing square can be used, but it’s best to use a drywall square.
There is no minimum thickness requirement listed in the building code for plywood stringers. However, the fact that they are replacing 2”x 12” boards gives us an indication that there’s a need for enough thickness to provide strength. I would recommend a minimum of ¾” plywood for stringers with a total rise of not more than 48” and 1” to 1 ½” of plywood for longer stringers.
Start by marking the bottom for reference. Then measure up the edge of the plywood and mark out each step’s rise. With the square, draw lines at those marks to indicate where the tops of the rise will be. This will be the bottom of the stair’s treads.
Do the same, working across the base of the plywood, to mark the run for each step. The jagged line of the stringer’s edge is then visible, formed by the intersection of those lines. Cut along that line to make the stringer. Sand the cut lines to make the lines straight, if necessary. If properly laid out and cut, the scrap piece should be able to be used as the stringer for the other side of the stair.
In order to make thicker stringers out of thinner plywood, it is a good idea to glue the plywood together, before cutting. This will help to ensure that both pieces have the same cut line, so that they can support the step treads equally.
With wide stairs, it is not uncommon to use a third stringer under the middle of the steps. But this is not normal for the 36” wide staircases found in most homes.
Cutting the Risers & Treads
Since the building code specifies that home stairs must be a minimum of 36” wide, with a minimum 31 ½” free space (from the handrail to the opposite wall), that’s what is normally found in homes. That provides the width for the staircase, once the stringers are put in place.
The rise which was calculated earlier will provide the other dimension for the stair risers. Risers do not have to be made of any thick material, as they provide only minimal structural support. Therefore, they can be made of ½” thick plywood or OSB. Those are normally installed first, with the treads following. On a tall staircase, it is possible to work one’s way up, installing riser, tread, riser, tread, all the way to the top.
While ¾” thick plywood or OSB is considered sufficiently thick for subfloors, it is not uncommon to use a thicker material for the stair treads. One inch of total plywood thickness is ideal and can be made from two layers of ½” plywood, bonded together. The bullnose can either be routed into the wood or bullnose made of aluminum can be nailed on. Either a 1” bead router bit or a ½” roundover bit can be used to cut the bullnose in the plywood.
If a bullnose is used on the step tread, then the tread should be a minimum of 11” deep. However, it should also be between ¾” and 1 ¼” deeper than the space cut into the stringer for the step tread. Be sure to check, before cutting, to ensure that the step tread is deep enough to reach the full depth of the space provided for it, along with the necessary projection for the bullnose.
Some people have recovered their existing stairs with plywood, especially in older homes. There is no problem with this, as far as the risers are concerned. Even a thin layer (1/4”) of plywood, over the existing wood, will clean it up and provide a good surface for paintinging. However, this can be problematic with the step treads.
The problem is that adding an additional ¾” plywood step tread, let alone a 1” or more thick step tread, on top of the existing, will make it so that the rise for the bottom step is too high and the rise for the top step is too low, unless they were installed in a way to make allowance for that extra material thickness. A better solution, in most cases, is to remove the existing step treads and replace them with new ones, being sure to make your new ones the same thickness as the old ones.
As usual, plywood can be finished as any other wood product. However, in the case of stairs, it is common to paint the risers and stringers with a semi-gloss white paint to match the home’s trim. The step treads can be stained and then varnished, using a heavy-duty floor varnish.
By no means should the risers and step treads be both painted white or varnished the same color. This can cause a visual reference problem for some people, where they can’t clearly define the edges of the steps or differentiate between the step tread and riser. Using a two-color system, as mentioned, provides the best visual reference, making for the greatest safety.
Related Posts:
Plywood Stairs Makeover by Admin September 17, 2021 Repairs Contractors are always on the lookout for ways to reduce the cost of building homes. This is especially apparent in tract homes, which by definition…
Deck Stairs by Admin May 10, 2021 Installing Adding a deck to a home is one of the most effective ways of adding value to it. More of the cost of the deck…
Insulate Attic Stairs by Admin October 19, 2021 Installing Attic storage is important in any home. With the amount of available storage dropping in modern homes, people need someplace to store their Christmas decorations,…