Many people think that plywood’s biggest enemy is moisture. While there is plenty of reason to believe that, the biggest enemy of wood in general is fungi, so that would have to apply to plywood as well. Allow me to explain.
Moisture alone can damage many types of plywood and other engineered wood products by softening the glue and causing delamination. At the same time, moisture soaks into the end grain of the plywood, causing it to expand, further putting stress on the adhesives and helping to force the delamination process. But in all of this, the wood itself is not destroyed. Theoretically at least, the plywood could be glued back together.
This is quite different than what most people refer to as “wood rot.” Water alone doesn’t do that, although water is required to make it happen. Wood rot happens when fungi attack the wood, actually eating it. The fungi require moist, leading most people to think that it is the moisture which is damaging the wood.
This can be a difficult and expensive problem to fix, as replacing plywood with fungal rot can often require removing and replacing other pieces of building material as well. If the plywood in question is being used as roof or wall sheathing, then shingles or siding may have to be removed. That usually means replacing it as well.
There are two basic types of fungi to be concerned about:
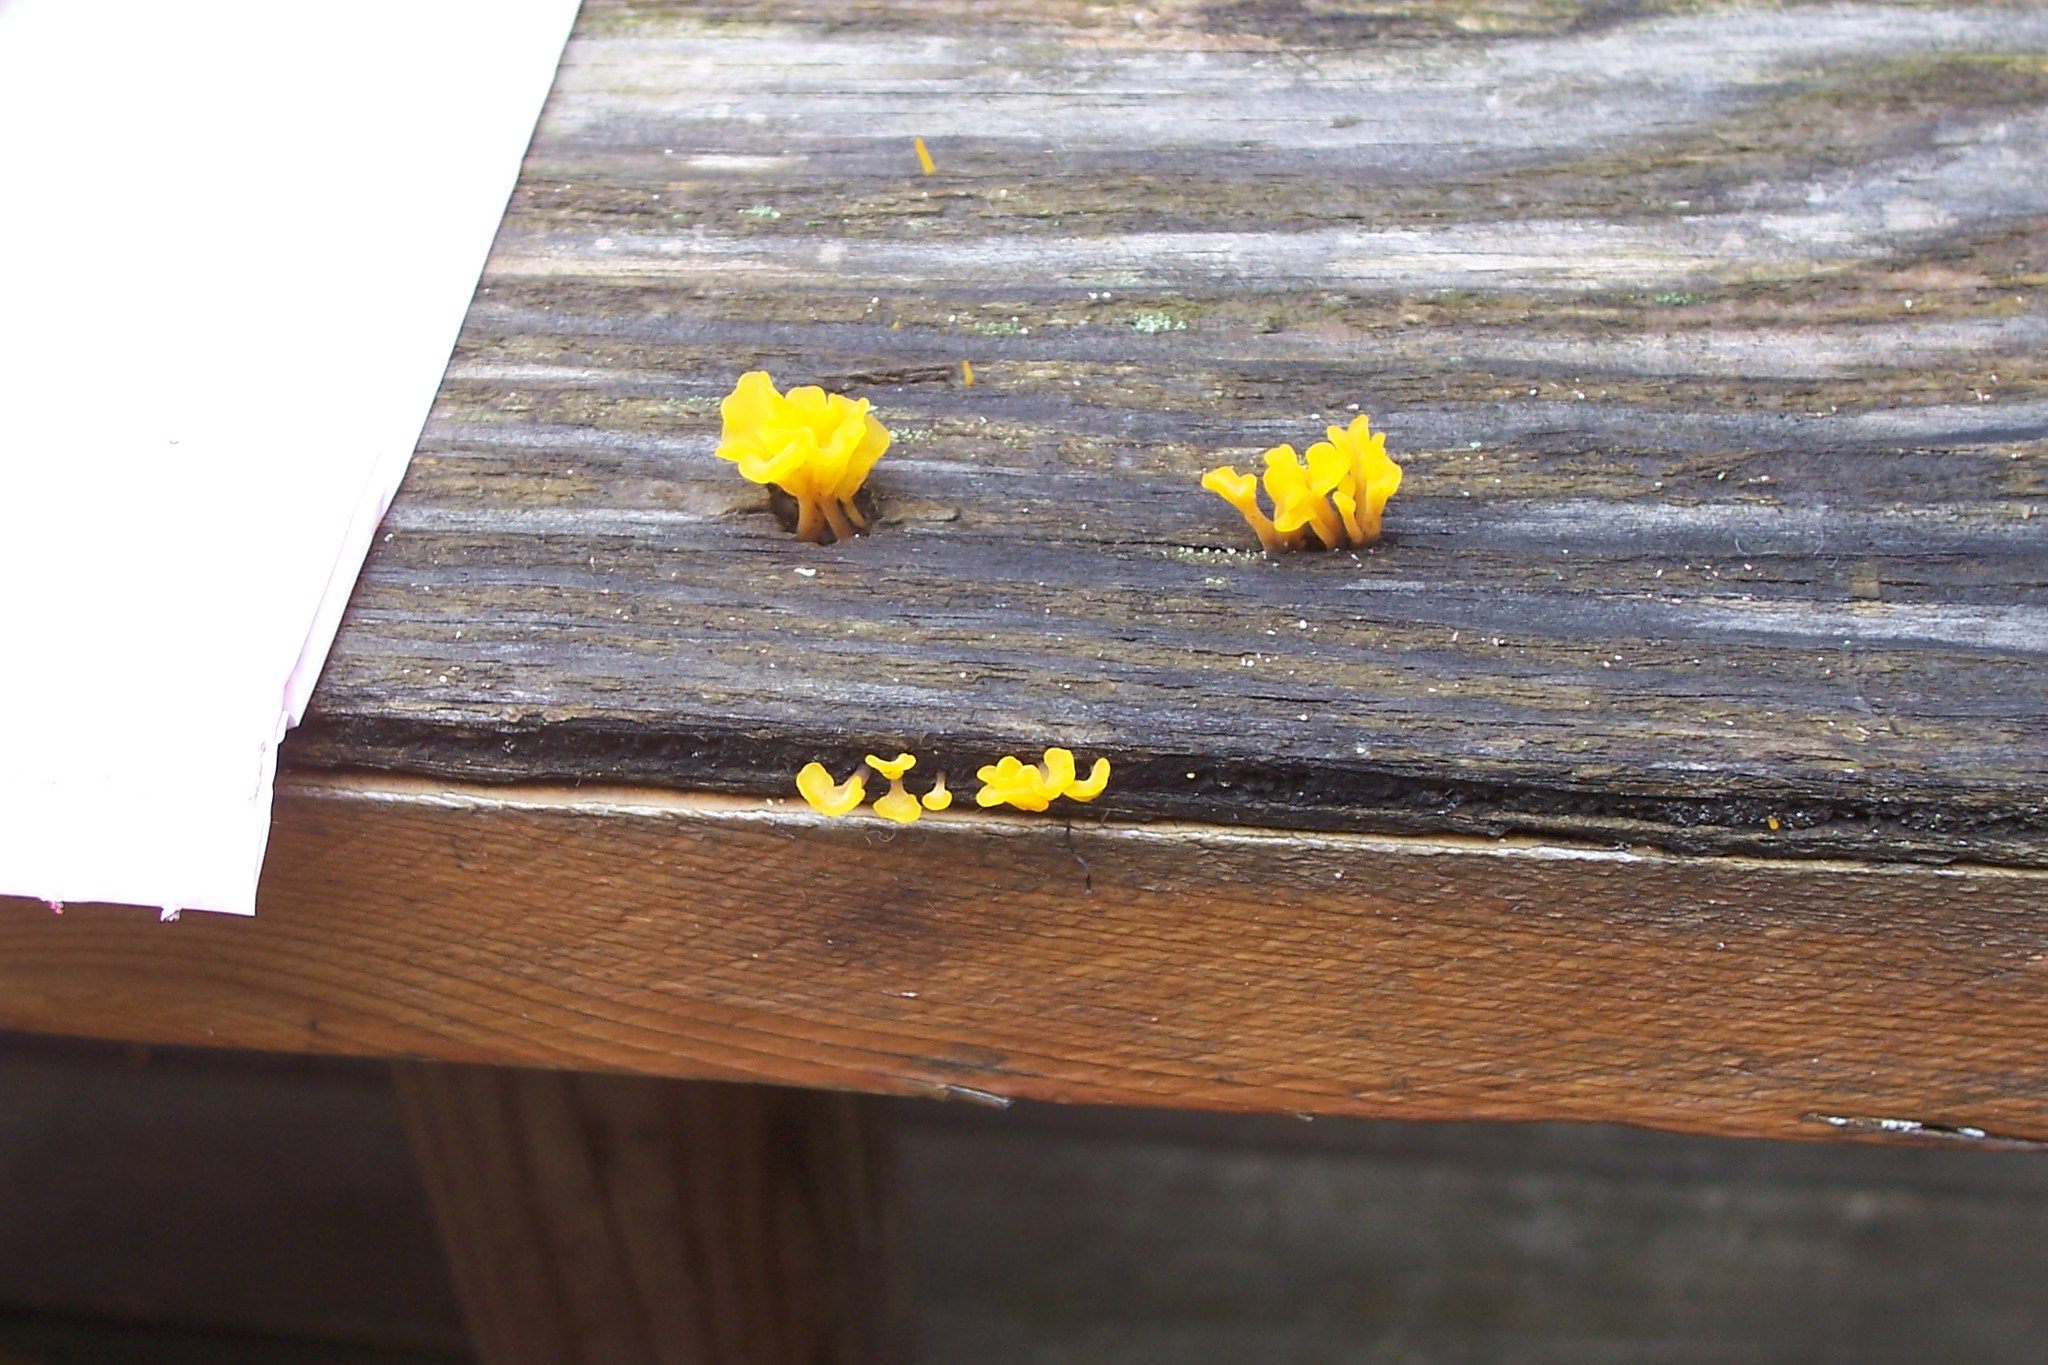
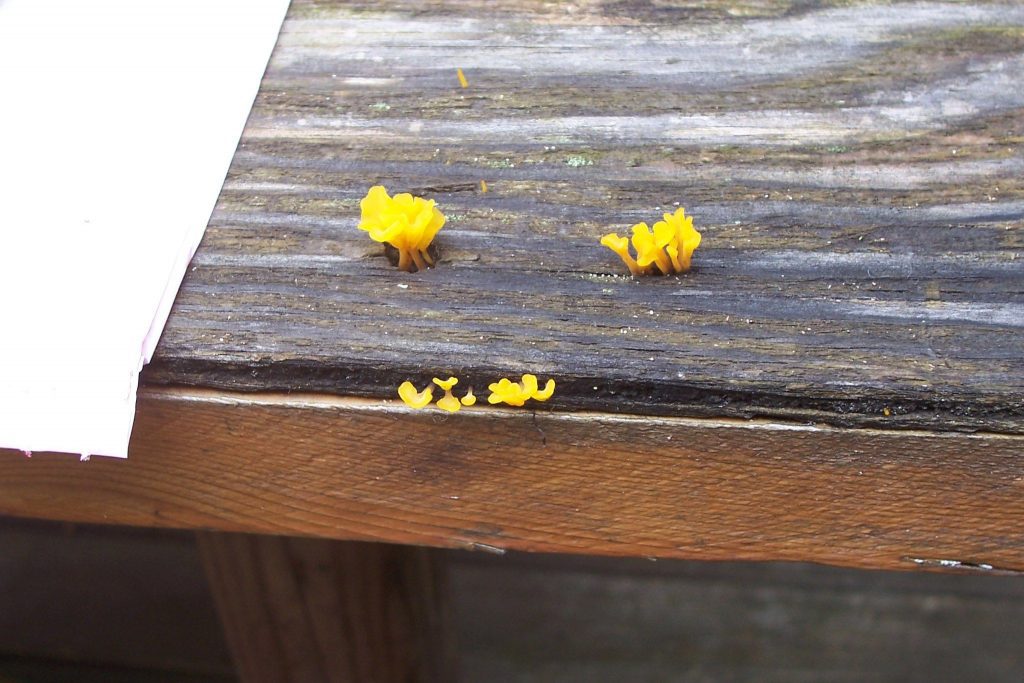
White Rot Fungi – This primarily attacks hardwoods, leaving a white or yellow discoloration. As the fungus eats the wood, it develops a stringy appearance and spongy feel.
Brown Rot Fungi – This one primarily attacks softwoods, such as the structural lumber used in a home. It turns the wood a dark brown color. This type of fungi is sometimes referred to as “brown cubical rot” because that’s what wood that has been attacked by this fungi looks like. It is this fungi, or more correctly the damage caused by it, which is often referred to as “dry rot” in homes”
Please note that black mold is not a fungus. While it is something to be concerned about, it is not within the purview of this article.
Protecting Wood from Fungi
It’s obviously better to protect the plywood from the fungi in the first place, rather than having to deal with all the problems that it can cause. But just how do we do that? There are a number of different things that we can do.
Control the moisture in the home, keeping it under 60 percent. Air conditioning or a dehumidifier will do this.
Improve airflow in the home, so that moisture and humidity can be naturally removed.
Dry up spills and other moisture quickly, before mold can grow.
Clean, disinfect and dry surfaces which are prone to mold growth.
Repair plumbing leaks in pipes which might drip or spill water into the home, especially in the basement or crawl space.
Fix any leaks in the roof, around doors and windows, walls over windows and the foundation of the home.
Dry items thoroughly before storing them, regardless of whether it is in clothing or things in the kitchen; don’t put them away while still damp.
Improve ventilation in the basement, as that is a prime area for moisture and humidity to stay.
Another important aspect of this is proper wood treatment. Well painted or varnished wood, even oiled wood, is protected from fungi. However, the entire surface has to be covered, in order for this protection to take place. If only the surface of the plywood is sealed with paint and the edges are left bare or not fully sealed, then the end grain can absorb moisture and mold can begin growing there.
Think of the number of homes you’ve seen, which have dry rot around the exterior door frames, especially the garage door frame. What has happened is that the wood door frames were installed without sealing the ends of the boards. Those boards are usually resting directly on the cement, which allows water to wick into them every time it rains. Over time, black fungi will eat away at the wood, causing “dry rot.”
The easy solution to this problem, when those pieces need to be replaced, is to cover the end of the new board with a thin coating of acrylic painter’s caulk, and then once that dries, painting the back side of the board, before installing it. That way, there is no surface available for water to soak into, inviting mold to start growing. This should be done on any wood or plywood which is going to regularly come in direct contact with water.
If there is plywood in the home which has been infected with fungi, it is necessary to clean the wood, removing the fungi. This isn’t all that hard to do; there are several ways to go about it, depending on where it is, how hard it is to get to and how much damage the fungi has caused.
Make a simple solution of one teaspoon of dishwashing soap and warm water in a spray bottle. Spray the affected area and use a soft-bristled brush to scrub away the mold gently. Soak up any liquid that drips off the affected area, so that the mold doesn’t spread.
Diluted chlorine bleach can also be used to treat wood fungi, killing the fungi and removing any stains. A 10 to 20 percent solution should be made and put in a spray bottle. Scrubbing is not required, as the chlorine will kill the fungi.
Borax, as in “20 Mule Team Borax” can also be mixed with water and used to kill fungi. Soak the wood thoroughly with the solution. Don’t mop up the mixture, but allow it to dry. The borax in the wood will help prevent future growth of fungi. However, if the wood gets wet, it can wash out of the wood.
There are a number of commercial fungus treatment products on the market, containing harsher chemicals than those listed above. If these homemade solutions don’t work, it would be time to try one of them.
Whenever fungal damage is encountered on the wood of a home, the damaged wood should be inspected to determine the extent of the damage. It may be necessary to make some repairs to the home, even if the damaged wood components are left in place.
In the case of structural members of the home, this would probably require “sistering” another piece of wood onto the damaged one, being sure to go at least three feet past both ends of the damaged piece and attaching the sister piece to the damaged piece well, using fasteners at least every six inches. Make sure that the damaged wood is treated to kill or eliminate the fungus, before attaching the new piece, or the fungus might just spread to the new piece, extending the damage.
Mold on Walls
While our main concern is mold on plywood or other wood components of the home, it is also possible to find mold growing on the walls of the home, especially if a home has been left vacant for some time and the humidity has been high inside the home. There is a higher risk of this in rooms where water is commonly used or where there are water leaks.
In such cases, the mold can be cleaned off with any of the mixtures mentioned above. However, bleach and water is probably going to be the best mixture to use, as it will remove any staining from the mold as well. It will probably be necessary to scrub hard, especially with textured walls. Take precautions to not damage floor coverings, draperies or furniture with the bleach.
Once the mold has been removed, allow the walls to dry thoroughly and repaint the room with a mold resistant primer, then paint over it with a fresh finishcoat.
Related Posts:
Can Plywood Get Wet? How to Dry Wet Plywood by Amy Reed March 30, 2023 Repairs Plywood is one of the most universal building materials on the market. It can be used for all kinds of construction – from roof building…
Plywood Stairs Makeover by Admin September 17, 2021 Repairs Contractors are always on the lookout for ways to reduce the cost of building homes. This is especially apparent in tract homes, which by definition…
Beech Plywood by Admin November 5, 2021 Hardwood Birch plywood is one of the more popular hardwood plywood varieties, being commonly used in cabinetmaking, furniture making and even in making jigs in the…