For those of us who enjoy woodworking, both amateur and professional, there’s something almost magical about taking a wood board or log and turning it into something both functional and beautiful. Spending time in the workshop after a stressful day of work is a great way of clearing our minds and eliminating the tension that has built up during the day. The joy of presenting a completed project to family and friends is something that’s unmatched by other parts of our lives.
There was a time when fathers passed on such skills to their sons. For a large chunk of history, this was done by artisans and craftsmen, as those fathers prepared their children to take their place in the family business. In some places and times, sons were apprenticed to other craftsmen for that very same purpose, essentially becoming a member of that craftsman’s family for the years of their apprenticeship.
Times have changed and that is no longer the system we operate under. While some fathers still teach their children the skills which have earned them a living, the general attitude is to hope for our children to have a better life than we do, so rather than fathers teaching their sons their skills, they send them to college to learn. But this has created its own problems, with sons growing up not knowing the important skills their father’s knew.
Just a few generations ago it was common for men to know a wide range of skills, even if they couldn’t complete them at a professional level. But basic carpentry, plumbing and mechanics were all part of a man’s mental “toolbox” that they could draw upon to take care of home and family. Sadly, that has largely been lost, although there is still a place in modern society for possessing that knowledge.
Teaching a child woodworking is a great way of starting them not only as an enjoyable lifelong hobby, but also a valuable skill which can help them and their family when they grow up. But to make this into a lifelong pursuit, the process has to start off enjoyable to the child. Fortunately, children naturally love making things, so all we’ve got to do is come up with enjoyable projects, as well as turning the time working on them into quality time spent together in the workshop.
Requirements for a Child’s Woodworking Project
Not all children are the same, nor are their abilities the same. I still distinctly remember my children tapping nails into scraps of wood they found in my shop, making “coat racks” and “boats” out of those scraps. They would tap on those nails for 10 to 15 minutes each, thinking they were doing some “great work.” But I always had to be careful with those projects, as the nails would fall out if I bumped them.
That was when my kids were three and four years old. They’ve grown up since then, working on much more complex projects through the years. Some of the earliest real projects were kits, along the lines of the pine derby cars made popular by the Boy Scouts of American and now used by other kids organizations as well. From those easy-to-assemble and easy to customize kits, they moved into more complex projects, to the point where they were making simple pieces of furniture for themselves by the time they were teens.
Those projects need to follow a logical progression, working from the simplest to things which are more complex. That’s not to say that there’s a hard and fast list we all need to stick to, but rather that there are some guidelines that I discovered, which helped me make sure my kids would enjoy the process of learning and creating.
Have them make things that they would like to have or would like to give as a gift, not things that you want them to make
For early projects, avoid a lot of cutting, especially hand cutting. That’s difficult and boring for children. Better to pre-cut their pieces for them, so they can concentrate on assembly
Just as it is a good idea for adults to clamp things they are fastening together, be sure that children can as well; that will help ensure a good looking project when complete
Don’t forget about finishing; that can be the most enjoyable part for a child
Beginning projects should be something that can be completed in an hour or two, before the child becomes bored. Always keep their attention span in mind
Make sure they’re wearing clothing in which paint spots won’t be an issue
Keep the challenge level gradually increasing, so they can improve their skills, without pushing them to the point where they feel overwhelmed
Find ways of practicing basic woodworking skills, without making it look like practice. In other words, rather than having the child practice cutting on a line, have them do projects where they need to cut on a line
Make sure you’ve got spare parts for everything. That way, if they mess up, it’s’ not a problem
With those projects in mind, it’s a good idea to start out with kits for the child’s early projects. Kits will have the parts pre-cut, perhaps requiring only a small amount of additional shaping and sanding, before assembly and finishing. The excitement from making those kits should help encourage them to move on to other, bigger projects.
Take care in introducing power tools. Children will want to use them as soon as possible; but care must be taken to protect them. It’s much safer for them to use power sanders, especially vibratory sanders, than it is to use saws. So, plan on introducing power tools based on the child’s safety, rather than the utility of the tool.
As this is progressing, there will undoubtedly be times in which something needs to be one that the child is not ready to attempt. This is especially true of using saws, which are probably the most dangerous power tools. To keep things safe, cut the parts for them, perhaps while they watch from a safe distance and hear an explanation of what is being done. That allows them to see how the saw is used, learning for the day when they will use that saw. Then, when it’s time for them to use that saw, always make sure that all safety guards are in place, even if you don’t normally use them.
I still remember my first real tool kit, something my dad bought me when I was less than 7 years old. It contained a fair collection of actual working tools, in kid sizes. Granted, the tools were not as good as an adult would use, but the hammer was metal and the saw would actually cut wood. They were, in fact, better tools than I was a woodworker. While I’m sure that the tools my dad used were better, they were also too big and too heavy for me to use.
Finding such a tool set is not easy; it’s much easier to find “toy” tools, than kid-sized real tools. But Craftsman makes one and Lowe’s carries a pink one just to attract girls. Stanley even makes a kid-sized workbench, which comes with a set of 10 working tools. Ryobi has one too, which comes with a carpenter’s pouch that’s pretty cool. Just watch out for tool sets with plastic tools, as those obviously aren’t going to do a thing.
As the child grows, their tool set can be augmented by other tools or tools can be replaced by bigger ones. My (adult) son’s tool box is an old one of mine, with many of the tools being old ones I no longer use, with a few I bought just for him filling up the more obvious gaps.
First-Level Projects
Let’s look at some projects to start out with. I’m calling these “first-level” out of convenience, as these are the first projects to do. This is merely my own designation for the purposes of this article, not something that is widely used.
Any woodworking project kit made just for kids. Lowe’s carries a selection of these. They can also be found from Lakeshore Learning Materials and a variety of online sources. Etsy and eBay are both good sources, where small business owners can be found who have put together kits for sale.
Toy cars – can be as easy or as hard as desired. There are a lot of plans available online.
Birdhouse – a classic child’s woodworking project.
Toolbox – if they don’t have their own toolbox, this is a great way for them to get one.
Pinewood derby cars – especially if they are in a club that does pinewood derby racing.
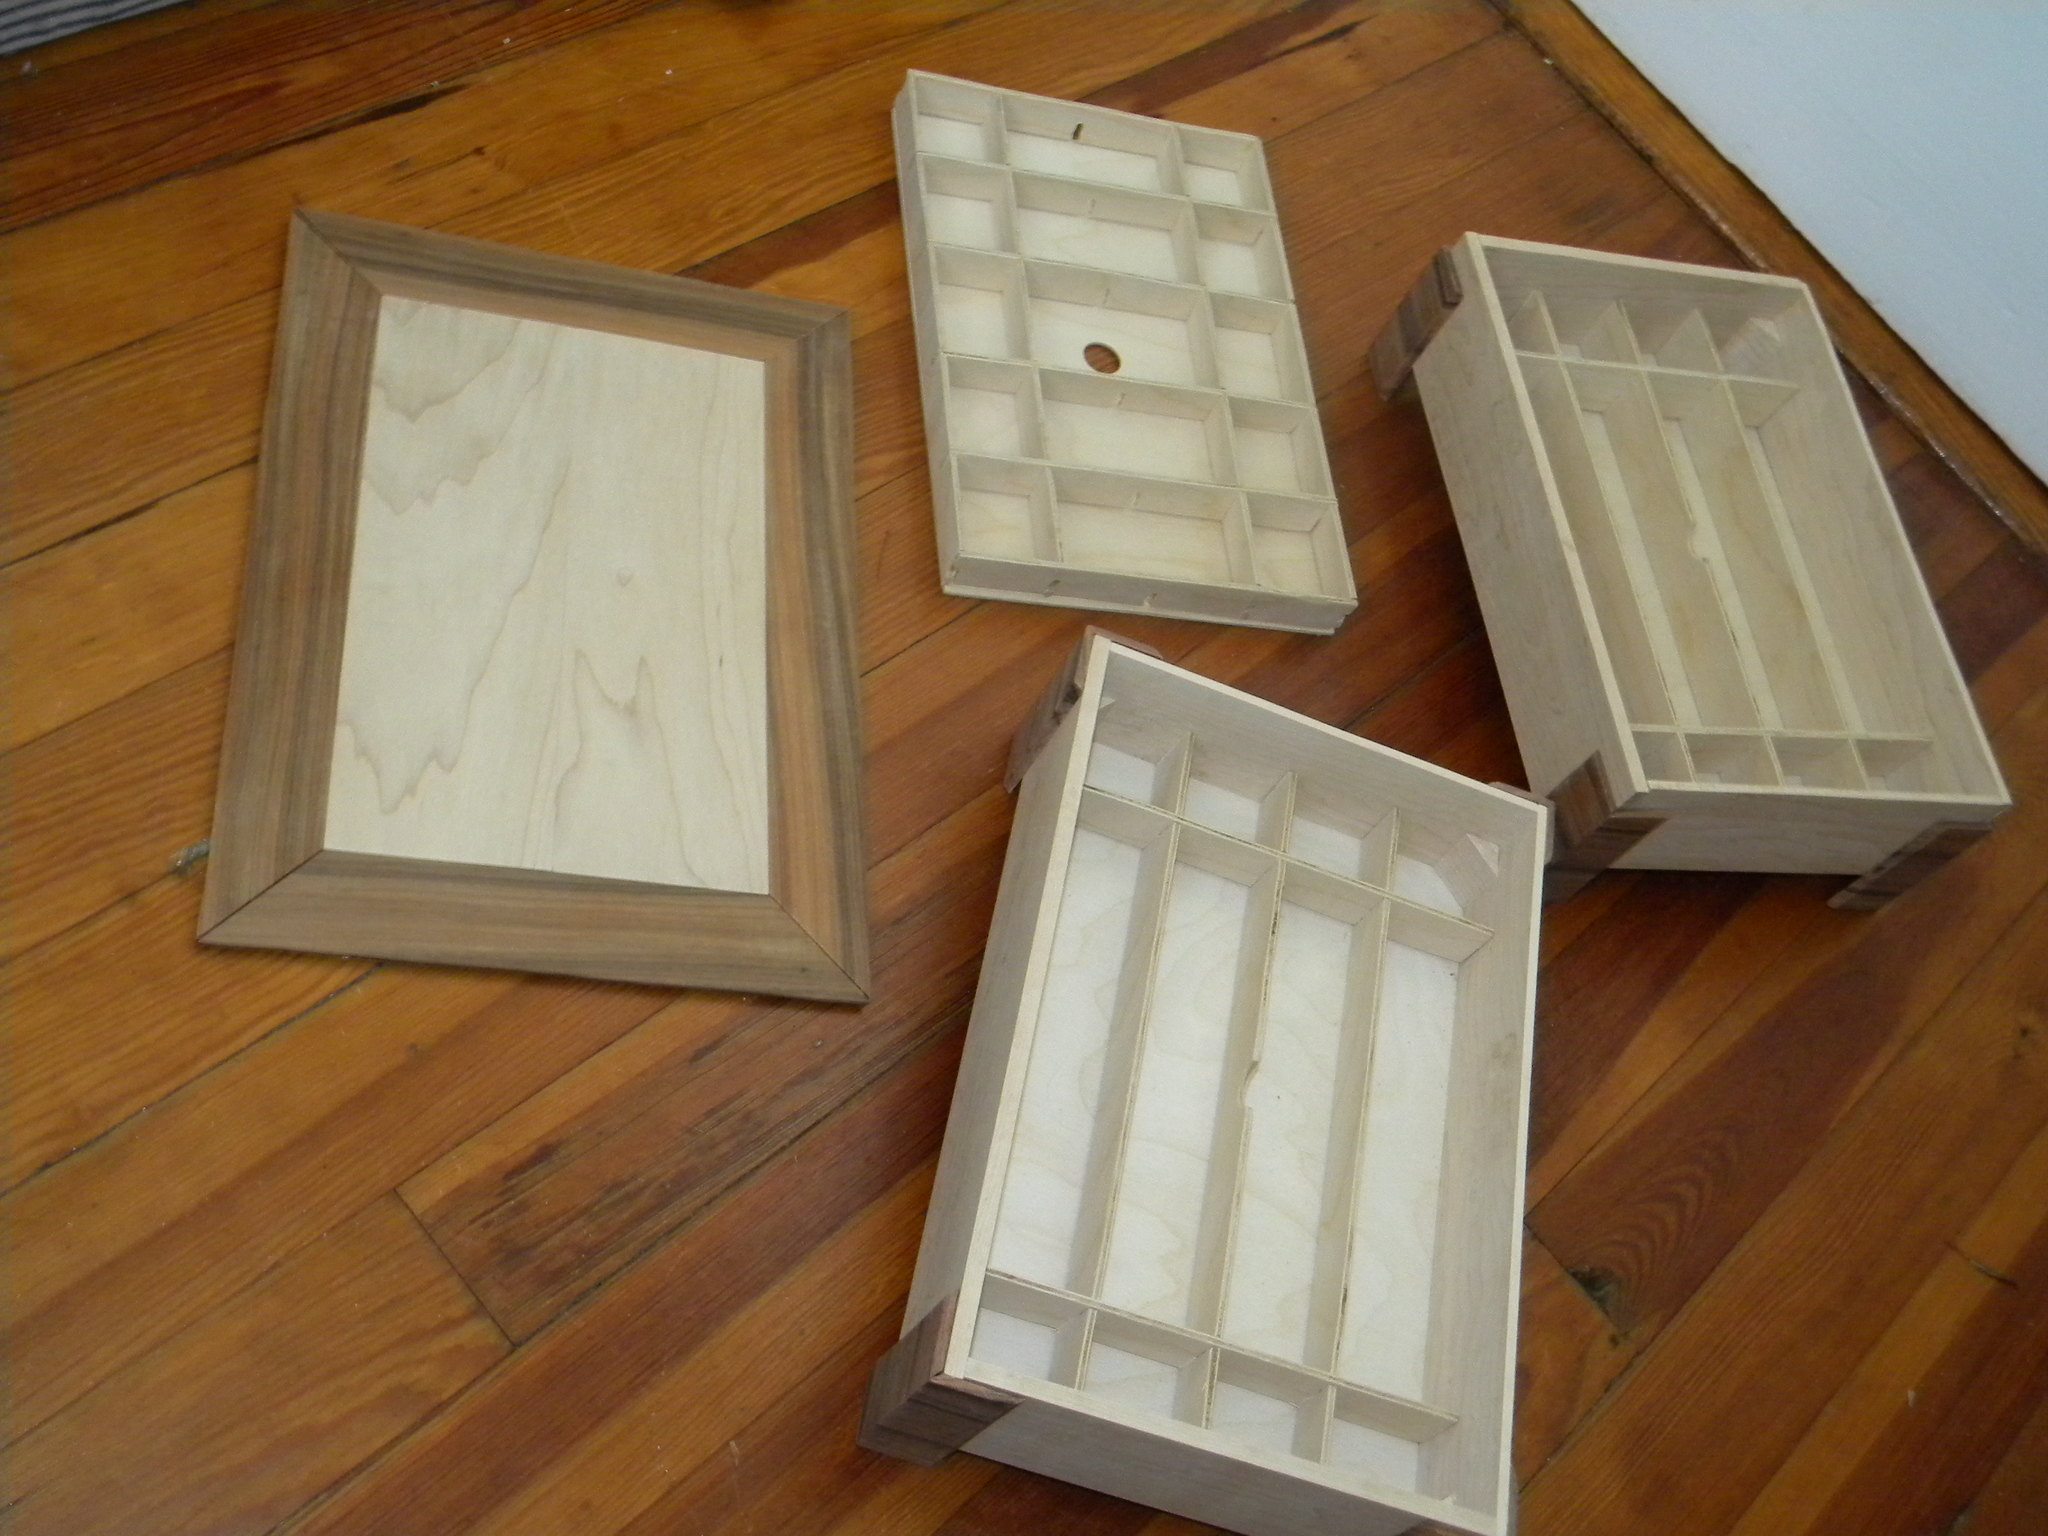
Picture frames
Simple boxes
Sofa cup holder/remote holder – to go over the arm of the sofa.
Wood slice projects – such as trivets, coasters and platters for use as gifts
Holiday décor made of wood – more about painting and the outside shape, but still woodworking
As is clearly visible, these are all rather small projects, which are fairly easy to accomplish. That’s part of what makes them ideal for starting out with.
Second-Level Projects
Once children have completed a number of those projects, they’ll be ready to move on up to something more complex. By now, they should probably be hooked on the idea of making things out of wood. That will motivate them to take on more complex work, even projects that might not be able to be completed in one session.
Few skills are needed to do most of the projects I mentioned above. Now it’s time to start adding skills, especially the use of some of the safer power tools. While any power tool can be dangerous if misused, we all know that some tools, especially some saws, are more dangerous than others. Always supervise children using power tools and don’t turn away from them for even a moment.
Rubber band gun – fun, classic project and a good introduction to using a band saw or scroll saw.
Coat rack – another good introduction to the band saw.
Catapult or Trebuchet – good opportunity to introduce more complicated joinery
Mallet – they’ll need one anyway, so why not make one?
Lego coat rack – look like a bunch of Lego blocks, made of 2”x 4”s and closet rods, but has hooks for coats
Jewelry box – great gift for mom
Decorative wall plaques – pick ones that are about how the wood is shaped, even if that is rather abstract, rather than a picture on the wood
Shelves for their room – lots of styles to choose from
Crayon or pencil holder – essentially holes drilled in a block of wood; good introduction to either a handheld drill or drill press
Wood spoons – basic whittling project
Wood crates – simple storage that’s easy to make and useful
Riser for their desk or dresser
Pet bed – basically the frame for a pillow bed to go into
Once the child has worked their way through those sorts of projects, they should be ready to go on to more complex things. This is where it would be good to start introducing more complex joinery, as joinery is really what separates the real woodworkers from those who just make things out of wood.
However, it takes time and patience to learn how to do a mortise and tenon, let alone dovetail joints. So a lot will depend on the child’s age and personal abilities. Doweling is a good place to start with joinery, as it doesn’t require the degree of finesse to do. It also makes for a good introduction to the mortise and tenon joint, as it is essentially a simplified version of that classic.
Encourage the growing woodworker to select their own projects and design them themselves. Act as their consultant, looking over their designs and finding the errors. Discuss design and construction techniques, as well as the order for the work to be done in. They’ll soon be giving you a run for your money, if they keep going with their newfound love for wood.
Related Posts:
Vinyl Stencils for Wood by Admin April 30, 2021 Tools Stenciled signs on wood are one of the trendy home décor items we find everywhere from knick-knack shops to truck stops. Some carry witty or…
Wood Floor Inlay by Admin May 1, 2021 Installing Wood floors have made a comeback, with many people preferring them over other flooring options. That’s not surprising, considering wood flooring’s natural beauty and durability.…
Wood Mallet by Admin June 24, 2021 DIY In our modern age of power tools, the wood mallet has all but been forgotten in the home workshop. Yet this is still a common…