There are those who say that porcelain or ceramic tile should only be installed over a concrete floor and that they should never be installed over plywood. While there is some reasoning behind that claim, it’s a reasoning that comes from failure. If the plywood subfloor is not properly prepared to support the tile, there’s a very high chance of that tile breaking. But there are ways it can be prepared, so that it can provide the tile with the support it needs.
But first, allow me to clarify something about tile. That is, there are both porcelain and ceramic tiles on the market. Much of what we see in our local home improvement centers is the more pedestrian ceramic tile. But manufacturers, often the same manufacturers, also produce porcelain tile.
So, what’s the difference between the two? It’s kind of like the difference between ceramic and china dishes; one is better than the other. While porcelain can be considered to be a type of ceramic, it is made of a finer clay (smaller grain), molded at a higher pressure and kiln-fired at a higher temperature. This results in a stronger, less porous tile, which is less subject to wear and tear, and which doesn’t absorb as much water.
While porcelain tile may be more expensive to buy than ceramic tile, it will last longer. This could actually make the lifetime cost of porcelain tile Lower, as it will not have to be replaced as soon. As it is difficult to remove an existing ceramic floor, replacement is expensive.
It’s all About the Substrate
Installing porcelain or ceramic tile over plywood is all about the substrate. Three-quarter inch thick plywood isn’t enough, as that can flex too easily. Since the tile itself can’t flex, nor can the grout, that flexing eventually leads to cracked tiles, missing grout and tile delaminating from the floor.
The secret is to construct a subfloor that won’t flex. Then, when the tile is installed, it will last. There are actually a couple of different ways of doing this.
Thicker Plywood
The most common option that people do is to add another layer of plywood to the existing subfloor, making the total subfloor thicker. This additional layer needs to be a minimum of ½” thick, although ¾” is better. This should be exterior-grade plywood and especially should not be any plywood with thin face veneers, such as those found on hardwood plywood. The additional layer of plywood should be installed with the seams staggered from the original subfloor, to make the floor stronger. Leave a 1/16” gap between sheets, to allow for expansion.
Nail or screw down this new layer of plywood every six inches around the perimeter and every eight inches in the middle. If nailing, only use flooring nails. Whatever fasteners are being used, they need to be long enough to go through the existing flooring and well into the floor joists below. Avoid attaching the new layer of flooring only to the one below, without going into the structure beneath. Always make sure that the nail or screw heads are sunk below level, so that they don’t cause the tile to be uneven.
Check the plywood floor for flexing, before installing the tile. One good way of doing this is to set a glass of water on the floor, between the joists. Then walk on the floor and observe the level of the water. It should move some, due to the vibration of the floor from walking on it; but it should not become uneven, tipping to one side. That would indicate that the floor is lower in the direction it is tipping towards. In other words, the weight of walking on the floor is causing it to sag.
Cement backerboard, such as Durock or HardieBacker is normally used for a substrate to mount tiles to in shower stalls. But there’s nothing that says it can’t be used for floors too. In fact, it’s an excellent choice for floors as well, covering the existing plywood subfloor.
As with adding another layer of plywood, it is important to ensure that the fasteners are sunk below level, ensuring that they don’t protrude or cause the material around them to do so. Sometimes, inserting fasteners into these materials can cause a lump beside the fastener, so be sure to check that the surface is smooth and level, after installing.
Using a Uncoupling Membrane
Another thing to consider adding over your plywood subfloor is an uncoupling membrane. While the tile can be mounted directly to the plywood subfloor, the addition of this membrane can increase the life of the floor.
There are a number of different brands of these, which are made in a number of different ways. One thing they all have in common though, is that they allow the subfloor and the ceramic or porcelain to move separately. That way, when the plywood expands and contracts, due to differences in humidity, it won’t affect the bond between the plywood and the tile mastic.
These membranes all use their own adhesives and are sold as a system. They bond mainly to the plywood subfloor, providing a good, waterproof surface for the mortar to adhere to. They do add some additional height to the floor, but some can be used without the second layer of plywood, negating that disadvantage.
While this article is not intended to be a tutorial on how to install tile, there are a few pointers that need to be made, which are particular to installing tile over plywood subflooring.
First, always use a flexible thin-set mortar with a latex additive. The latex mastic will expand and contract better with the wood, than other, less-flexible, mastics, reducing the risk of cracking.
This may seem obvious, but only use floor tile on floors, not wall tile. Wall tile is thinner and more prone to breaking when walked upon or when heavy objects are dropped on it.
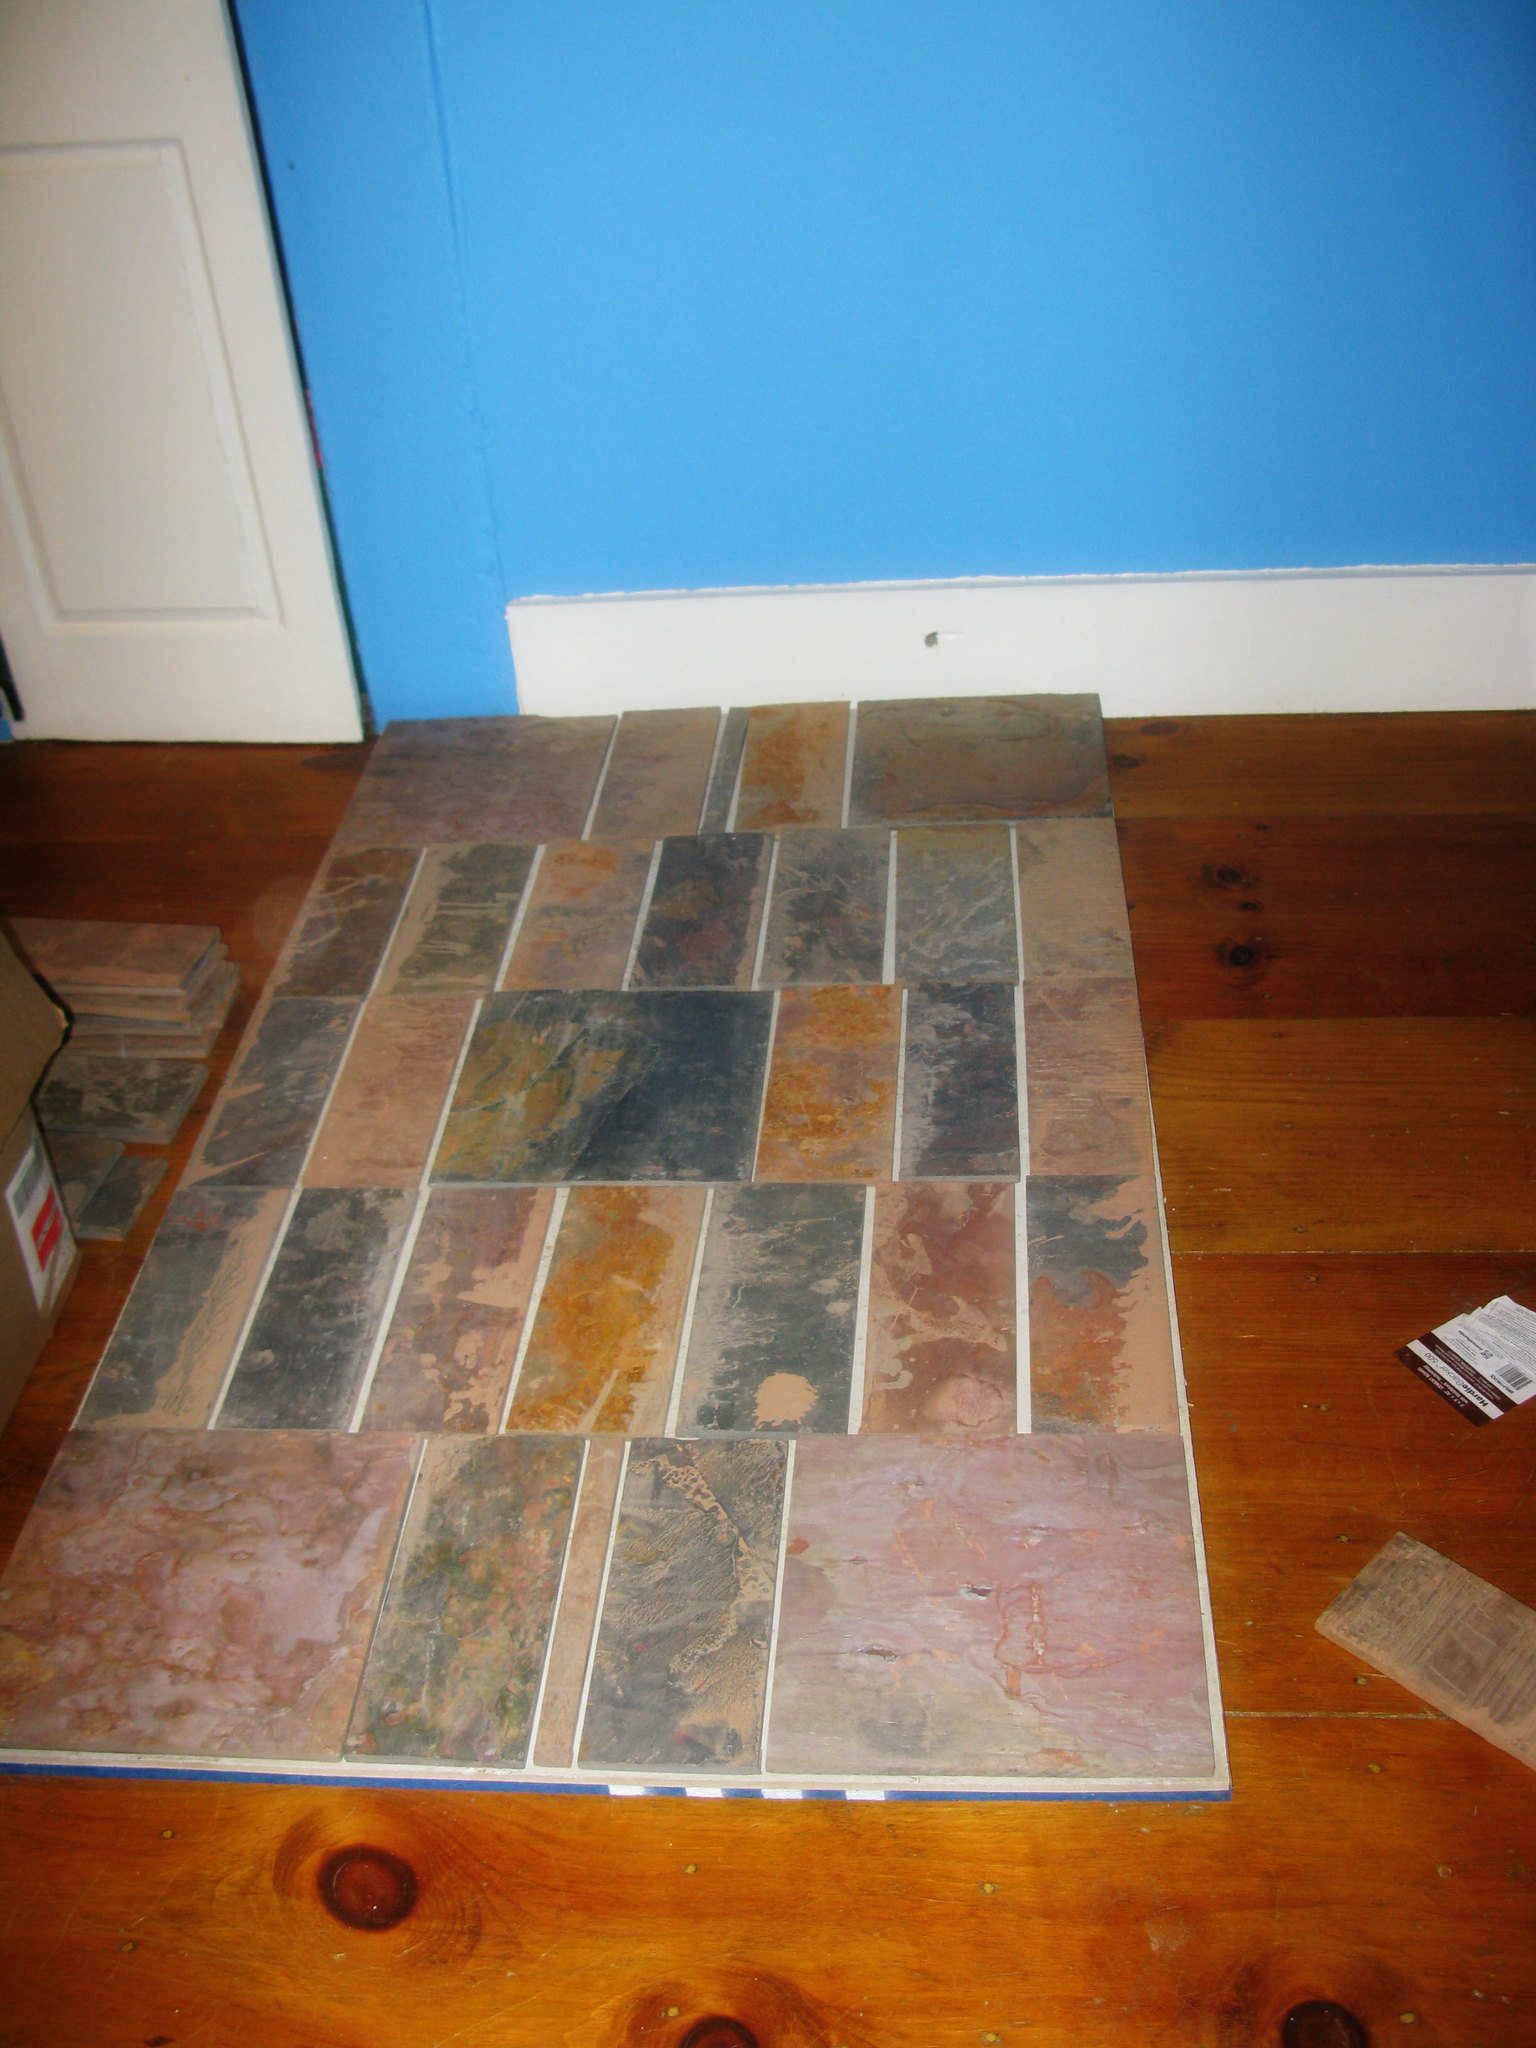
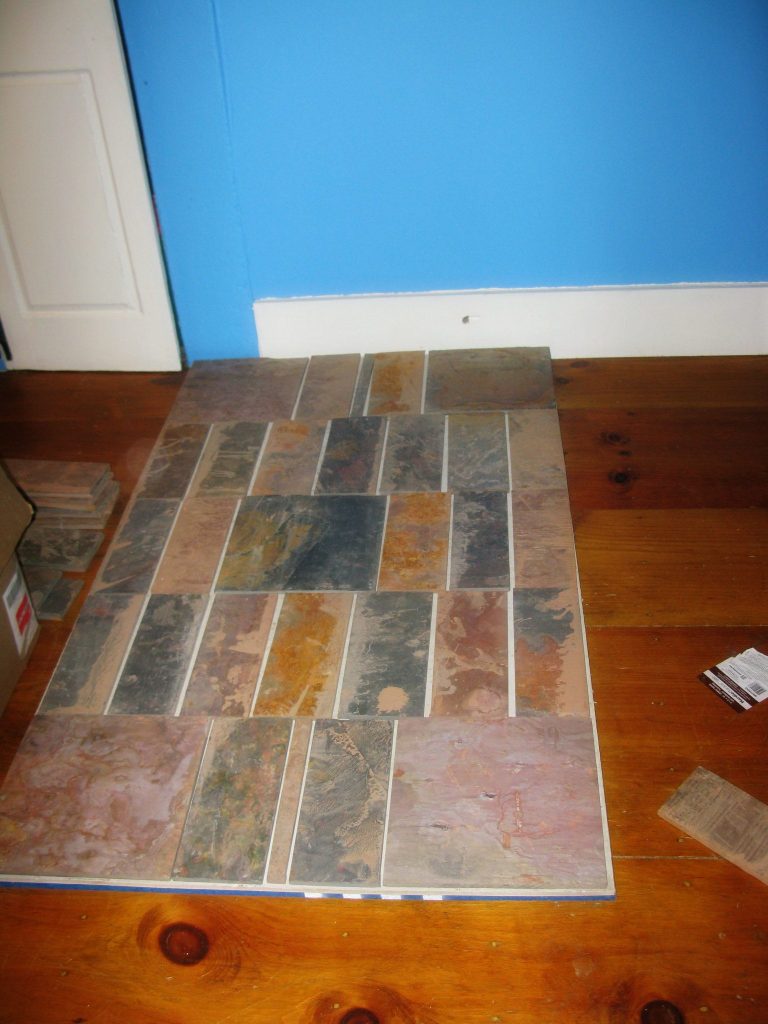
Lay out at least one full row of tile, with spacers, in both directions. This gives the opportunity to check spacing, possibly eliminating the need to cut tiles along two of the walls or allowing the edge tiles to be cut evenly, so as to create a uniform pattern. This is especially important in cases where multiple tile colors are being installed to create a pattern.
Related Posts:
Flooring Over Ceramic Tile by Admin May 30, 2022 Installing Ceramic tile is one of the most durable and easy to care for flooring options there is. Nonetheless, ceramic tile can become damaged, making it…
Drill Porcelain Tiles by Admin May 11, 2021 Tools Those of us who work with wood are often stymied when forced to work with other materials. Yet there are a number of projects we…
How to Level an Uneven Plywood Floor by Amy Reed December 26, 2022 DIY Plywood sheets are best used for subfloors in attics, basements, or around the house. When using the material as a structural base beneath carpet, laminate,…